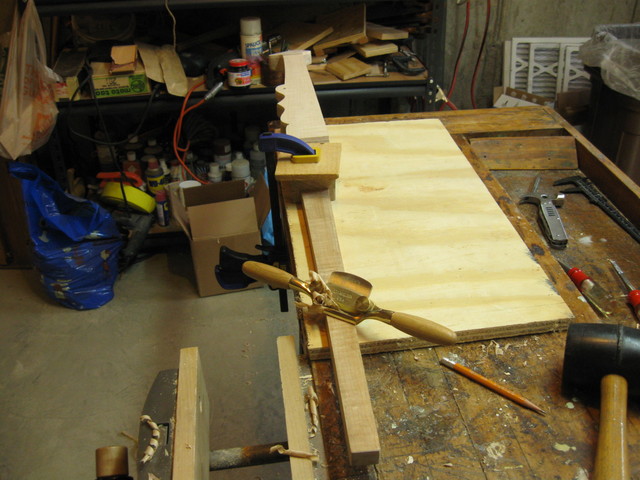
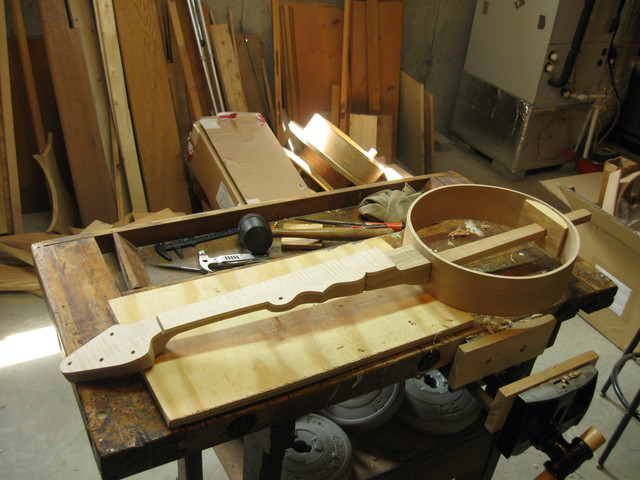
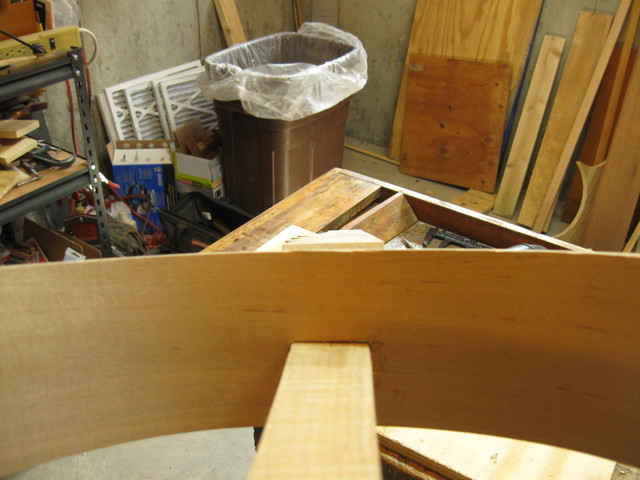
The time has come to put the hoop and the neck together. That is done by cutting two holes in the hoop and skewering the hoop with the dowel stick of the neck. Here are the neck and the hoop sitting together. I have put the hoop on top of the dowel stick to see where it will go once it has been skewered.
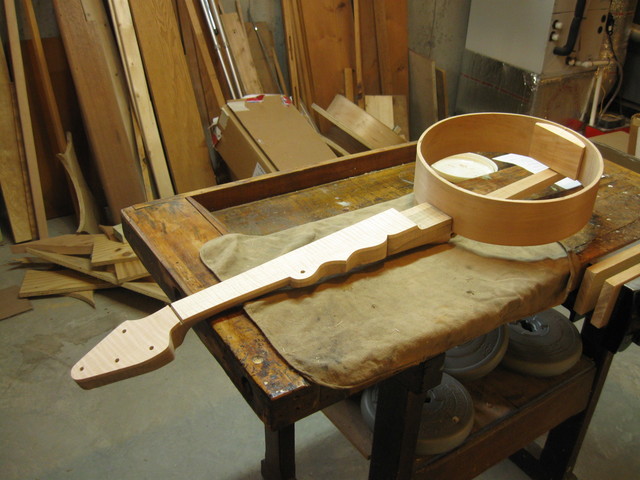
The Neck and the Hoop Ready To Be Joined
It is customary to mount the neck with a small angle between the neck and the top of the hoop. That keeps the action of the strings lower than they would be if the finger board were parallel with the head. The surface of the finger board must come up level with the top of the hoop. All of this depends on the location of the holes in the hoop. Before cutting the holes in the hoop, I figured out how much I have to elevate the hole at the tailpiece end in order to achieve the desired angle of the neck. This is shown in the following diagram.
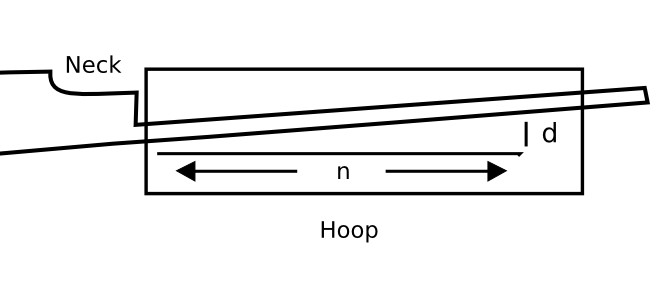
In the figure, n is the diameter of the hoop, and d is the deflection of the tail up at the point where the tailpiece goes compared to the location of the tail by the heel. By raising the hole at the back, the neck is canted down just a bit, thus providing the angle that I need to bring the action of the strings down.
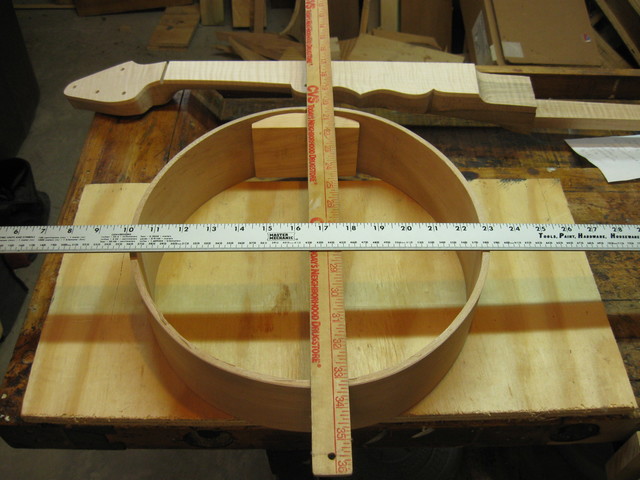
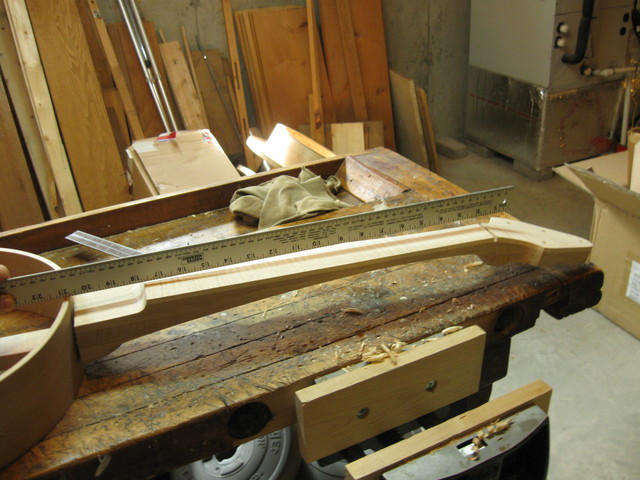
So the first thing is to measure the diameter of the hoop. I used my long machinist rule to do that.
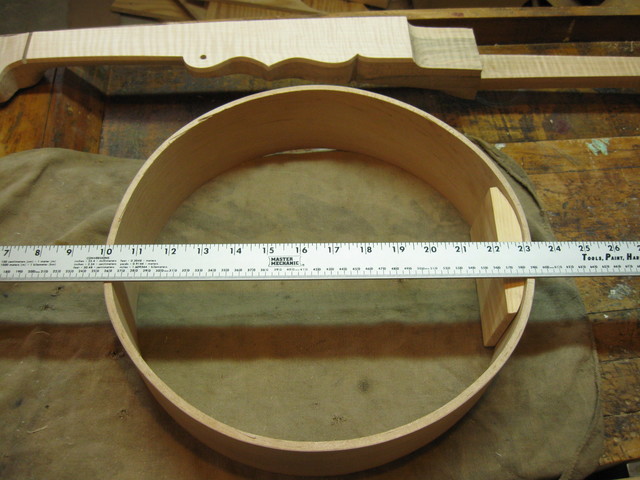
Measure the Diameter of the Hoop
In case you can't see it in the photo above, here is the left side of the hoop with the rule set on the 10" mark. I did it that way to balance the rule on the hoop for the photo.
Set the Left Side At 10
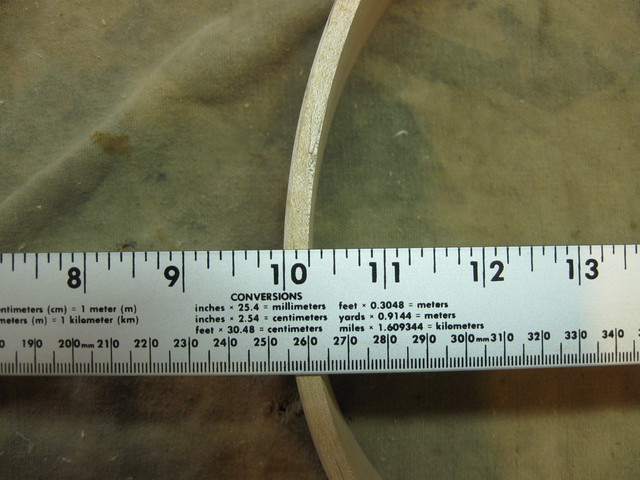
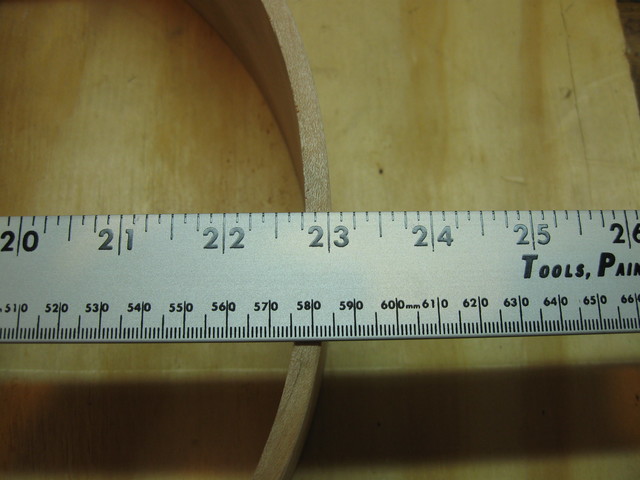
The right side of the hoop comes in at 23 3/8", so the hoop is 13 3/8" from font to back. If you read my page about how I bent the hoop, you will remember that the hoop is a bit egg shaped, so it is longer than it is wide. So in the direction that I will be piercing the hoop, the 13" hoop is really 13 3/8"
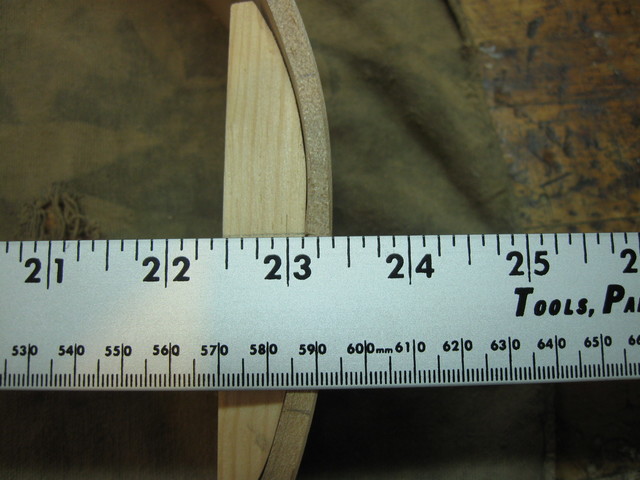
The Right Side is At 23 3/8
Now for some calculations to figure out where the holes should go.
I decided that I want to make the neck angle 1° since I made the angle 1° on my previous banjo and it worked out well. The strings will be set up fairly high on this banjo, so not much angle is needed.
Here are the calculations.
n = length of the tailpiece section = 13.375" inside the hoop.
a = angle of the neck
d = deflection upward of the rear hole
tan(a) = d / n = d / 13.375
I want to figure out what d is to provide a neck angle of 1 degree. We can go ahead and solve the equation to get.
tan(1°) = d / 13.375
so
d = tan(1°) * 13.375 = 0.017456 * 13.375 = 0.2334619"
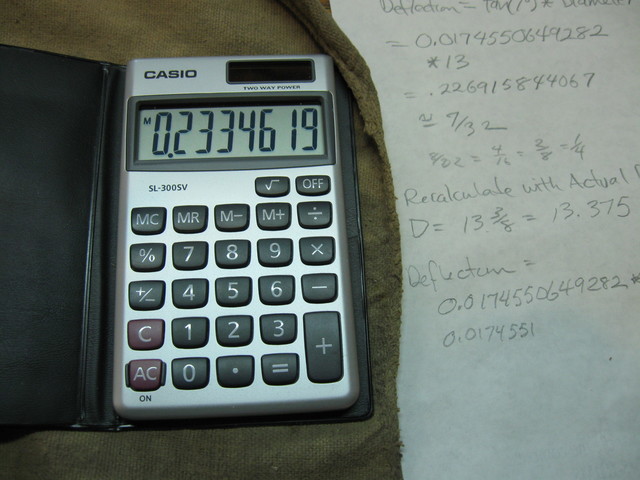
The Deflection Required for 1° Neck Angle
That is pretty close to 1/4". To figure out how many 1/32's that is, multiply by 32.
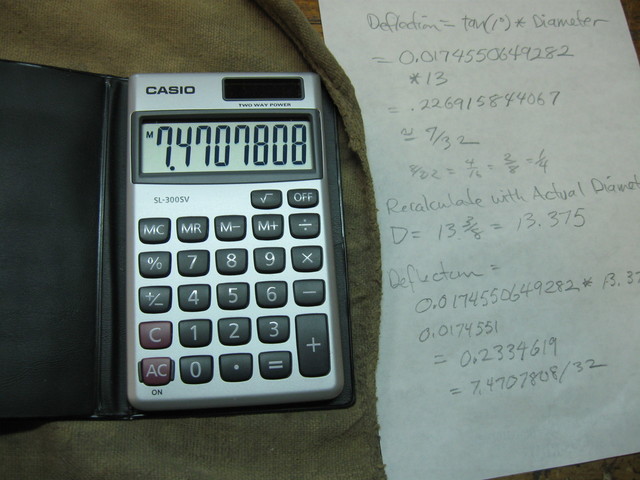
The Number of 32's For That Value
Hm. That is very near 7 1/2 1/32's. Eight 1/32's is a quarter inch. I think maybe I am splitting hairs here. I will probably do just as well to make it 7/32" and be done with it.
Another thing I want to do is put the stick right down the center of the pot. So I set up my rule to see if I can estimate the location of the hole in order to center the stick. At the back end of the hoop, the center is defined by the seam where the two edges of the hoop come together. I need to locate the hole on the front of the hoop to made the stick pass through the center.
The left edge of the wooden yardstick is lined up with the center of the hoop by measuring in from the side to the center point, half way across the width. Here is the setup.
Centering the Wooden Yardstick on the Hoop
Once again, the left side of the hoop is set on the 10" mark (so that I can balance the rule on the hoop).

The Left Side is at the 10" Mark
The right side ends up at exactly 23", so the 13" hoop in this direction really is 13".
The Right Side is at 23"
The mid point is 6 1/2". I have lined up the left side of the yardstick at the 6 1/2" mark.
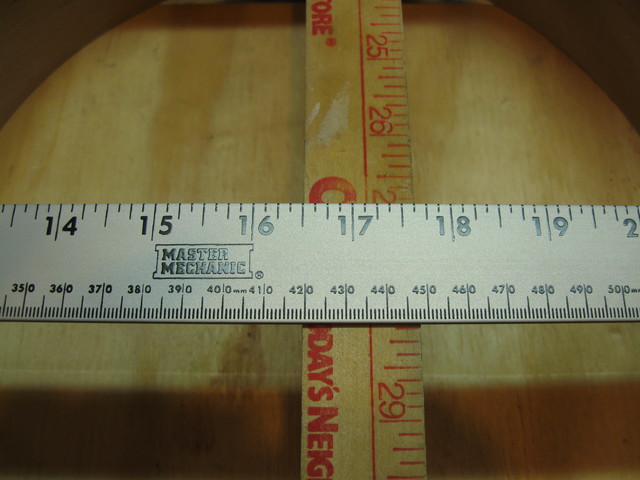
This is the Middle of the Hoop
Once it was lined up, I marked it with a pencil on the front. I did not have to mark the tail end of the hoop because that is where the two ends of the hoop come together in the seam.
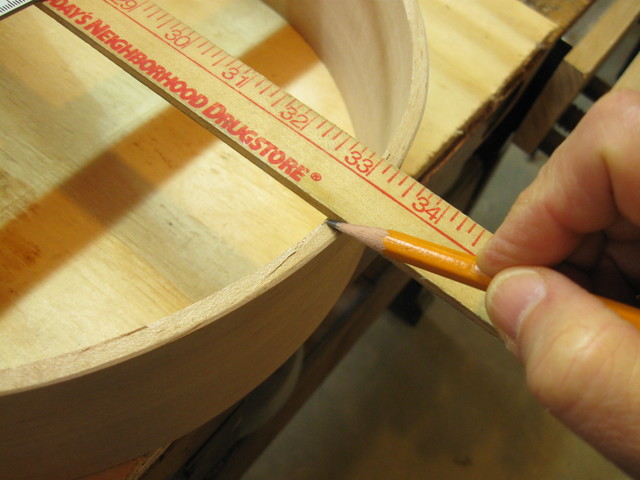
Mark The Location of the Hole
So, that is where the center of the front hole has to go. Now I have to figure out how far down to put the hole in order to make the top of the finger board be even with the top of the hoop.
Since this neck has a frailing scoop, I had to cantilever a 1/4" board over the scoop in order to measure how far down the dowel stick is from the finger board. It should be three layers of 3/4" wood plus the 1/4" finger board wood. That is 2 1/2". But I measured it anyway since I have taken some wood off the top when smoothing it out.
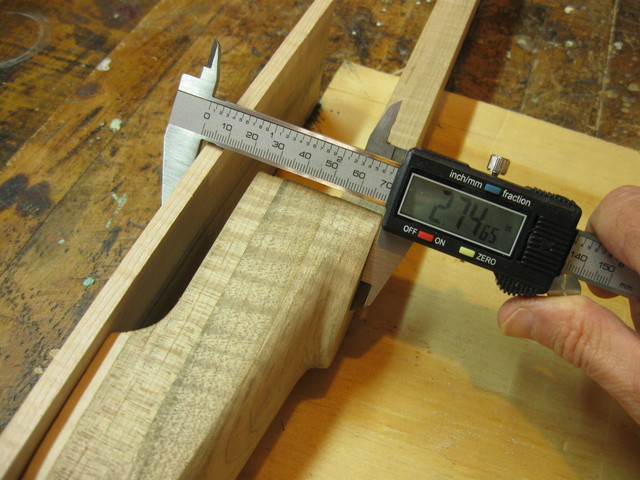
Measuring from the Top to the Bottom
Looks like 2.7465". Then I measured the actual depth of the board that I used to measure from.
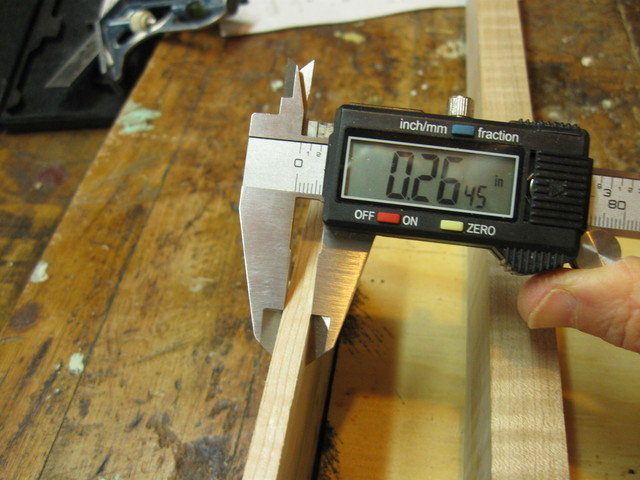
Measuring the Thickness of the Cantilevered Board
That is 0.2645, just slightly over 1/4". So, we subtract off the 0.2645 from 2.7465 to correct for the cantilevered board and we get 2.482.
That is to the bottom of the board. We want to calculate the center of the hole, which is half way up the 3/4" thickness of the board, or 0.375, which we subtract from the first location and get 2.482 - 0.375 = 2.107. So that is the location for the center of the first hole, near the heel of the neck.
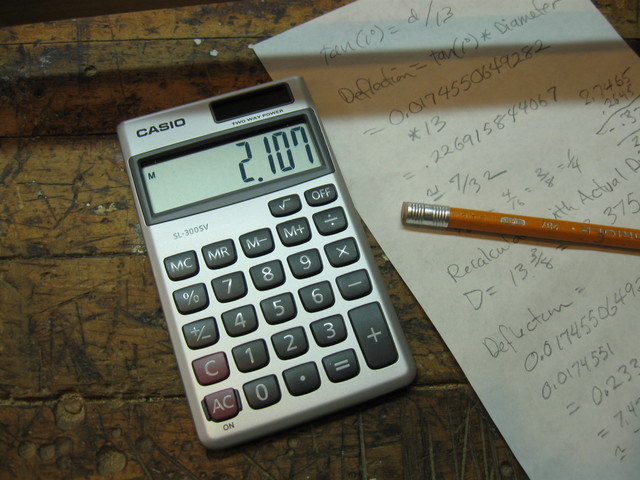
This is Where the Center of the Hole Must Be.
For the back hole, I want to elevate it from the first by 7/32" to put the angle on the neck. So, 7/32 = 0.21875, and if I subtract that from the location of the front hole I get 1.88825
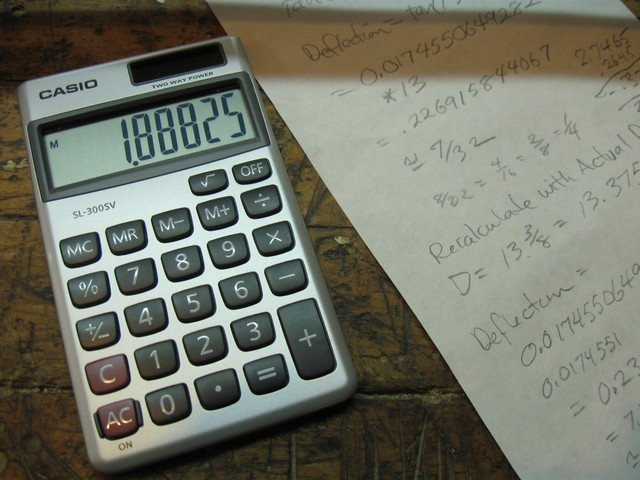
This is the Location of the Back Hole
So, that determines the vertical and horizontal locations for both of the holes. Time to move on and cut some wood. Before measuring the locations for the holes I cleaned up the edges of the hoop. I need to make the hoop flat and square on both sides. I did that by cutting down the high points with the cabinet scraper.
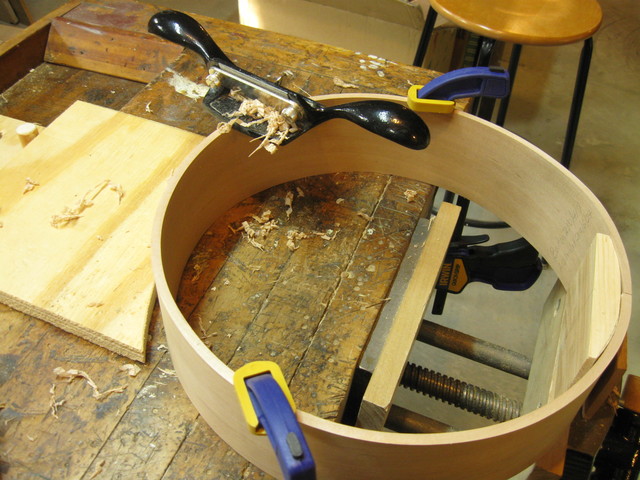
I Used the Cabinet Scraper to Do Preliminary Flattening
Then I made sure it was truly flat by placing a sheet of 60 grit sandpaper on the bench and pulling the hoop across it.
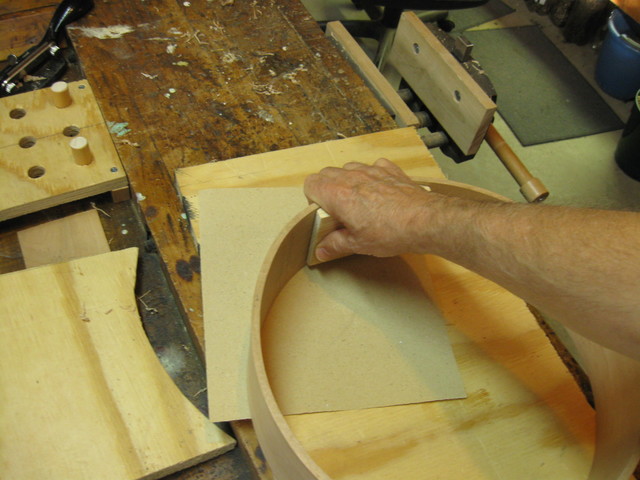
Sanding The Hoop Flat and Square
After using the coarse sandpaper, I moved on to some finer, 120 grit paper and did the same thing.
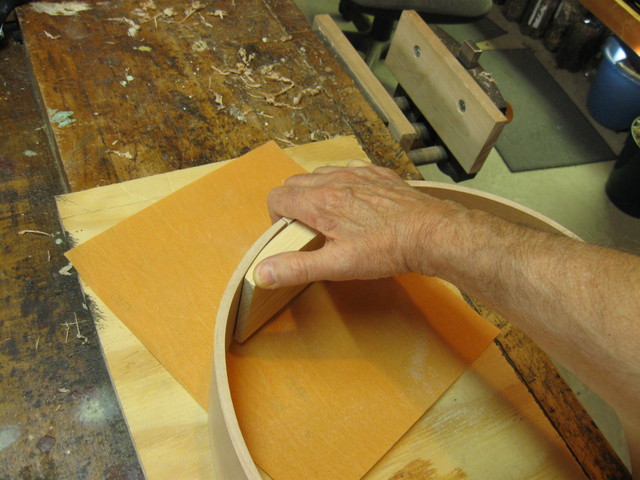
Repeat the Process Using Finer Sandpaper
Next I had to figure out how wide to make the holes. They should be 1 1/2" at the heel and 1" at the tail, but since I have been reshaping the dowel stick I measured them both to make sure I have the correct dimensions.
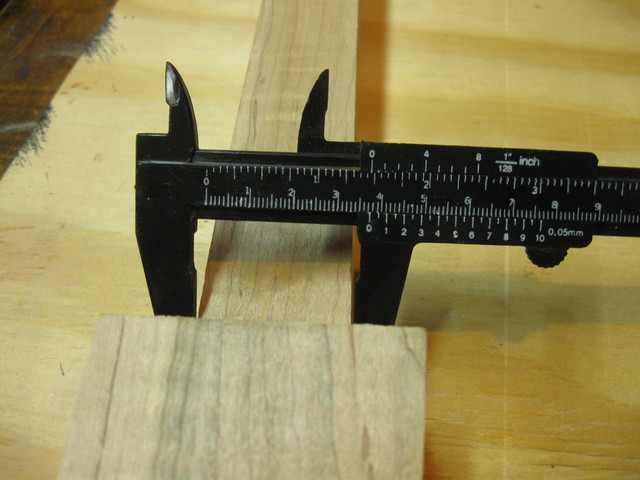
The Heel End is 1/32" Shy of 1 1/2"
The tail end is about 1/64" shy. I will cut the holes smaller than that and then cut them to fit as I push the stick through, but I want to make sure that I don't start out with holes that are too wide... because it is easier to remove more wood to get a fit than it is to put wood back on.
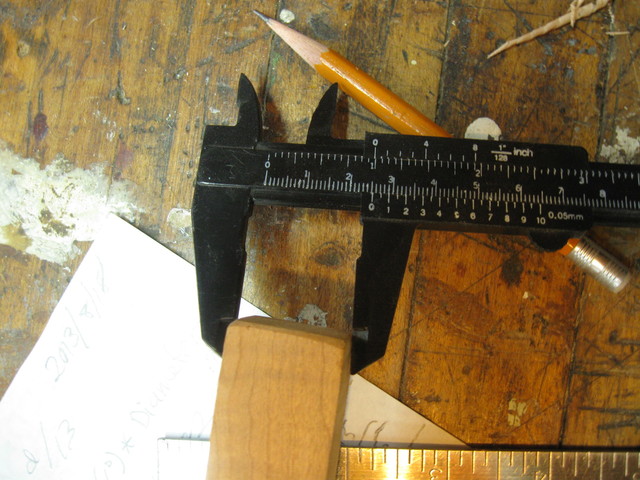
The Tail is About 1/64" Shy
At the front of the hoop I measured a rectangle just shy of 1 1/2" by 3/4" centered on the location that I calculated.
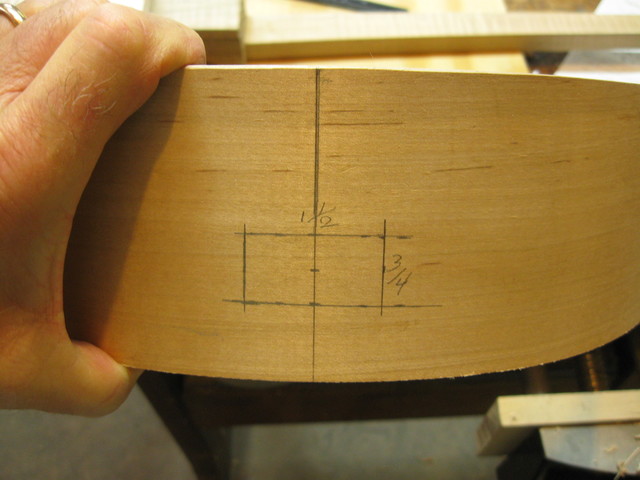
The Front Hole Is Marked On the Hoop
Similarly, I marked the 1" hole on the back of the hoop. Then, to make sure that I have not messed it up by accident, I placed the neck up against the hoop where the hole is marked and did a visual check to see if the top of the finger board will be level with the top of the hoop.
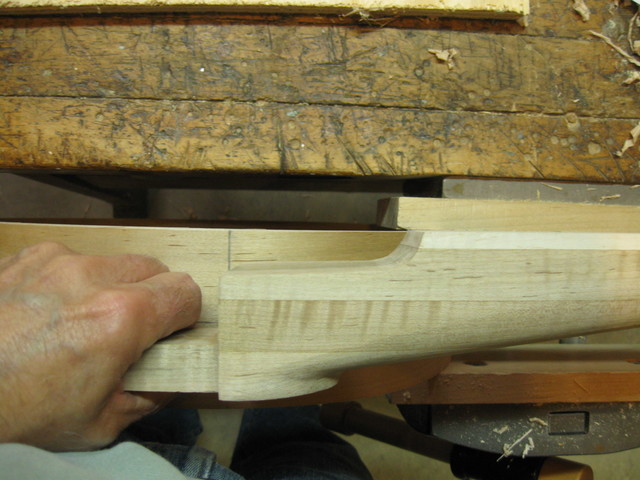
A Visual Check Confirms the Alignment
On the back of the hoop I did a visual check that the anticipated hole will indeed be the correct size for that end of the dowel stick.
The Back Hole Looks to Be the Correct Size
Then, I put the neck up against it like I did on the front side to see how high the hole is. It looks like the neck is about the thickness of the finger board above the level of the hoop, which is just 1/4", which is about what we calculated for the deflection.
I Visually Check the Back End as Well
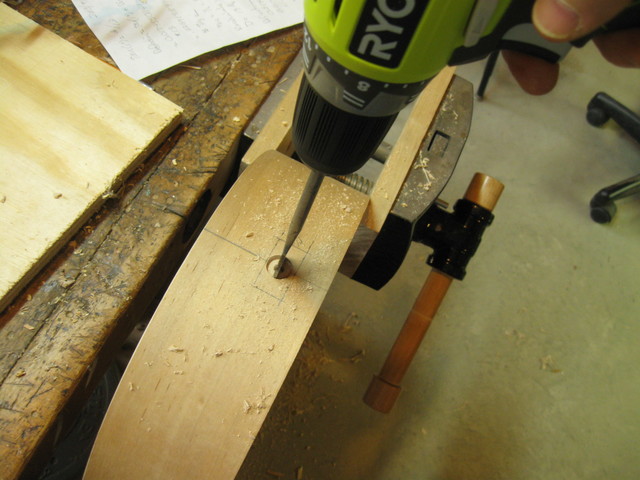
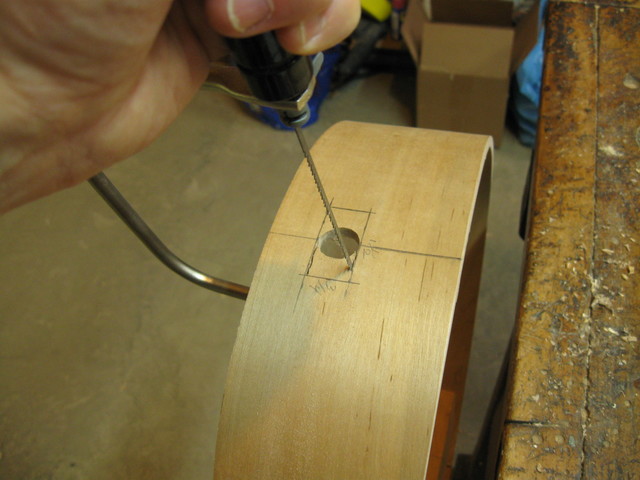
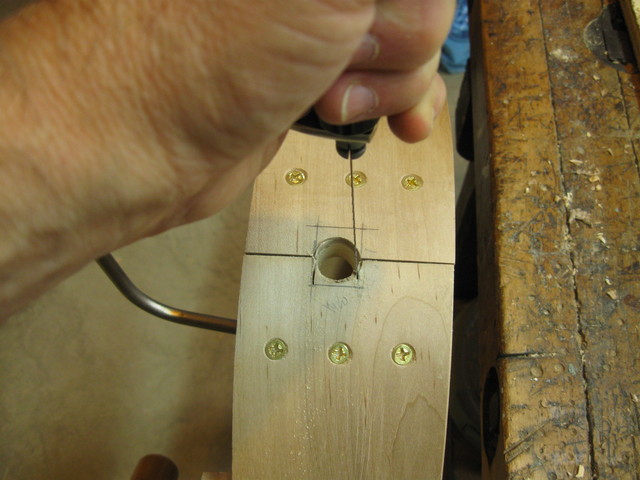
Having convinced myself that I have measured everything correctly, I prepared to drill out the holes. I started on the back end, using the center punch to get the drill bit started.
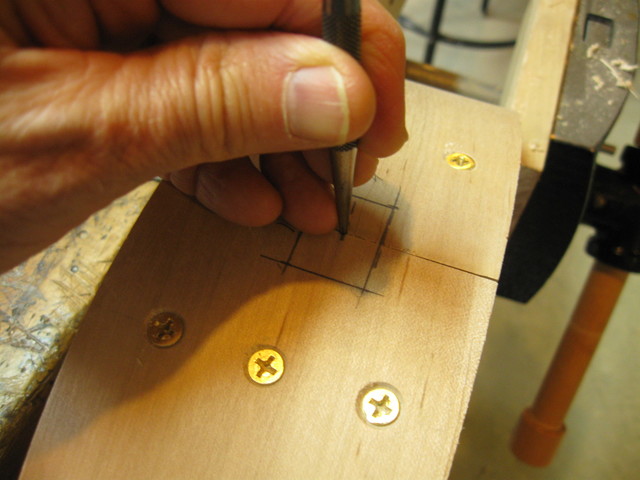
Center Punch the Center of the Hole
Since the rectangular hole is 3/4" high, I use my 3/4" auger bit to start it. After I make the circular hole with the auger, I will square it up with a coping saw.
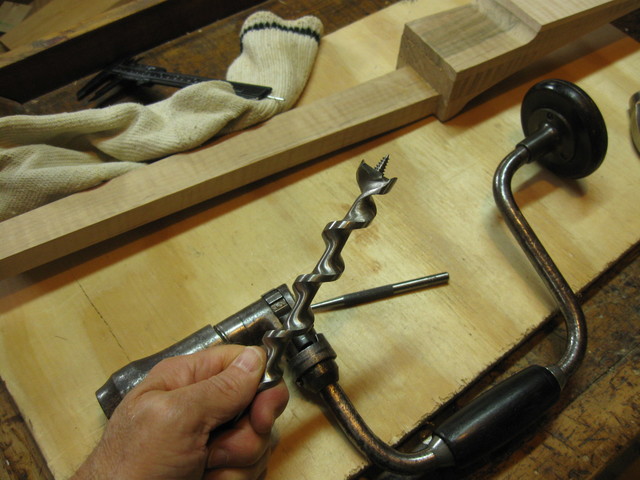
The Auger Bit is a Marvelous Tool
The auger bit is a marvelous tool. The point of the drill is threaded, and it literally pulls the drill bit through the wood as you turn it. The tips on the large auger slice through the fibers of the wood, and then the horizontal cutting edges cut it out.
These old bits are marked with the number of 1/16ths" that they cut. So this is a number 12 bit, which means that it cuts 12/16", which is 3/4".
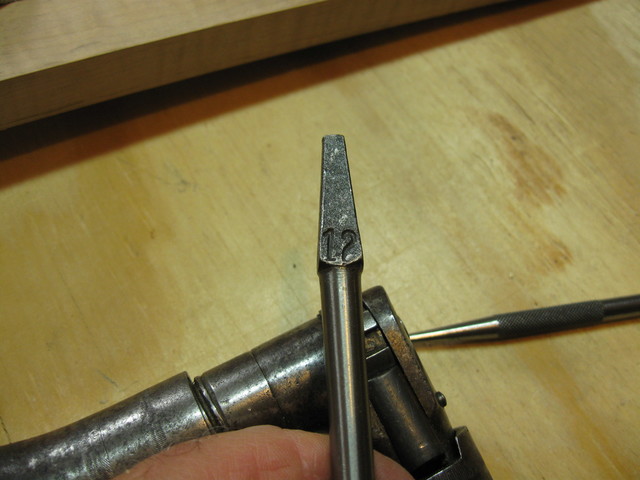
The Bit is Marked as a 12, for 12/16"
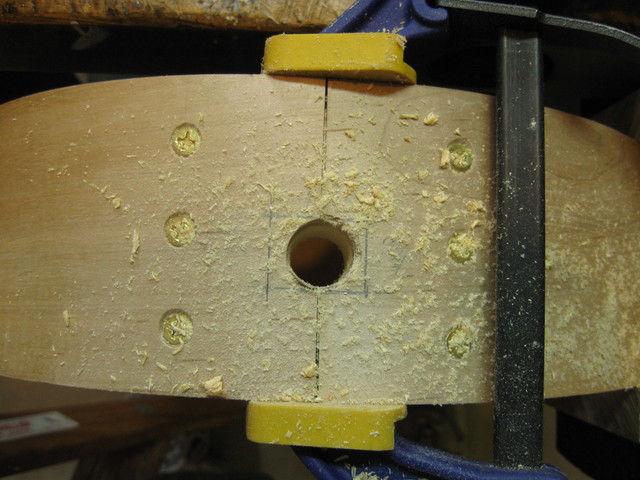
Once I got started, a problem arose. The point of the drill was splitting the seam apart as it pulled the bit into the wood. You can see in the photo that the seam is no longer tight. It was also twisting the two sides of the hoop apart. This isn't going to work. I don't want to rip the hoop apart trying to drill a hole through it.
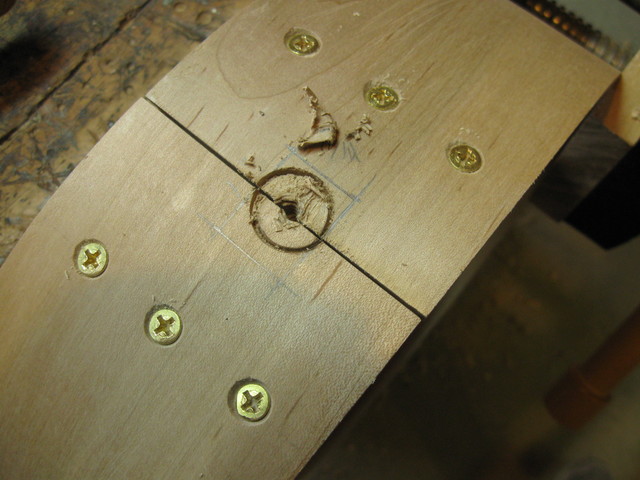
The Back of the Hoop is Split and Bent
When we get into a bad spot like this, we do the only reasonable thing... we cheat.
We get out the ....... Power Tool
Here is my new electric drill with a spade bit on it. Spade bits are really ugly and basically wear a hole through the wood, but they will cut a hole through just about anything.
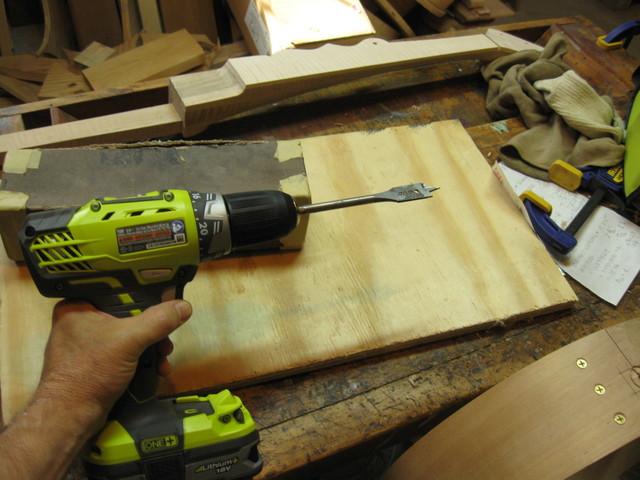
The Electric Drill and the Spade Bit Should Work
Turns out that I do not own a 3/4" spade bit. I could probably drill the hole with a twist drill too, but the largest twist drill I have is 1/4". So I used this 5/8" spade bit. There was a 1" spade bit in the box, but that is too big.
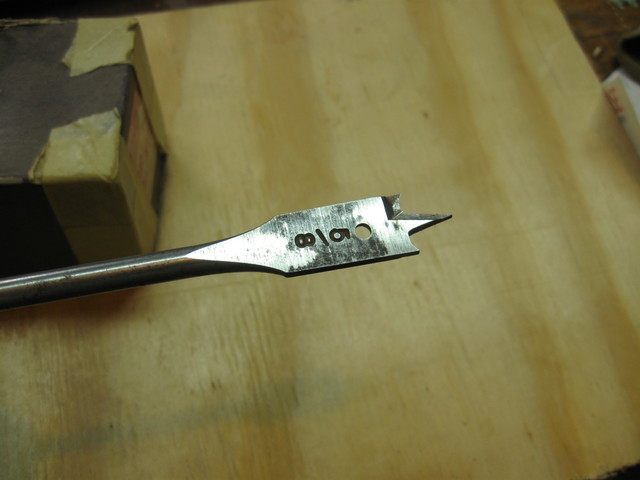
The 5/8" Spade Bit is the Closest I Have
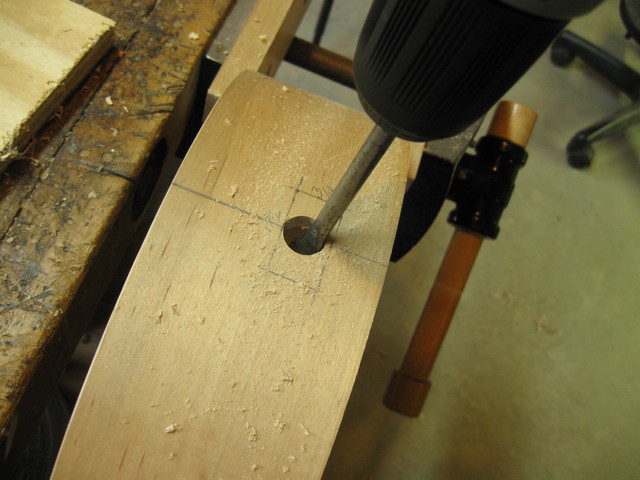
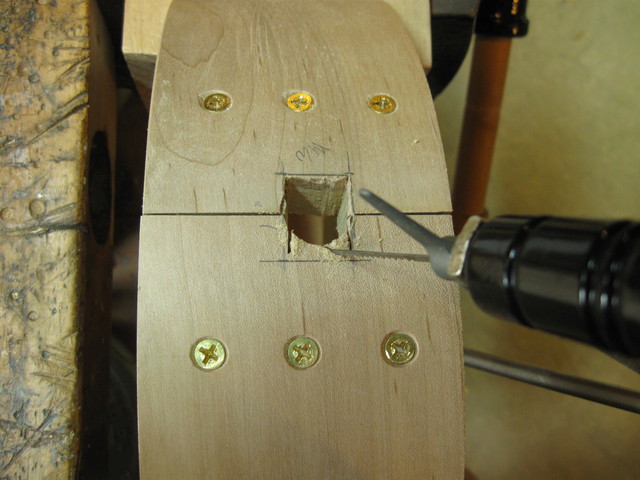
I spin it real fast and work it slowly through the wood. It kind of wears down the wood. Not very sophisticated.
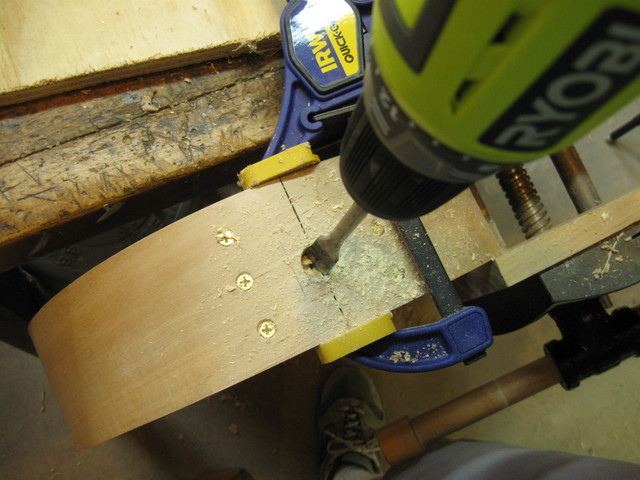
Drilling the Hole
It kept clogging up on the soft wood of the tail block, and I had to stop and pick the wood chips off of it. But progress is made.
The Hole is Nearly Done
I finally broke through it. I wonder what it looks like on the other side.
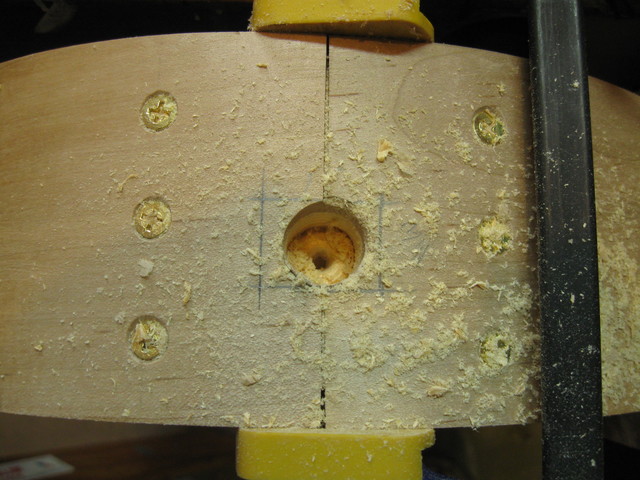
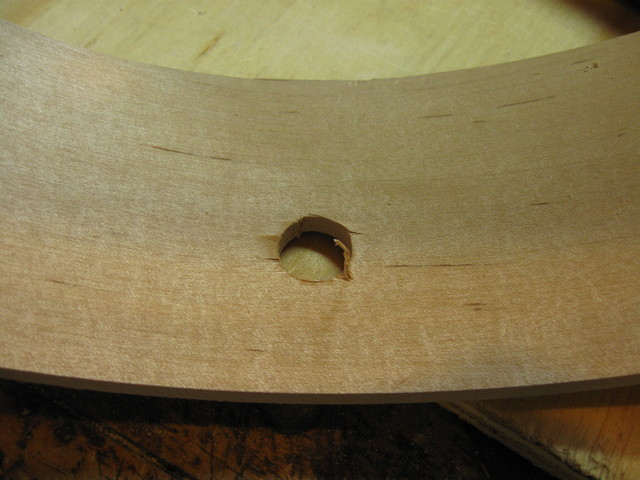
The Hole is Made
Eww. That's ugly.
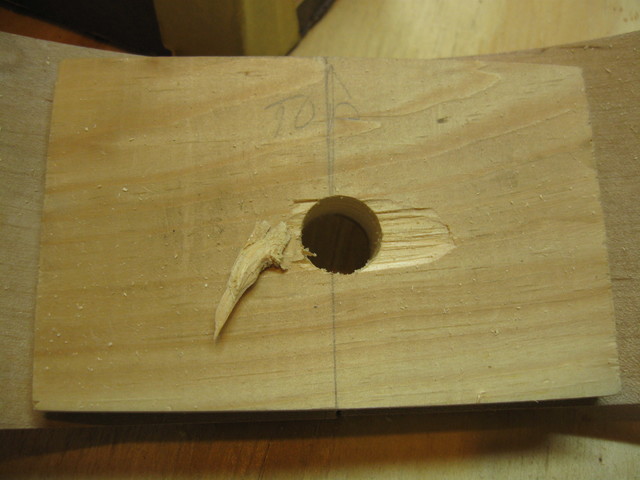
That is One Ugly Hole
If I ever decide to take this operation commercial, I will call my company "Tearout Banjo", because that seems to be my trademark. At least it will be inside of the hoop where it will be more difficult to see.
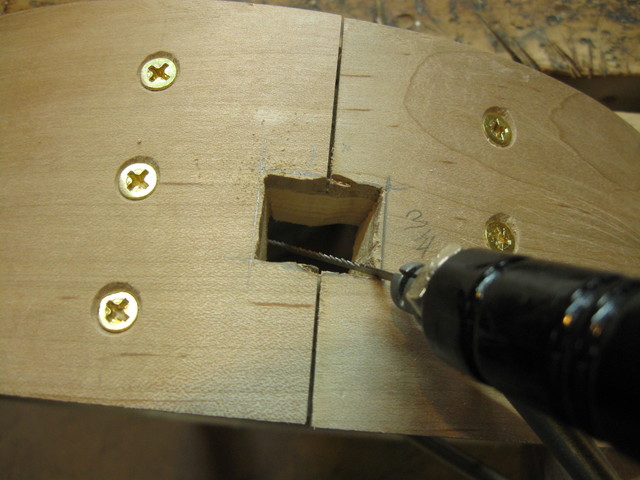
Nothing to do but press on to the front hole. I tried the auger on that side, but it didn't work there either. The tip would not bite into the maple so I was just spinning my wheels. These really are carpenter's tools, so they were designed to work on soft woods like pine and fir. They don't seem to be so good on hard woods. The auger worked fine on the gourds I have built, but the gourd wood is very soft, almost the consistency of balsa wood.
So, it's back to the spade bit.
Back to Drilling With the Spade Bit
I finally broke through on the front of the hoop.
The Hole is Made
The inside isn't too bad on this hole. And all of that is going to be cut away anyway by the time I am done because the rectangular hole will be 1 1/2" wide.
The Inside Isn't So Bad This Time
The coping saw is a great tool. I took it apart and re-assembled it with the blade inside of the hole. Then, I could cut out the square pretty quickly.
In retrospect, the hole I made in the hoop really is just a starter hole for the coping saw, so I could probably have done better by simply drilling it out with a 1/4" twist drill and then using the saw to cut out the rectangle.
Oh well. The things I don't think of until it is too late!
I sawed down the parallel sides.
Cut Down the Sides.
Then I made some angle cuts to get close to the ends of the box.
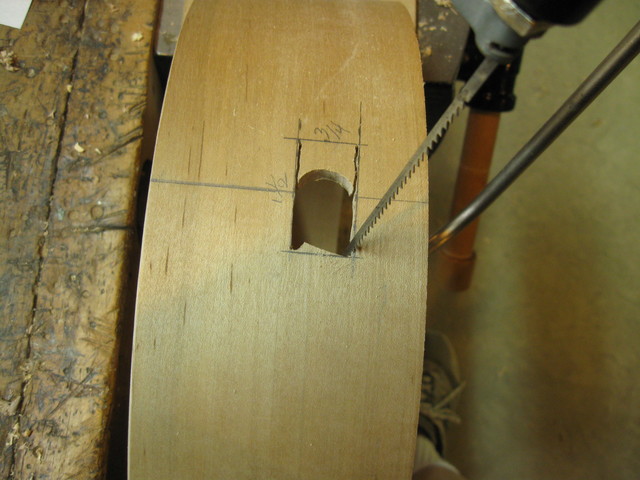
Cut As Close As Possible To the Lines
I kept cutting back and forth until I had an approximation to the box that I need.
Almost Done With This Hole
On to the back hole, I do the same thing, although the cutting goes a bit slower because I am cutting through that heel block as well as the hoop.
The Back Hole is Done the Same
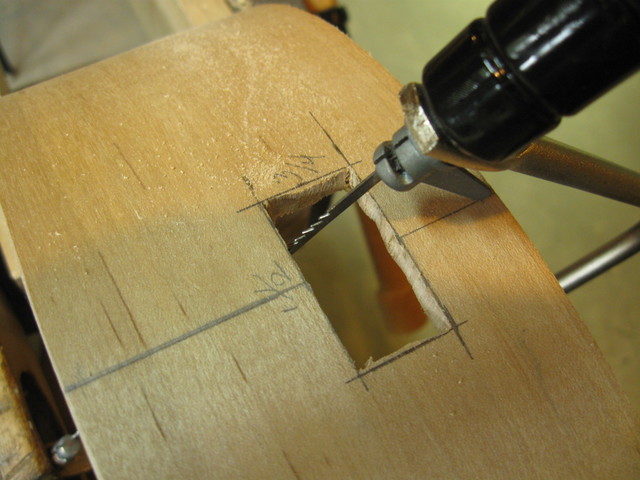
Making the angle cuts to get the square.
Angle Cuts Successively Approach the Rectangle
Just about done with this hole.
Almost There
Once the saw work was done, I cleaned it up using the 1/2" chisel.
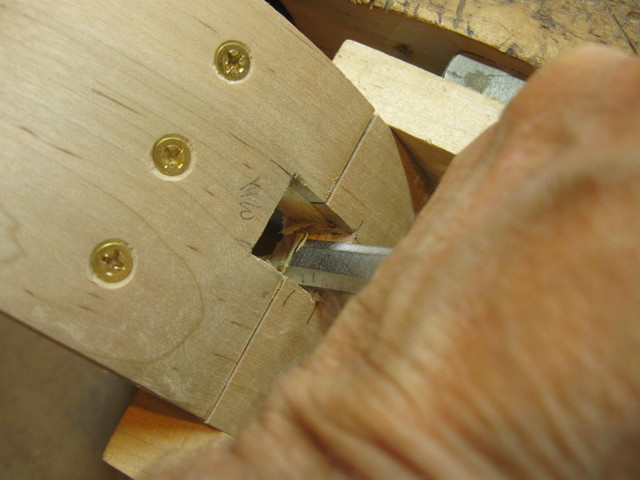
Cleaning Up With the Chisel
Working on the inside of the heel block too. That certainly is really really ugly.
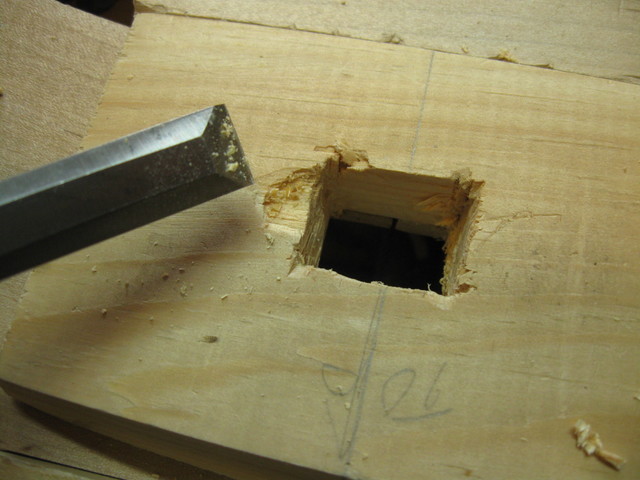
A Not Nice Hole That Needs To Be Cleaned Up
The trick here is to slowly cut away at the wood until the stick fits in it. Since the dowel stick is tapered, I need to keep enlarging the hole to advance the stick and keep doing that until it goes all the way through. The tail piece still does not quite fit into the hole.
The Tail Still Does Not Quite Go Into the Hole
The hole at the front of the hoop is wide enough that I can use the shoe rasp to get the sides straight.
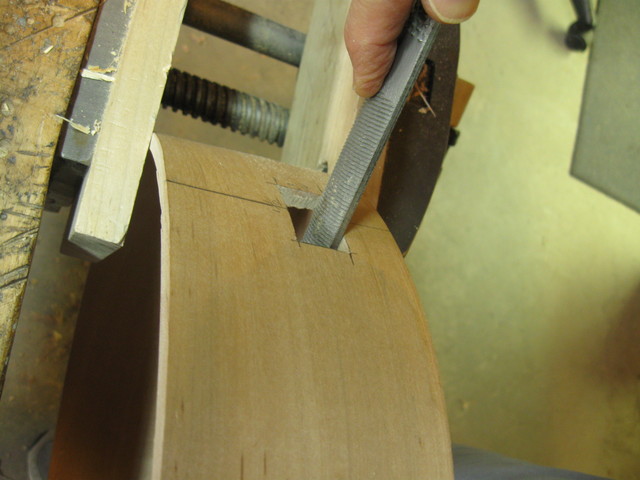
The Shoe Rasp Works in the Front Hole
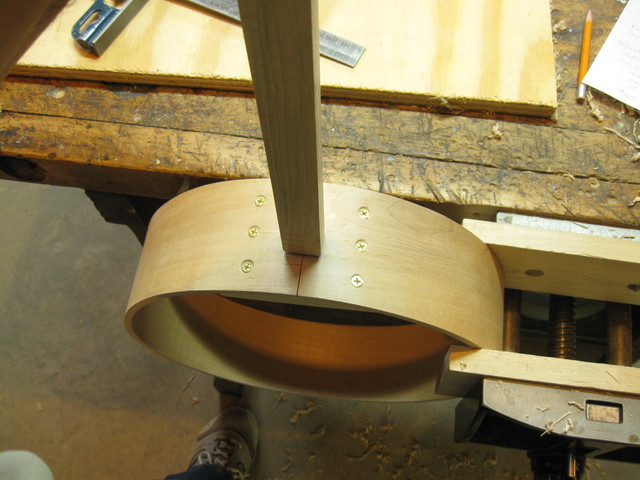
I went back and forth between the two holes, slowly enlarging them until the stick would go all the way through the front hole and into the back hole. This is a tricky cut since both holes are of different sizes and the back one has to be tapered at the same angle as the stick. And the stick is going in at that 1° angle as well.
The Dowel Stick Goes Through the Hoop
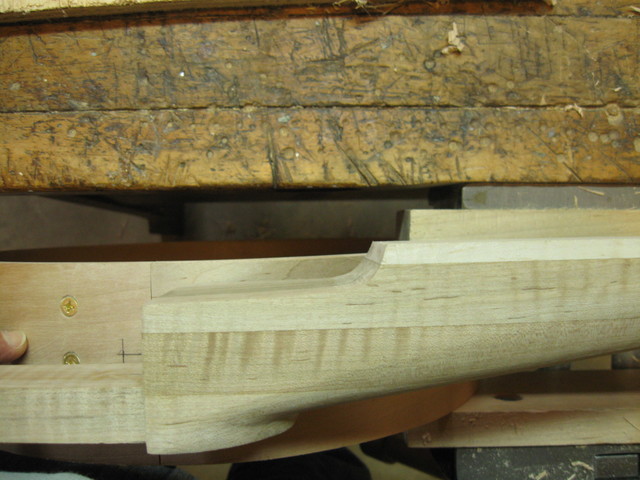
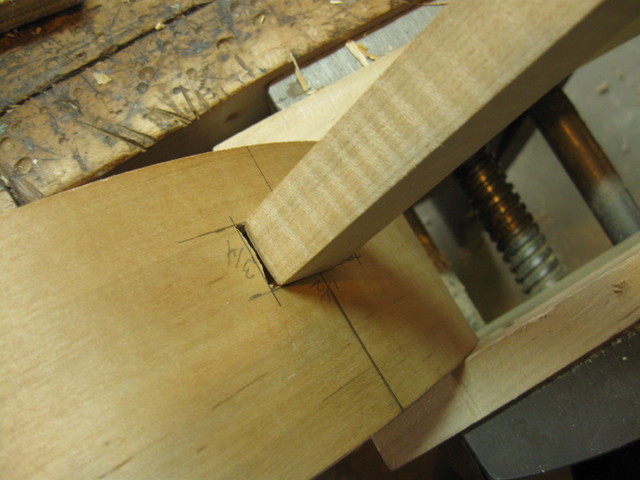
Here is a closeup of the hoop. You can see that the stick is now just barely in the tail block hole.
Closeup Of the Hoop
This is how far into the tail block hole the dowel stick goes.
The Dowel Stick Barely Fits in the Hole
That is still a pretty ugly cut around the edges. My skills with a chisel need some work. But I kept cutting on it, going back and forth between the two holes, and pretty soon it was like this.
More of the Stick is Through
Keep cutting, and there is still more.
Still More
I continued doing that until the stick went all the way through. The procedure is to enlarge one hole until the neck is stopped by the other one. Then, enlarge the other one until the neck is stopped by the first one, and so on back and forth.
When I finally got the stick all the way through the hoop, I sighted down the neck and noticed that the finger board was canted to the left quite a bit. It was higher on the right side than on the left side. The right side of the finger board was actually above the top of the hoop.
Further investigation revealed that the dowel stick itself was not square, but somewhat twisted. It was very difficult to see, so I had missed it. I got out the spokesave to square it up, but of course that makes it smaller (removing wood again).
Taking The Twist Out of the Dowel Stick
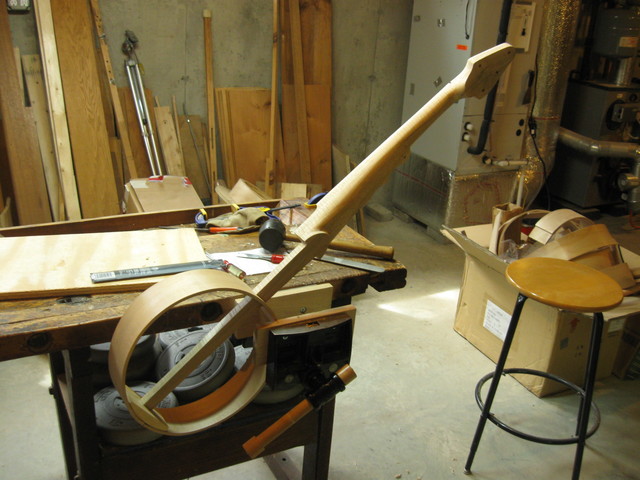
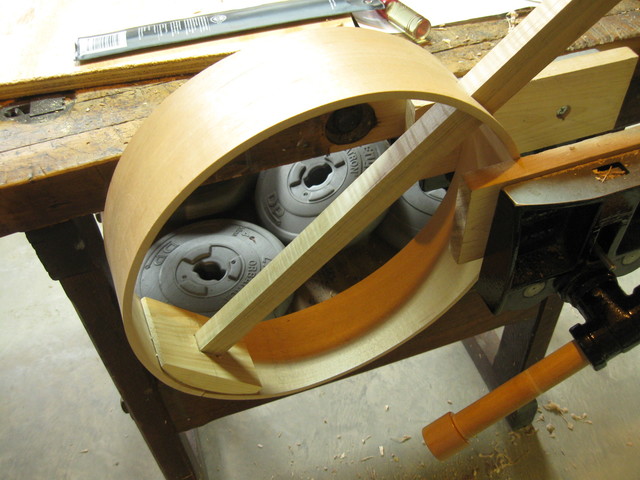
Well, for what it's worth, there it is. The neck goes all the way through the hoop and out the other end. It looks OK from this distance, but there are some issues that need to be addressed.
It Looks Kind of Done, But It Isn't
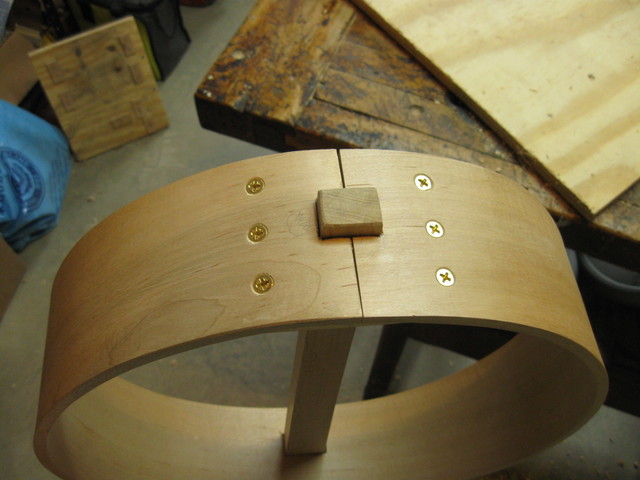
In the first place, the square end of the heel has to be cut to fit the curvature of the hoop. That is an expected outcome, and is the next challenge on the list.
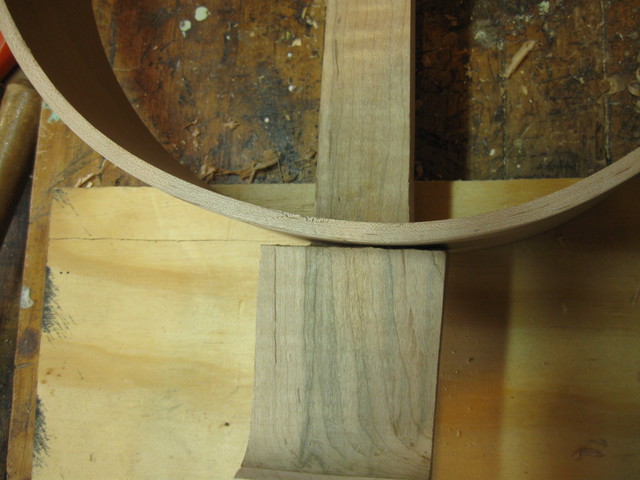
The Square Heel Must Be Cut
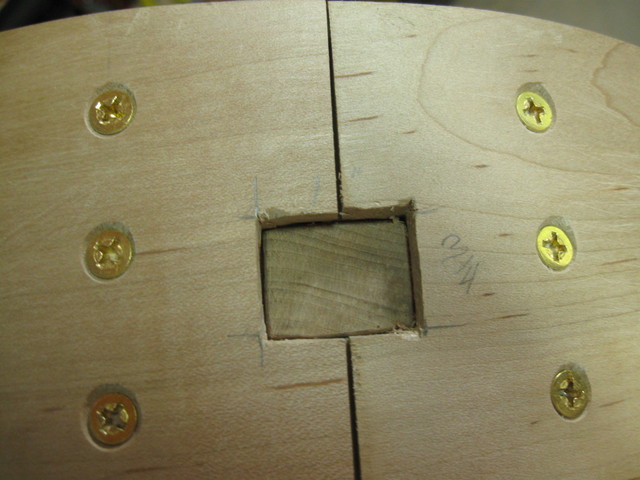
The hole in the heel block is seriously ugly. I wonder if I could cover that up by chamfering the edges of it. That would be a bit funky, but it might look deliberate instead of looking like a grenade went off inside of my hoop.
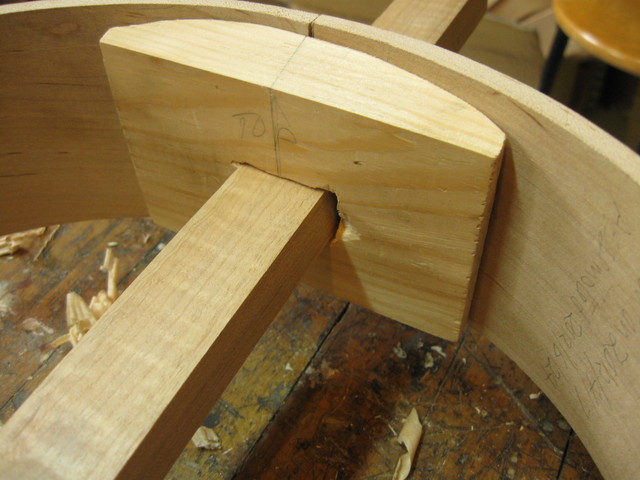
The Tearout is Still Ugly
Sighting down the neck, you can see that the neck is still slightly canted to the left. I will have to correct for that by slanting the holes. I cannot take any more wood off of the dowel stick. Correcting the holes will make the holes ugly, but the tradeoff is having the banjo unplayable.
The Neck Still Leans to the Left
I was wondering how I did with the neck angle, so I put my straightedge machinist rule on the top of the pot and held it cantilevered over the neck.
The Straightedge Shows the Neck Angle
Down at the nut end, the rule is about 1/2" above the finger board at the nut. So that is a slope of 0.5" in a distance of 19".
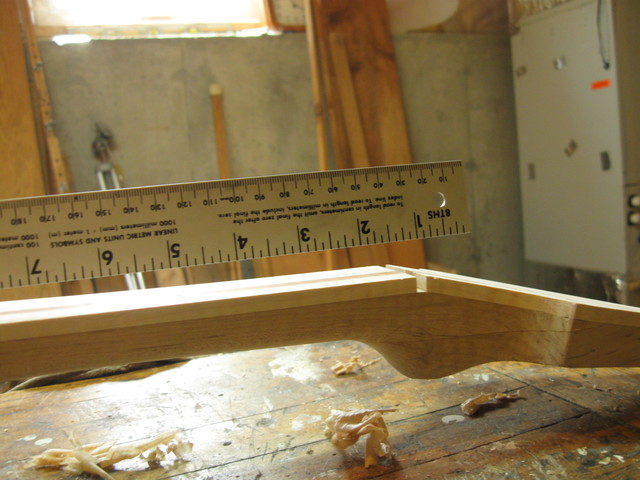
The Neck is 1/2" Down At the Nut
If that is the case, then we can calculate the angle of the neck from the measurements. The formulas we started with still apply
n = length of the neck = 19".
a = angle of the neck
d = deflection of the neck at the nut = 0.5"
tan(a) = d / n = 0.5 / 19
a = ArcTan(0.5 / 19) = 1.50743575877°
So a first rough estimate of neck angle is about 1.5° That is more than I had intended, but it is in the ballpark.
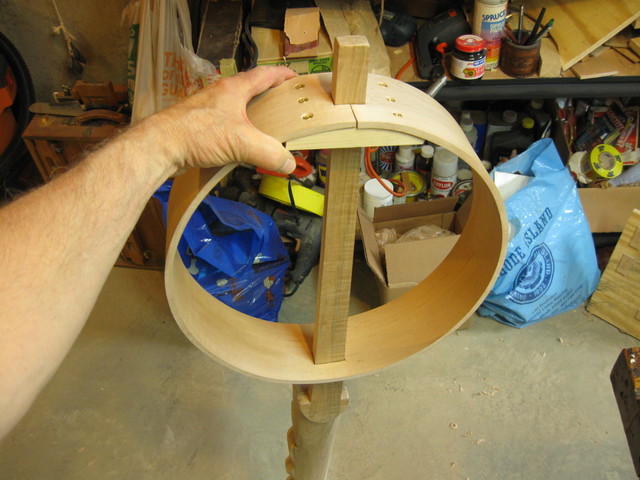
Here it is. Not complete, but well on its way. It looks more like a banjo now.
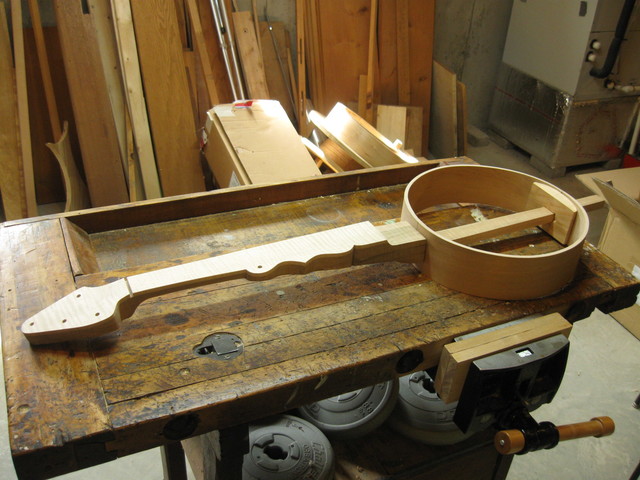
Enough of This! I'll Fix it Next Time
