HAPPY 4th OF JULY!
This is a long weekend, so I am back in my shop to do some more work on the banjo.
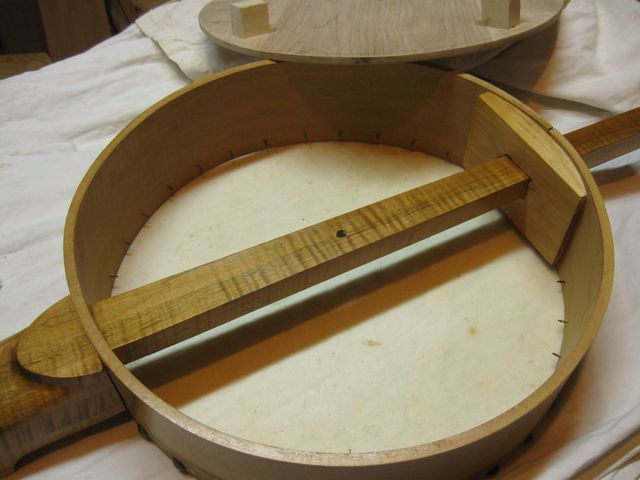
As it turns out, the back keeps falling off of the banjo hoop. Even though I made the standoffs adjustable so that I could control a friction fit with the hoop, it is impossible to get it all adjusted and together so that it will stay put. So I gave up, and I have decided to screw the back into the dowel stick with a bolt. The plan is to put a bolt through the back at the center, then thread it through the dowel stick and into a blind nut on the front side of the dowel.
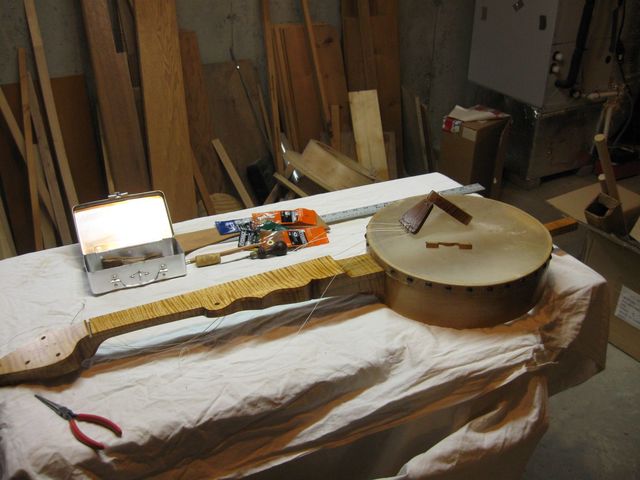
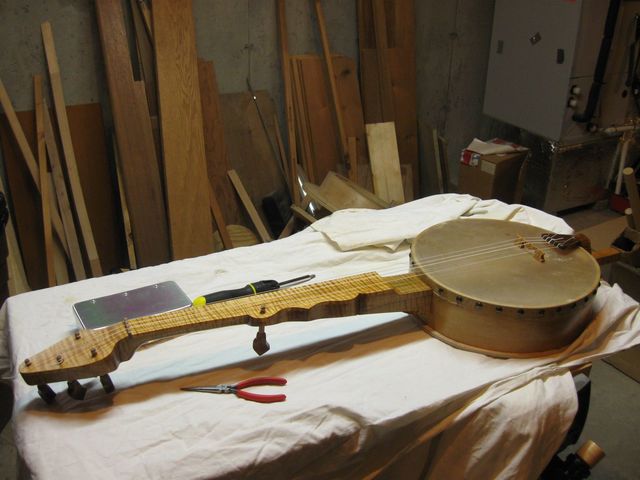
So I went to the Big Box hardware store and procured some brass hardware to do that. Here is a photo of the banjo and the parts I will use to screw the back on.
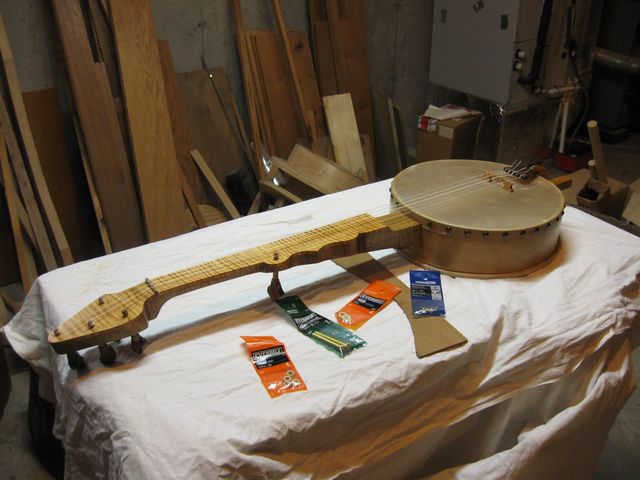
The Banjo and the New Parts
The bolt is 1/4" in diameter, 3" long and solid brass. I bought two of them because that is how many there are in the package.

Solid Brass Bolts
I chose brass because it will not rust, and the brass looks nice.
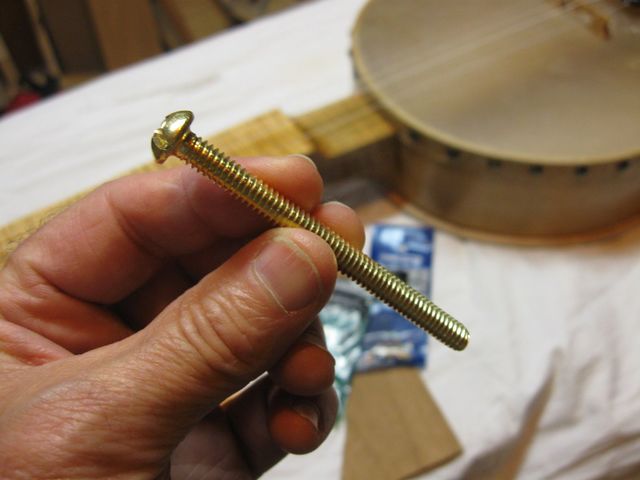
The Bolt
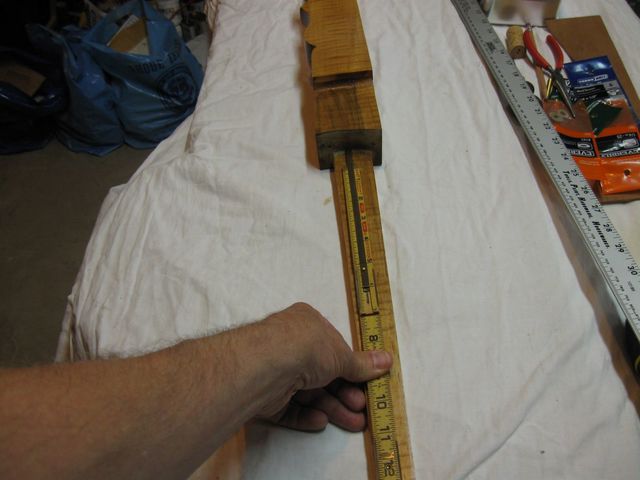
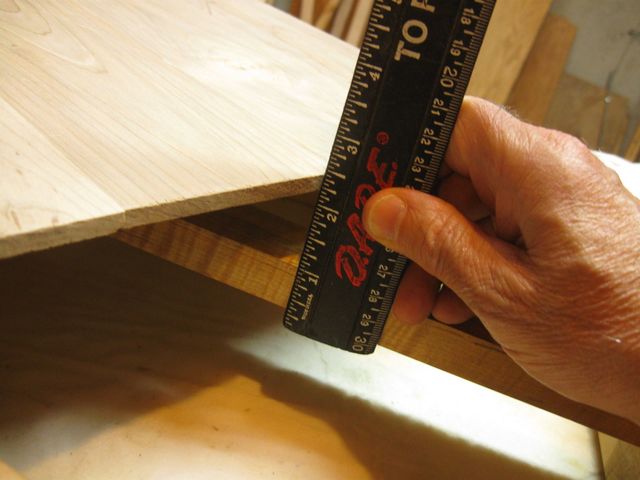
The bolt has to go through the back and then through the space between the back and the dowel, and then through the dowel. I put the rule across the back of the pot and eyeballed the length to make sure it will be long enough.
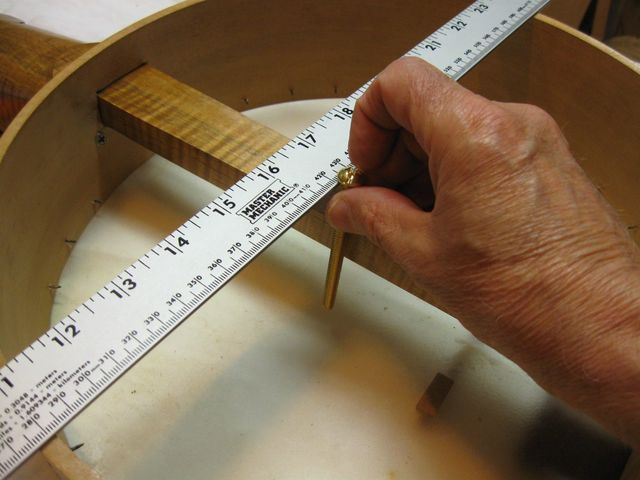
Looks Like the Bolt is Long Enough
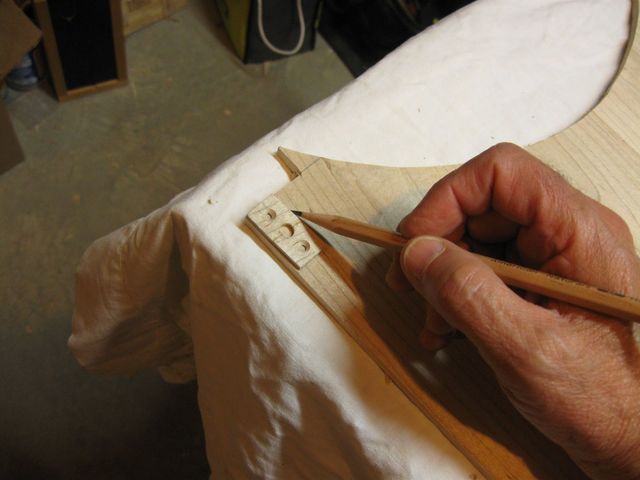
The trick here will be to drill a hole in the middle of the back and then drill a matching hole through the dowel stick at the same location. Doing that will require some careful measurement. I will need to measure the location of the bolt hole from the heel of the neck on both the dowel stick and on the back.
The heel contacts the pot, which is past the edge of the back plate, so I marked the location of the pot on the back while the back was installed in the pot. Then, after the back has been removed from the pot I can measure from the mark to the center of the back and make an equivalent measurement from the heel of the neck on the dowel stick.
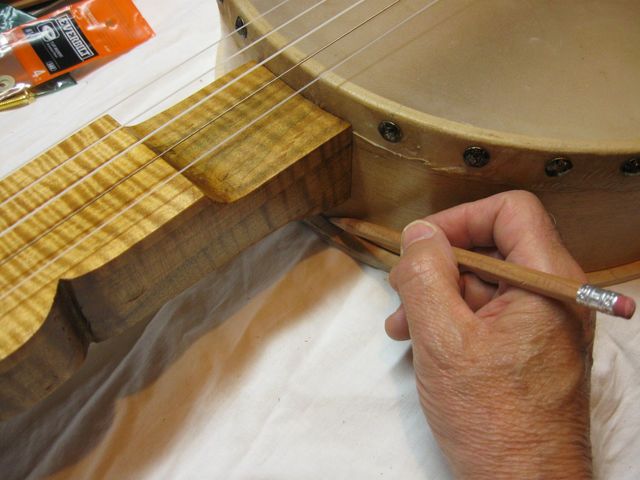
Marking the Heel Location on the Back
Once I had the back marked, I took the banjo apart so that I can take the neck out of it. That required me to remove all of the strings and the tail piece and the pegs and the bridge and all that stuff.
The Banjo is in Pieces Again
I unscrewed the neck from the pot.
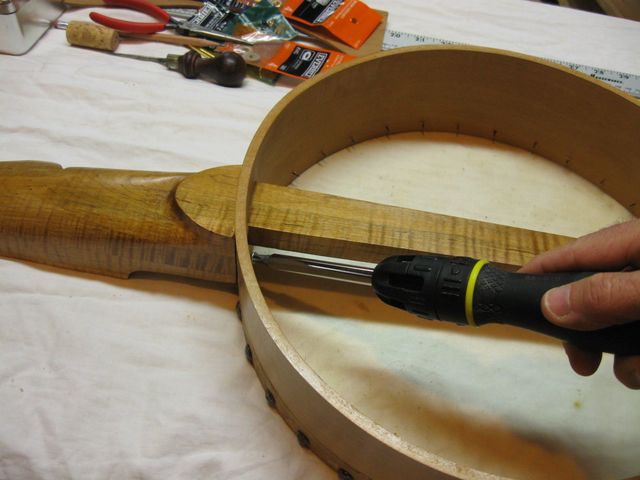
Removing the Screws from The Neck
There it is. The parts are safely stored in the aluminum box, and the neck is out.
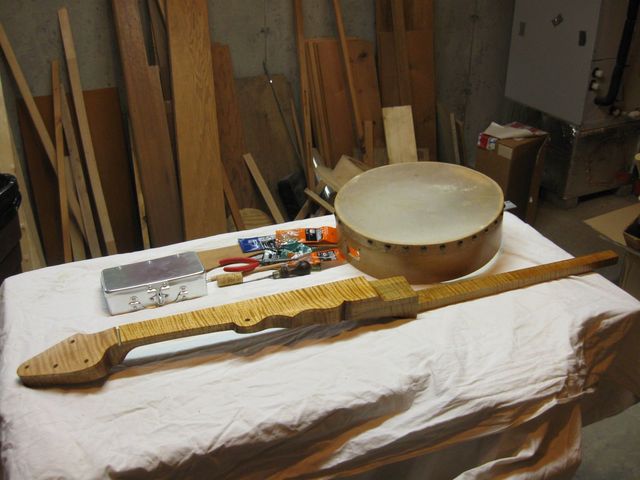
Just a Pile of Parts Now
I will need to make a precise measurement from the heel of the neck to the location where the center of back is. I got out my rule.
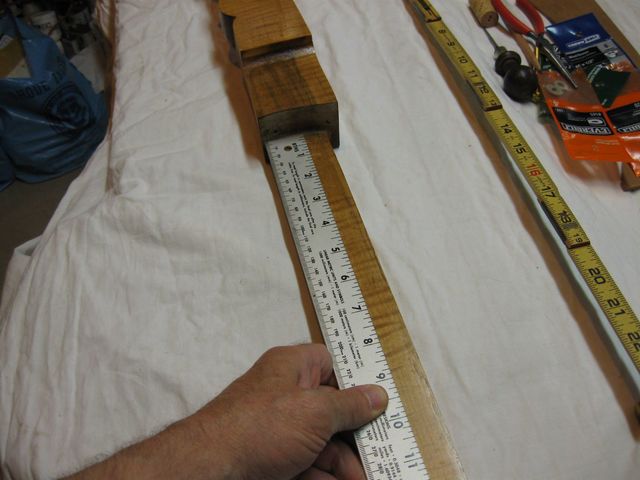
Using my Precision Rule
Unfortunately, there is a problem. The rule is too wide to fit flush against the neck heel, which is curved.
This Will Not Work
So I got out my Red End rule. It has a small sliding ruler in it for measuring internal dimensions, and that fits nicely into the heel.
Red End to the Rescue
This is a better fit.
This is a Better Fit
So I have to measure from the heel down to where the center of the back is located. If you remember, when I bent the hoop, it ended up about 13 3/8" across where the neck goes through.
http://www.thekimerers.net/brian/hoops/hoop4.shtml#potsize
If I divide that in half, I get 6 11/16" to the center. So that is where I need to put the hole for the bolt. I used my scratch awl to mark the location on the dowel.

Mark the Bolt Hole Location
Then I centered the location laterally on the dowel.
Centering the Bolt Hole
Once the hole had been located, I used the center punch to mark it for drilling.
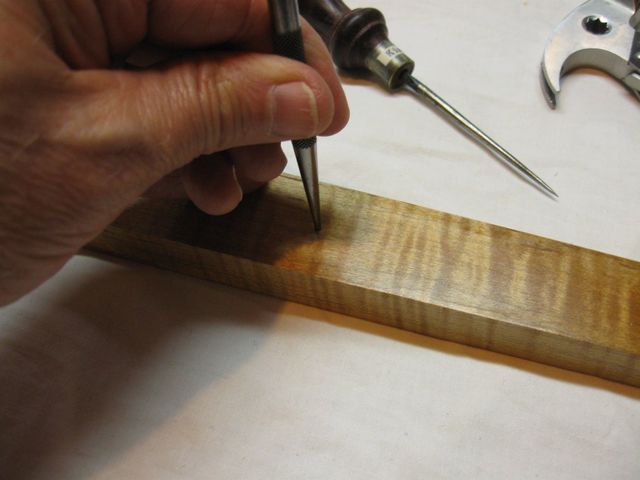
Punching the Hole Location
Next I have to mark the same location of the hole on the back. It should end up in the center of the back if I measured everything correctly.
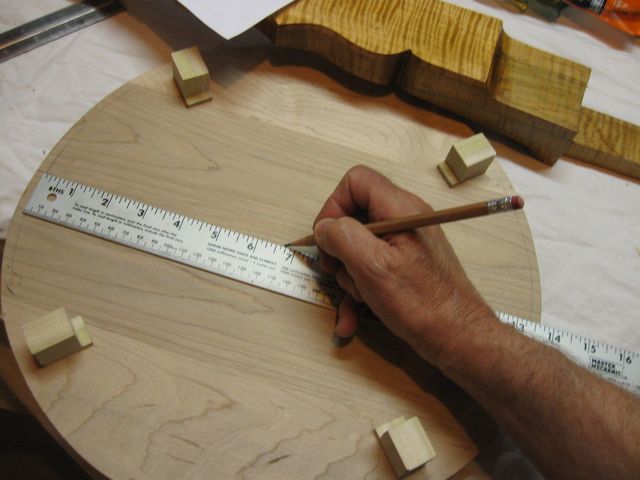
Place the location on the Back
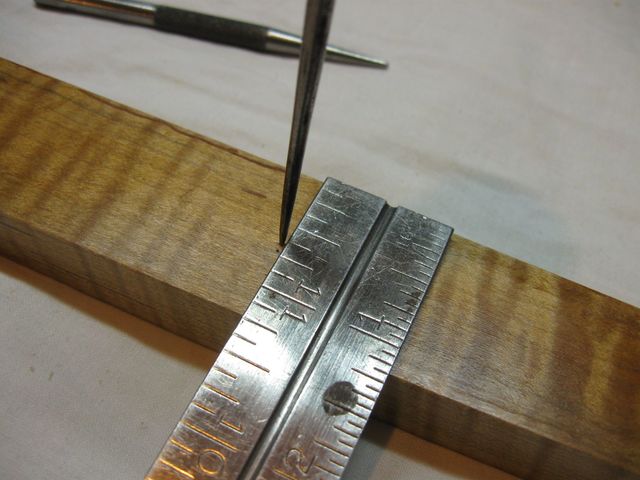
I measured to the mark from the other side to see how close I came to the center of the back. You can't see the mark in this photo, but you can take my word for it that it looks pretty good.
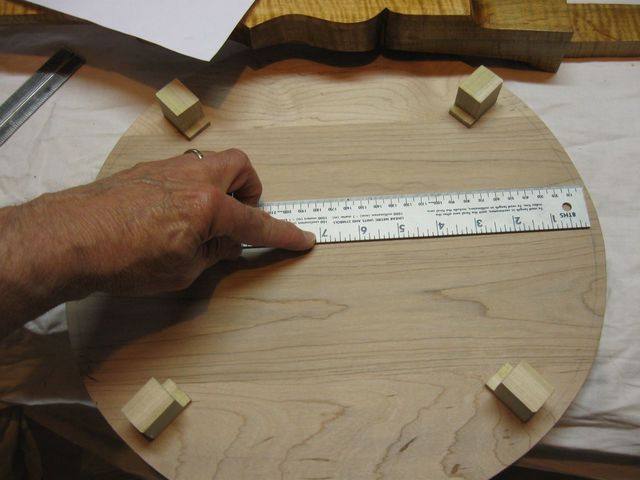
Measuring from the Tailpiece Side
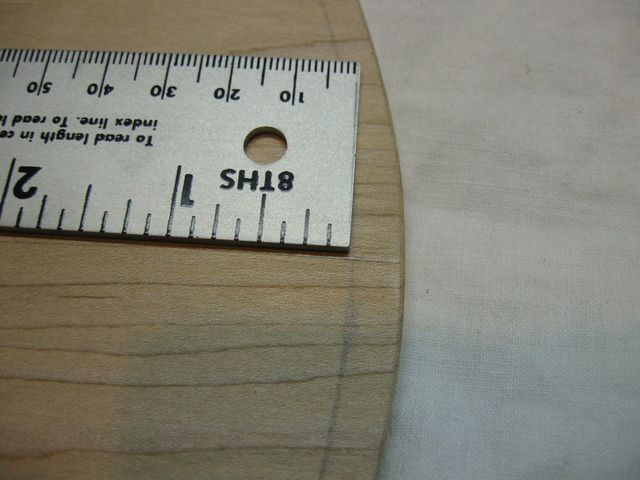
Well OK be that way. Here is a closeup so you can see where the mark landed. You can see that the mark has landed just after the 6 10/16" mark, so it is at about the 6 21/32" mark, which is just shy of the measurement from the other side of 6 22/32".
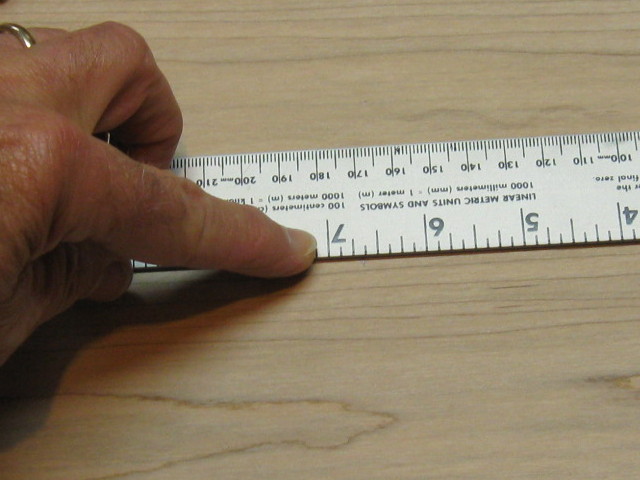
Closeup - See the Mark?
Considering that I measured it from this mark, which is pretty crude, on the other side of the back:
The Mark on the Other Side
I think that being off by 1/32" is probably not going to be noticeable in the final product. So this measurement looks like it might work out OK. What could possibly go wrong?
So I got out my 1/4" drill bit and drilled 'er out... eyeballing vertical again.
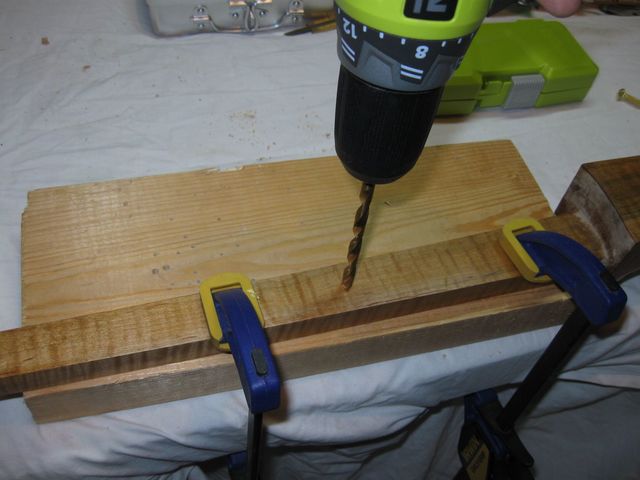
Drilling the Dowel Stick - What Could Possibly Go Wrong?
Here is the bolt stuck into the new hole.
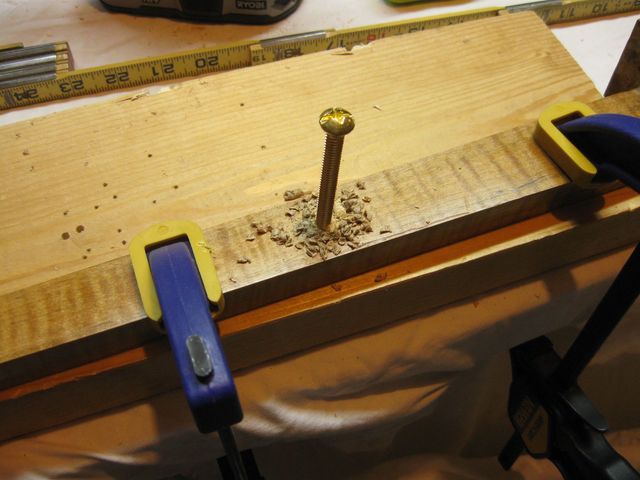
The Bolt
Then, sucking in some air, I took the same drill bit and drilled the hole in the back at my mark.
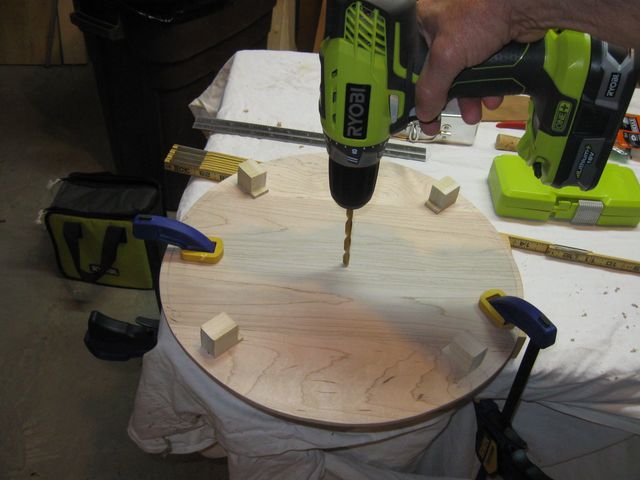
Drilling out The Back
There you have it. There is a hole in my new back. I wonder if they will line up when we are done?

There is the Hole
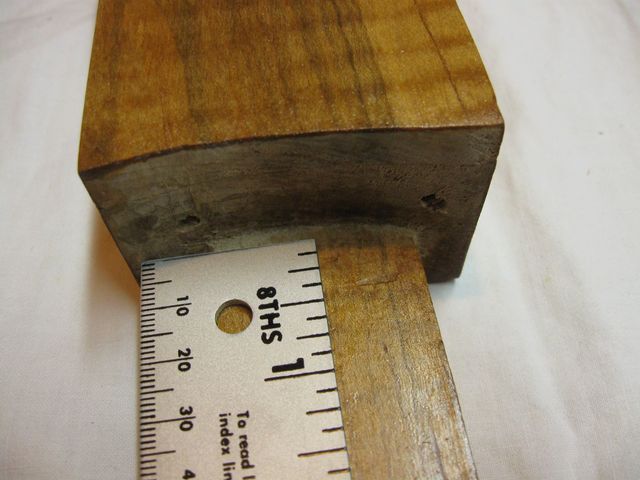
In order to make a blind nut, I will have to cut a recess in the dowel stick to fix a nut in place. That will be done on the front side of the dowel stick, near the head, so that when I tighten the bolt in the nut, it will be pulled against the dowel to secure the back. I measured the dimension of the nut in order to plan this all out.
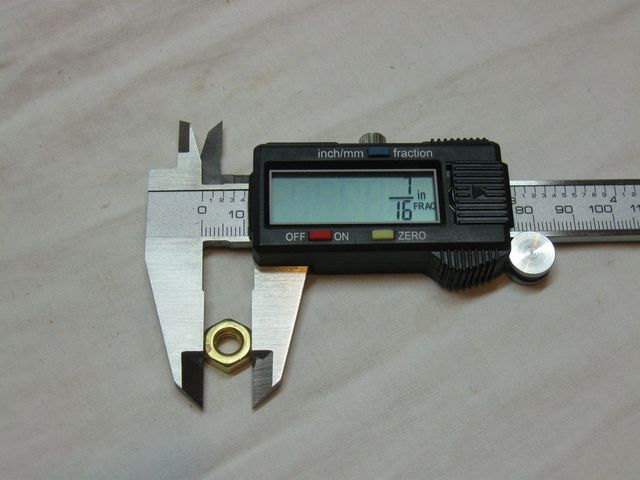
The Nut is 7/16" Across the Flats
It occurred to me that I will have to make a cover to hold the nut in place and keep it from falling out of the hole when the bolt is removed. The cover should be bigger than the size of the nut so that I can drill a hole in it for the bolt to go through
Guesstimate the Width of the Cover
Guesstimate the Length of the Cover
I found a piece of cherry wood from a previous project to make the cover out of. This piece was resawn to 1/4" thick and scraped smooth to make a pick guard for my previous project. I did that project about 20 years ago, and I still have this scrap piece. I never throw anything out.
I marked off a nominal size for the cover.
This Will Become a Cover for the Nut
I sawed it out with the panel saw.
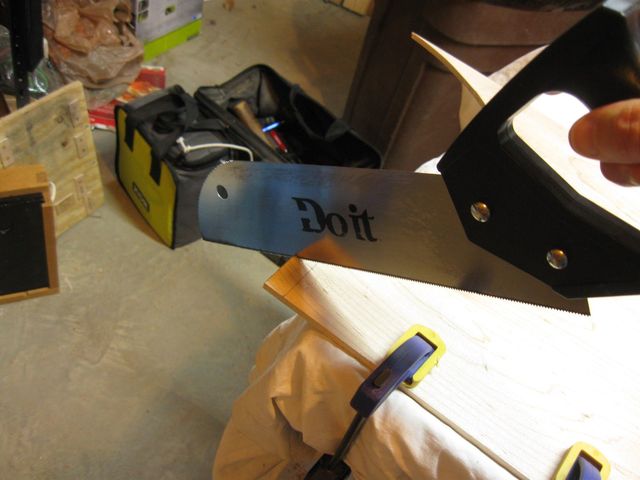
Sawing Out the Cover
Since the tailpiece is only 3/4" deep, inletting a 1/4" cover into it would weaken it a bit, so I resawed the cover again to make it 1/8" thick. I don't want the dowel stick to snap under string tension.
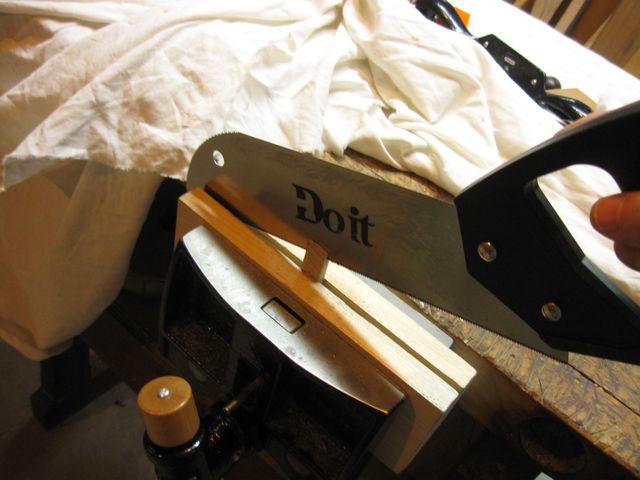
Cutting the Cover to 1/8"
There it is. A 1/8" thick cherry wood cover to keep the blind nut in place.
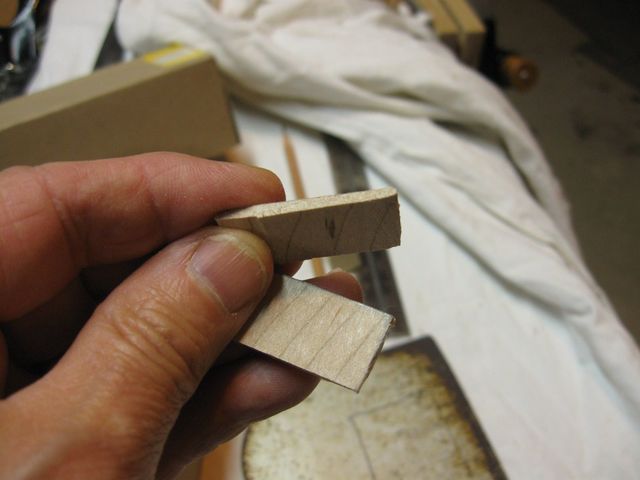
The lower Piece is the Cover
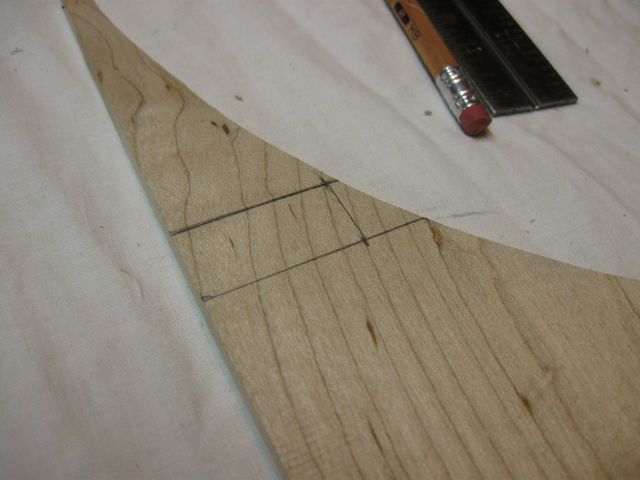
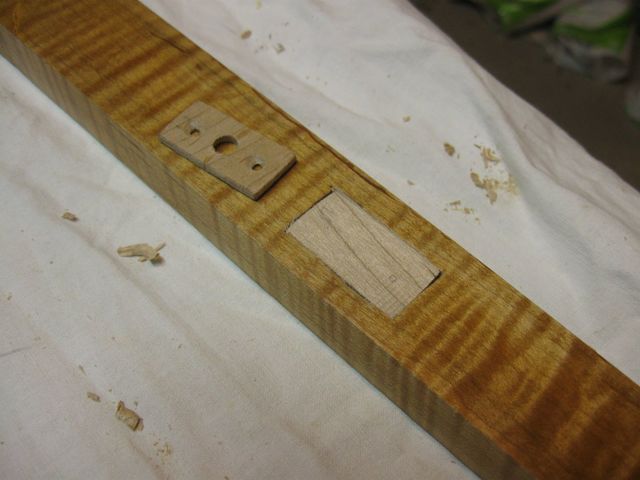
I centered the cover over the hole, and marked it with the scratch awl.
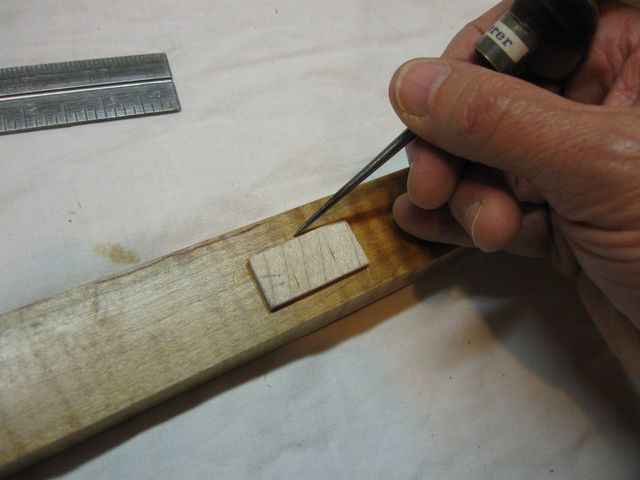
Outlining the Entire Cover for Inletting
The result is an outline of the cover on the dowel stick.
The Dowel is Marked
It is time to chisel out the mortise for my new nut cover. I broke out my new Lie Nielsen chisels and my new mallet. Ready to go.
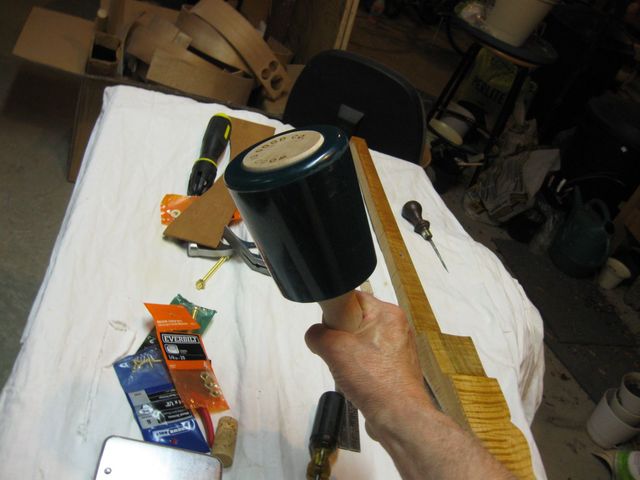
This is an Awesome Mallet
Removing the waste wood is pretty easy using a sharp chisel.
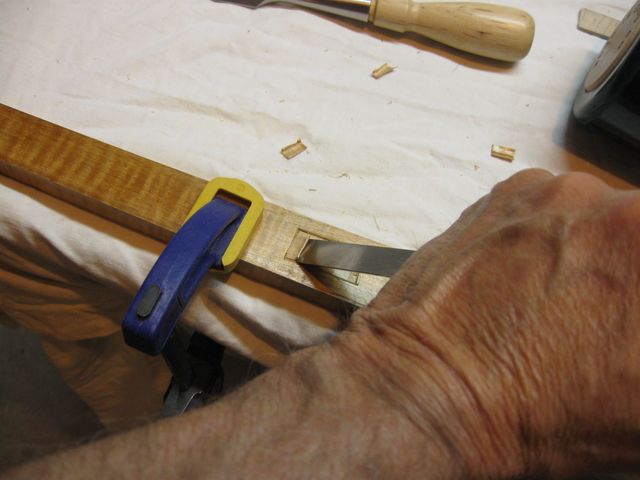
Chipping out the Mortise
There it is... a mortise that is 1/8" deep, ready for the cover.
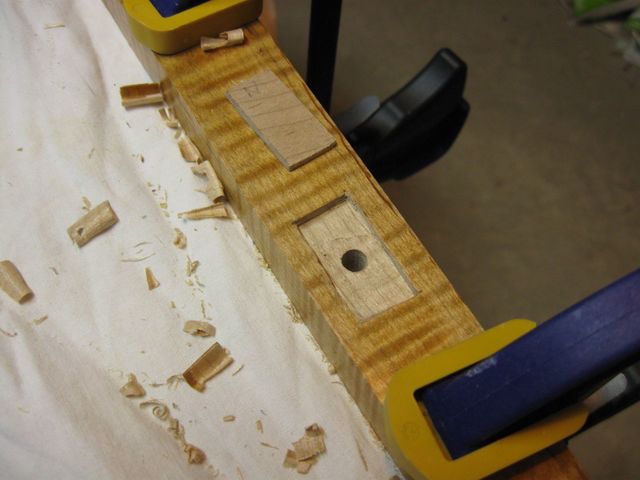
The Cover Mortise
It is not a very tight fit, but it will not be visible, so it will do.
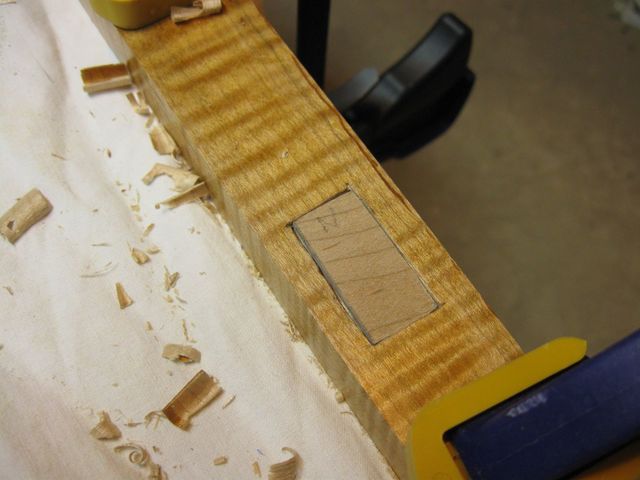
The Cover in the Mortise
I will screw down the cover using some brass wood screws. These are #4 screws that are 1/2" long.
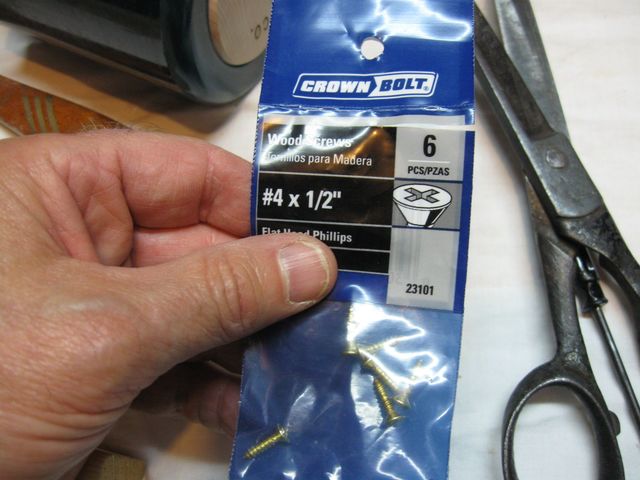
These Screws Will Hold Down the Cover
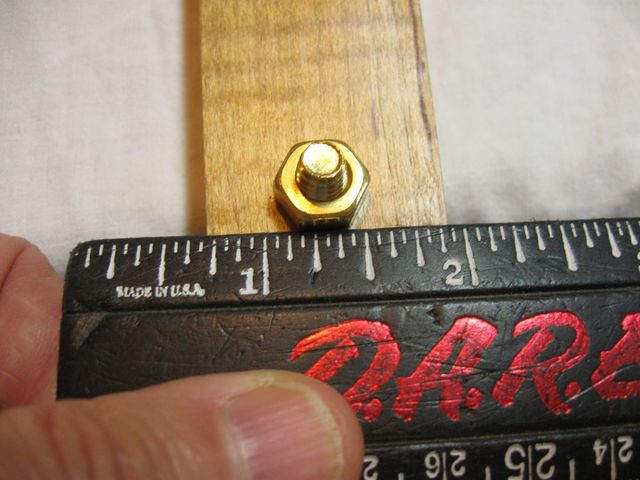
Since these are not #8 screws, I do not know off the top of my head what size pilot hole to drill. So I measured the diameter between the threads.
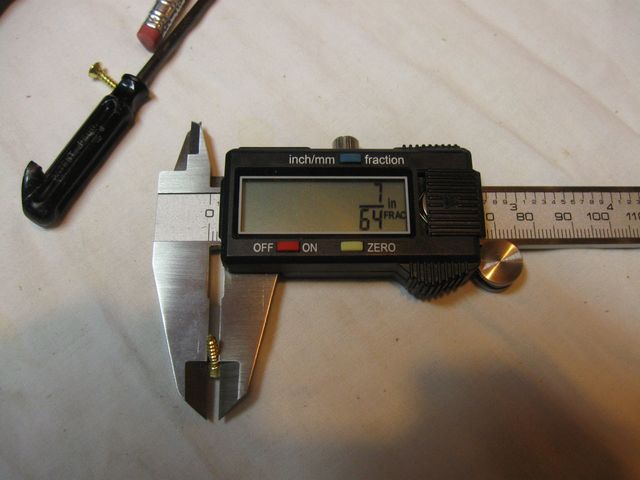
The Threaded Shaft Size is 7/16"
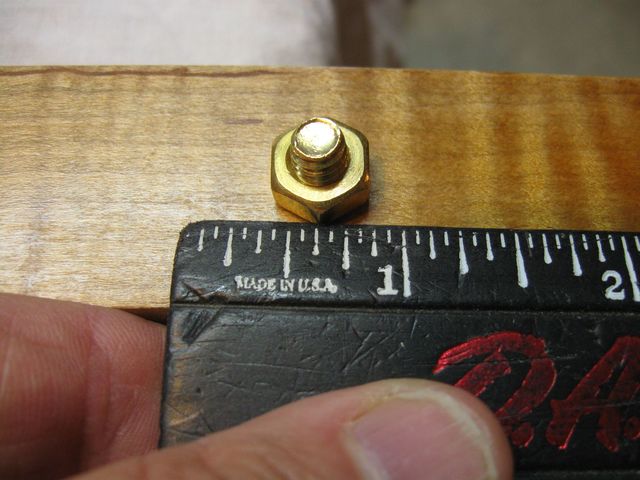
Then I measured the size of the unthreaded shaft. It is 3/32"
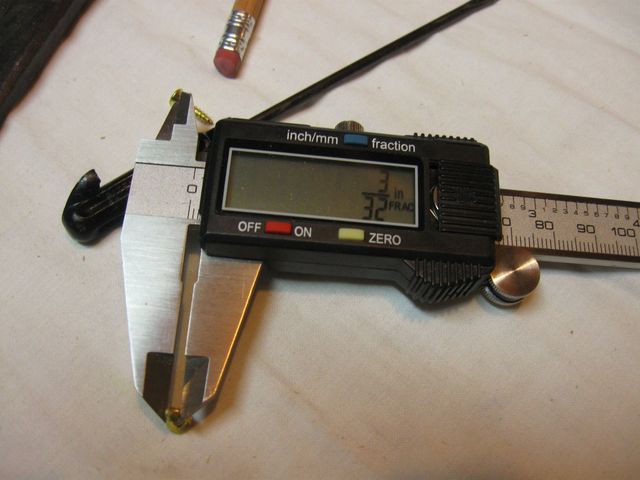
The Unthreaded Shaft Size is 3/32"
I drilled a 7/16" pilot hole into some scrap wood to test it out. Since these are brass screws it would be easy to twist them off trying to screw them into a pilot hole that is too small. So I tested the hole size on the scrap. Looks good.
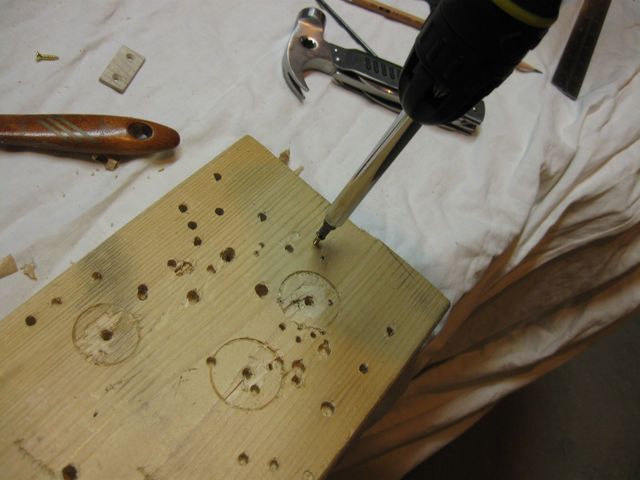
Testing the Pilot Hole Size
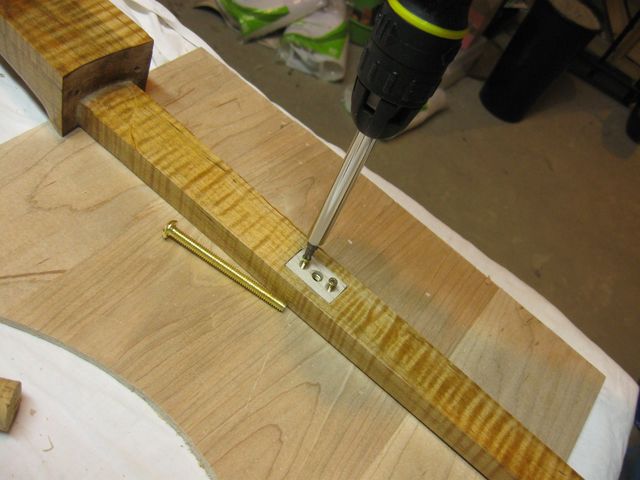
The holes in the cover were drilled to 3/32" so that the unthreaded part of the shaft can turn inside the hole. The pilot holes in the dowel stick were drilled to 7/16". Then, I screwed the cover down into the mortise.
The Cover is Screwed into the Morise
Next, I turned the neck over and drilled out the hole in the cover since the bolt has to go all the way through it.

Drilling the Hole Through the Nut Cover
There ya go. There isn't any nut in there yet, but the cover is done.
The Cover is Set and Drilled
Now I need to recess the nut into the dowel stick so that we have a captive nut to screw the bolt into. I placed the nut on the bolt inside of the mortise.
Screw the Nut Onto the Bolt
I marked all around the nut and then took the chisels and carved out the recess, preserving the flats.
Carving the Nut Recess
To make sure that the flats are preserved, I chopped the lines with the chisel before starting to remove the waste wood.
The Outline of the Nut Has Been Cut
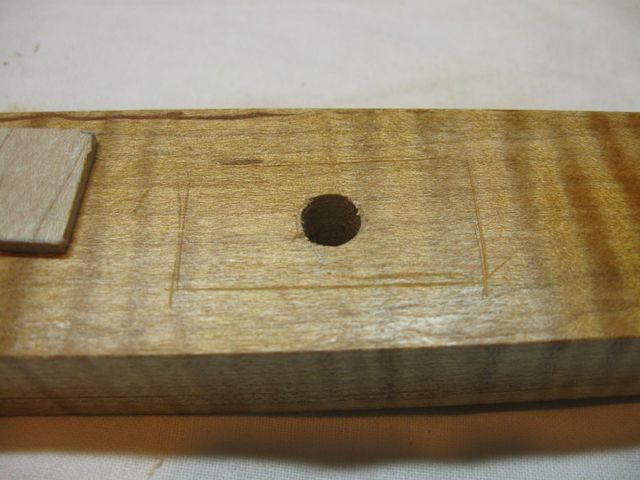
There it is, recessed part of the way into the wood.
The Nut is Recessed in the Dowel Stick
Here is the hole so far.
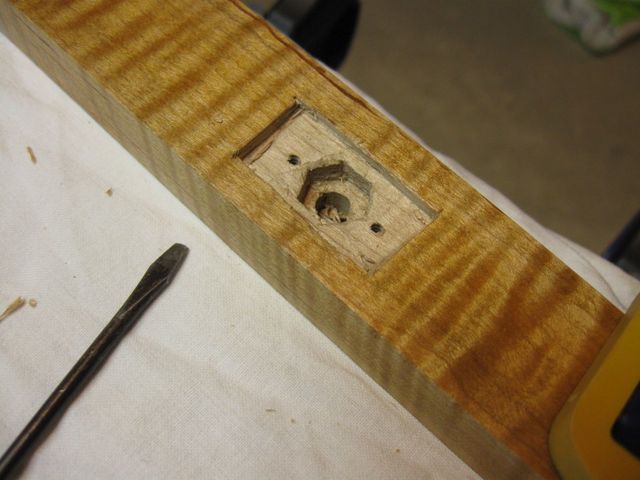
The Hole
After several tries, I have the nut completely recessed into the wood.
The Nut Is One With the Dowel Stick
However.... when I tried to screw the cover back down over the nut, here is what happened.
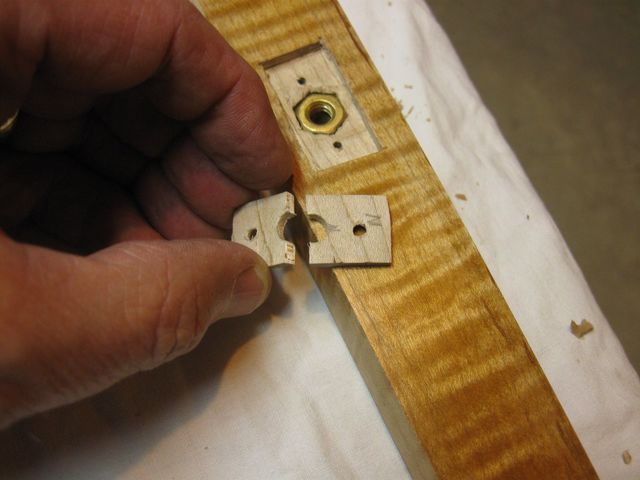
The Cover Has Split in Two
Darn. I guess I will have to glue it back together.
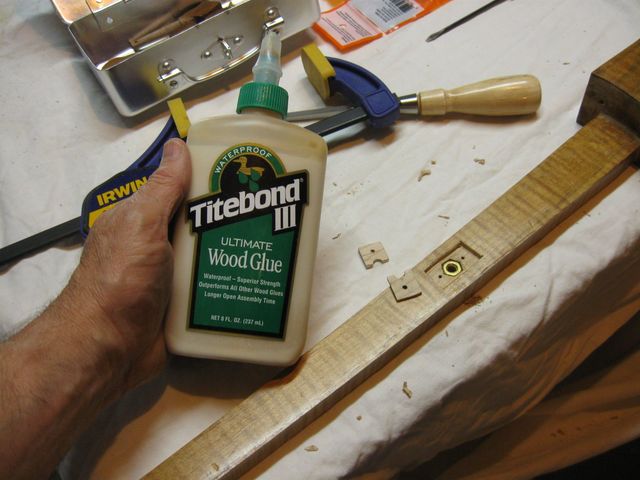
Glue
But then I thought better of it. The real problem is that I have cut out the cover with the grain running in the wrong direction. It will just break again. So I glued it back together and used it as a template to mark out a new cover. Notice that I have turned it 90° to make the grain go end to end instead of across the piece.
The Cover Has Been Rotated 90°
Cut out; resaw to 1/8"; here is the next cover.
The New Cover
I sanded the new one down on the sanding block until it would fit into the recess that I had cut for the other one.
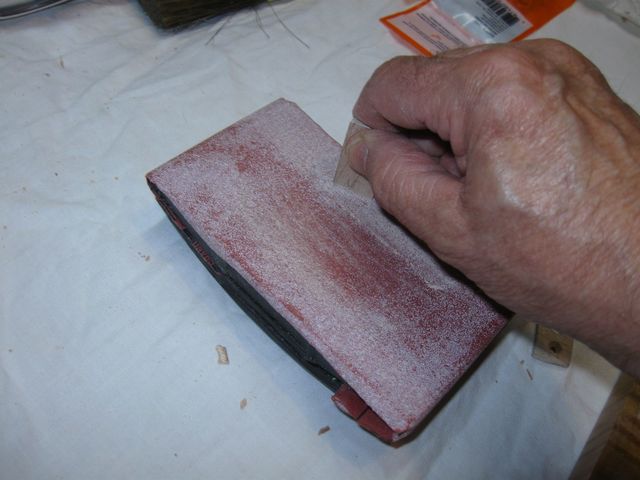
Sanding the New Cover to Size
There it is, in its new home.
That Fits Fairly Well, Considering
I used a 7/64" drill this time to drill through the cover. I did that to make sure that the shaft of the screw would not bind in the hole and crack the piece.
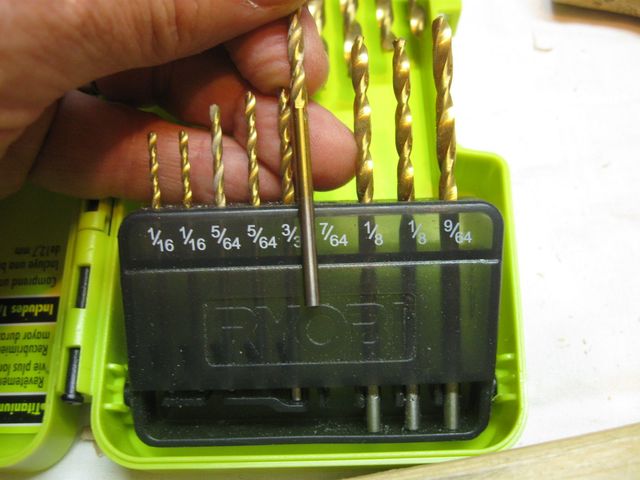
Using a Slightly Larger Drill Bit
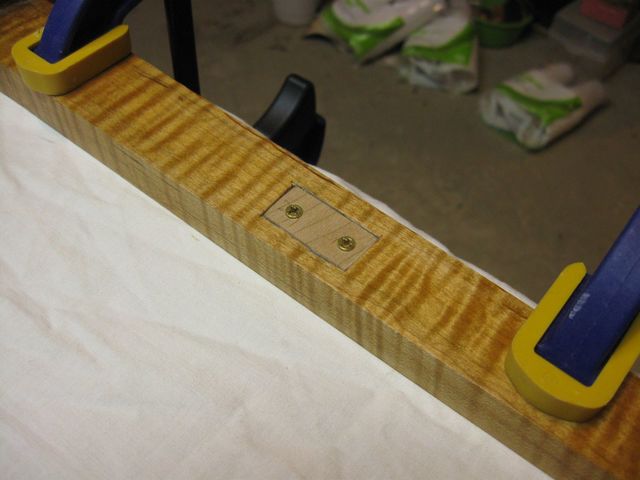
Drilled and recessed and screwed in place.
There Still Isn't Any Nut in There
I turned it over and drilled the bolt hole through the cover again. This time it looks like it worked better. I don't see any splits (yet).
Drilled
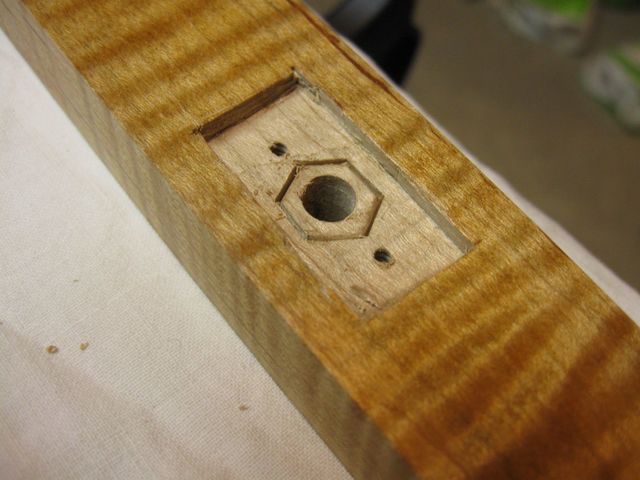
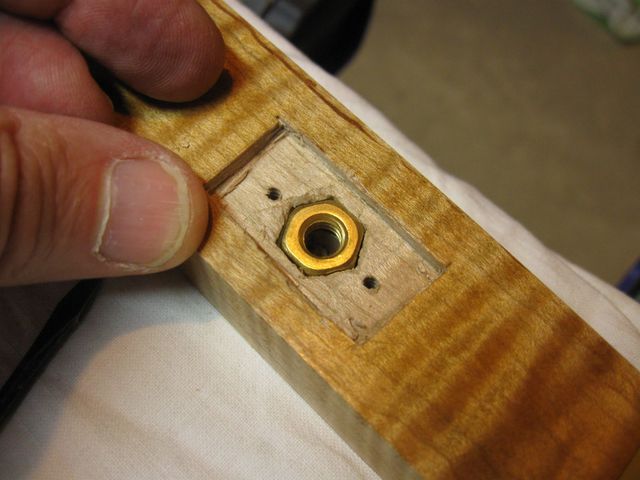
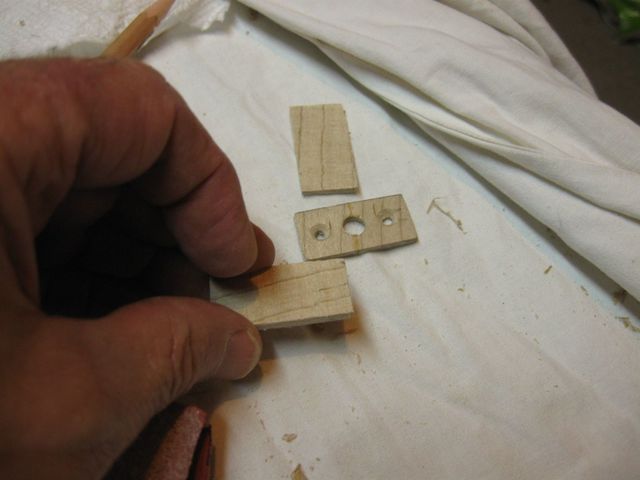
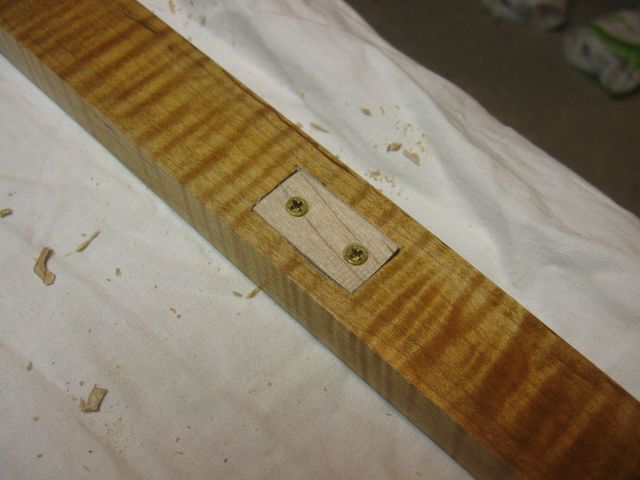
I popped the cover out, and here is what we have. The cover goes into the rectangular mortise, and under that the nut goes into the hexagonal mortise.

This Is Ready to Close Up
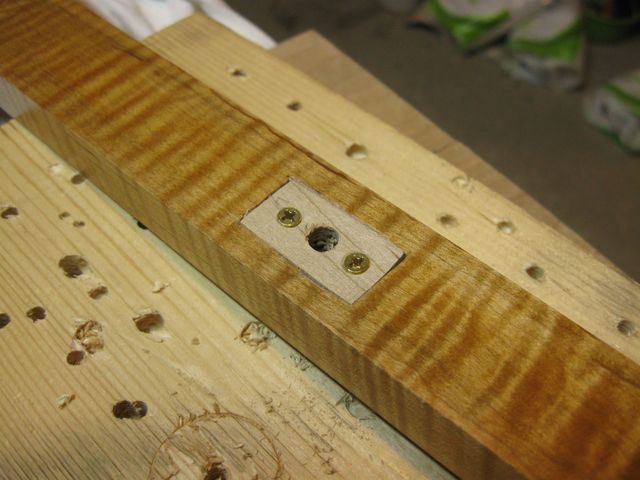
Place the nut in the hole.
The Nut Goes Into the Hole
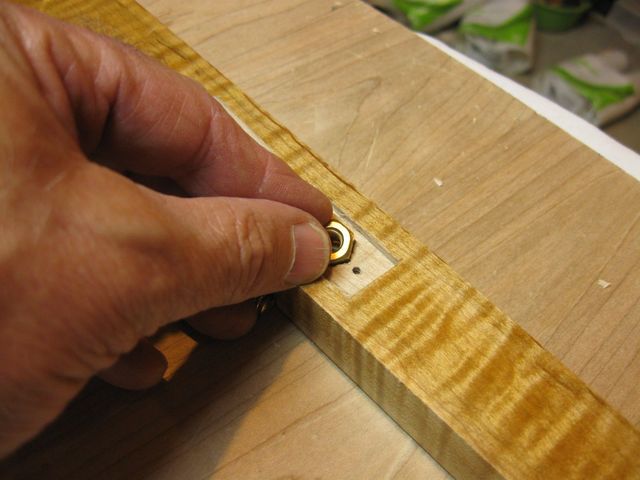
The cover goes down over the nut.
The Cover Keeps the Nut Captive
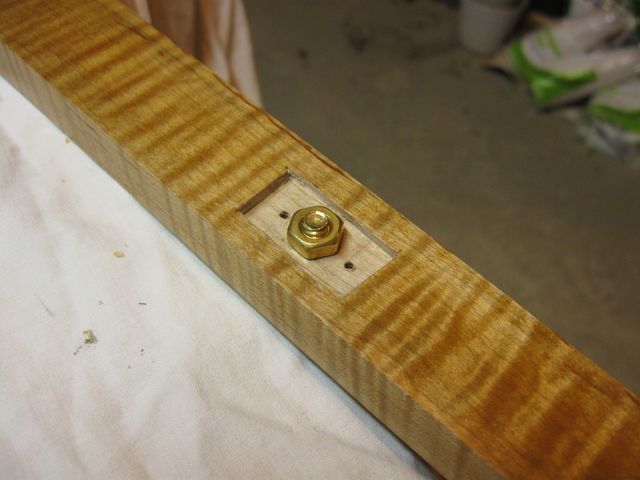
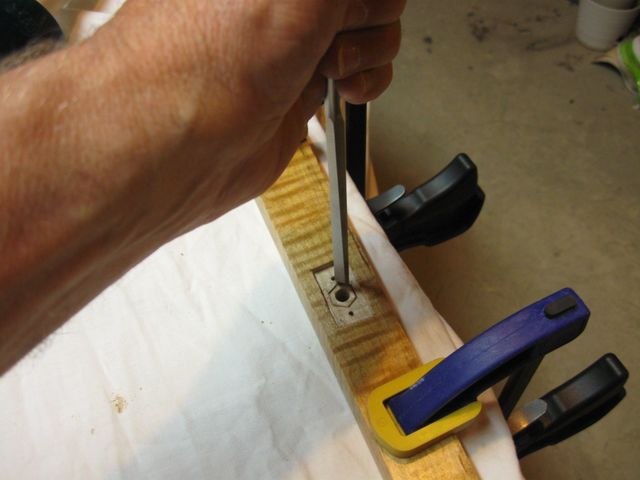
Screw the cover down over the nut.
Screwing the Cover Down Over the Nut
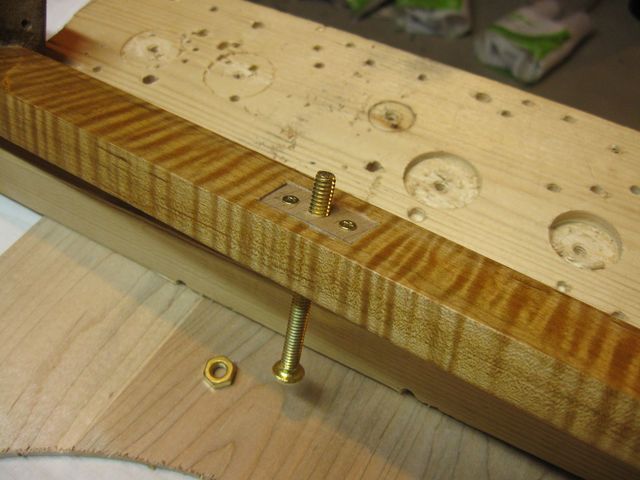
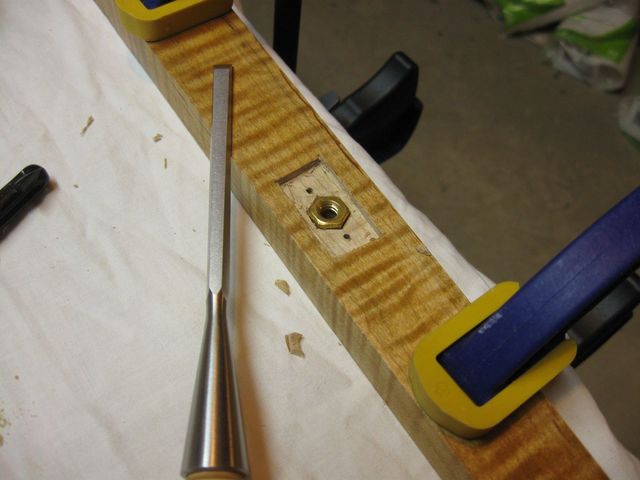
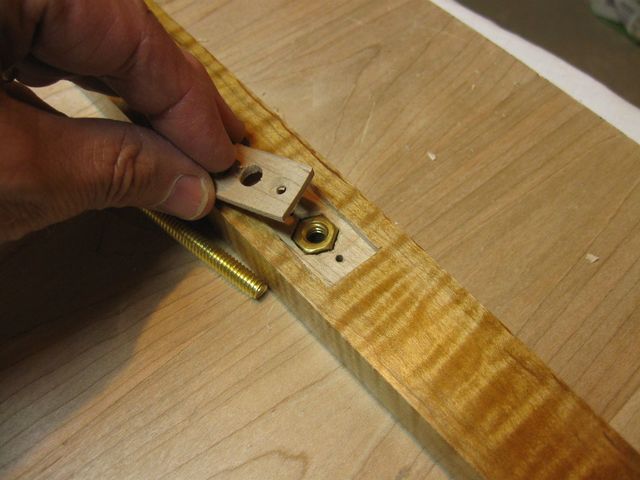
There it is... a blind nut in the dowel stick. In this photo, the bolt is screwed into the nut.
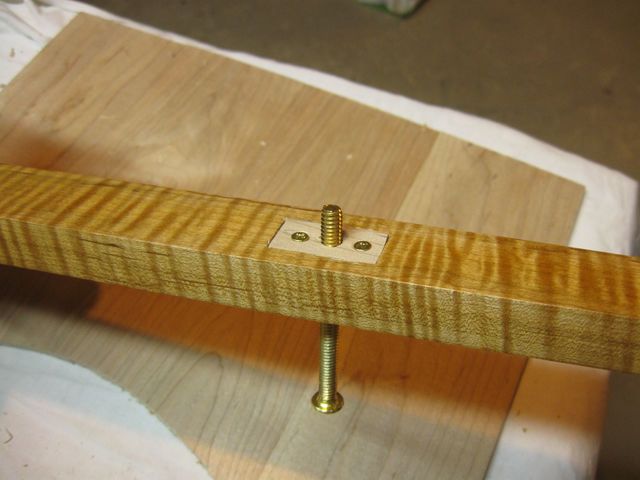
The Bolt Screws Through the Nut
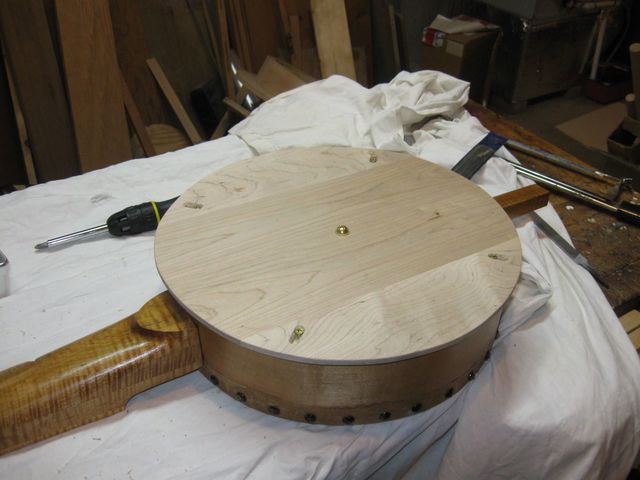
I put the back onto the banjo and the bolt through the back and screwed it into the blind nut. It lines up pretty well.
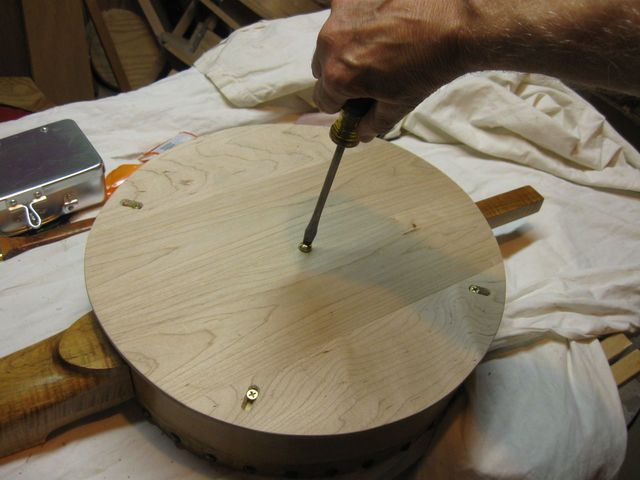
Screwing the Back Onto the Dowel
The bolt is actually a tad too long for this. I turned the banjo over and looked at it from the head side. While the bolt doesn't touch the skin head, it is readily visibly where it comes out of the dowel.
Looking At the Bolt Through the Head
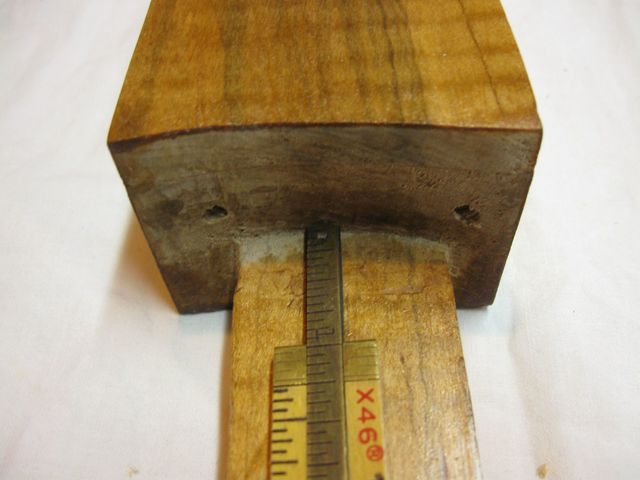
I took the back off again, laid a board across the bottom of the pot and measured the distance from the top of the board to the top of the dowel.... plus about 1/4". Looks like I only need a 2 1/2" bolt.
A 2 1/2" Bolt Will Be Long Enough
The brass is easy to cut with a hack saw.
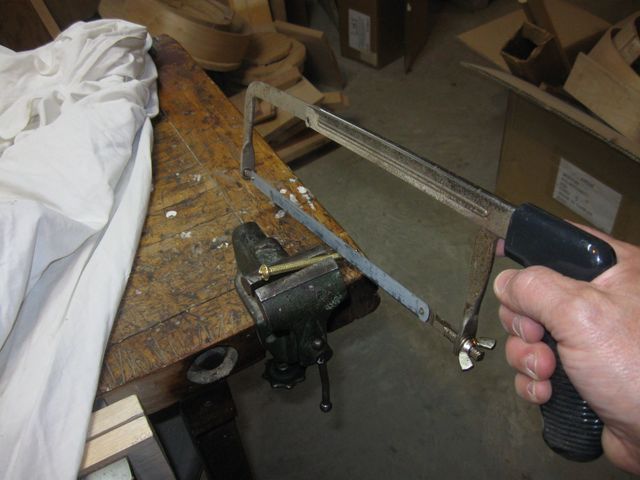
Cut It Off
There is the 1/2" of unwanted brass cut off the end of the bolt.
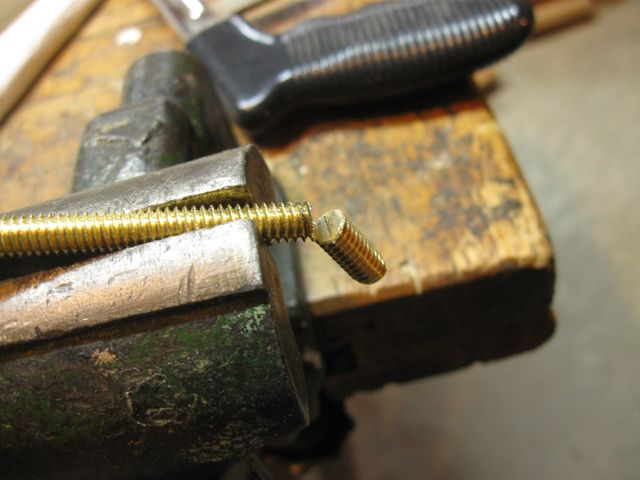
Hanging By a Thread
I dressed up the end of the bolt with a file and screwed the back onto the dowel stick again.
The Back Is On Again
You can still see the end of the bolt through the head, but it isn't so obvious anymore.
This Looks Better
I took the back off again to take a look. Not too shabby. If I want to take the back off and play the banjo openback, I can do that without much effort now, and the back will not be falling off anymore once I have it screwed on.
That Doesn't Look So Bad After All
I put it back together and strung it up and here it is.
The Banjo Is Back With A Back
It looks the same as when I started, but it is certainly better with respect to how sturdy the back is. After I put some finish on the back I can seriously start learning how to play this thing.
