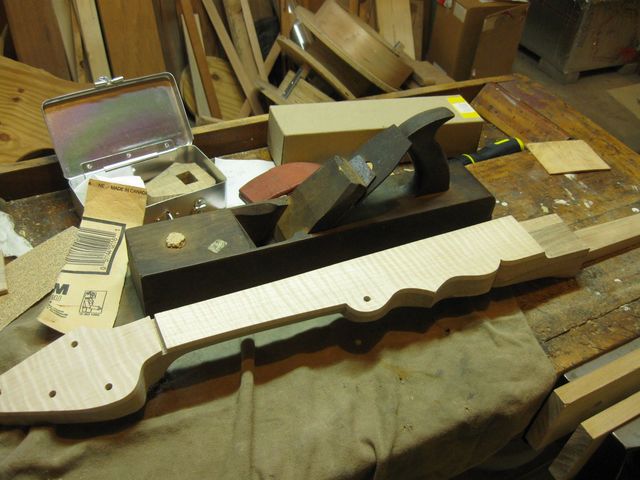
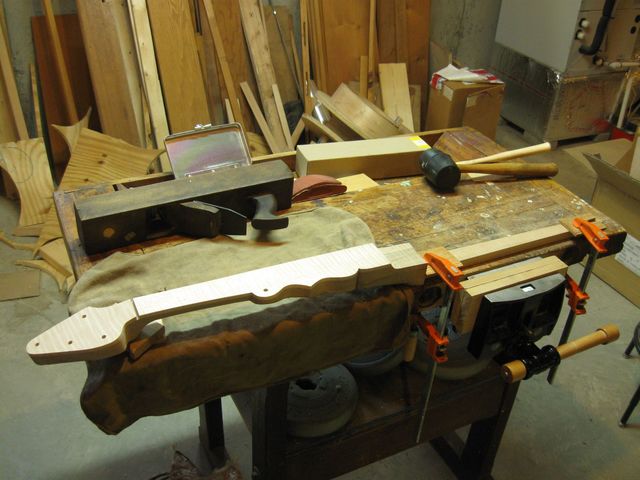
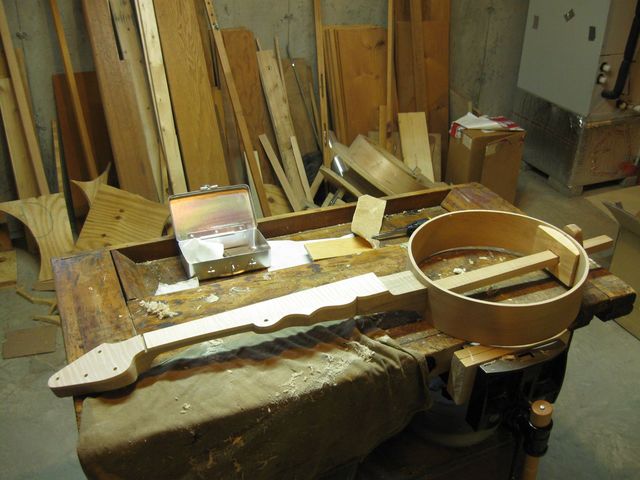
It is time to put some of the fine details on the neck. I need to make sure that the neck is the correct shape and that the finger board is really flat. To do this work, I had to remove the neck from the hoop. That is pretty easy because I set the screws so that I can remove them from the under side of the hoop.
Removing the Neck from the Hoop
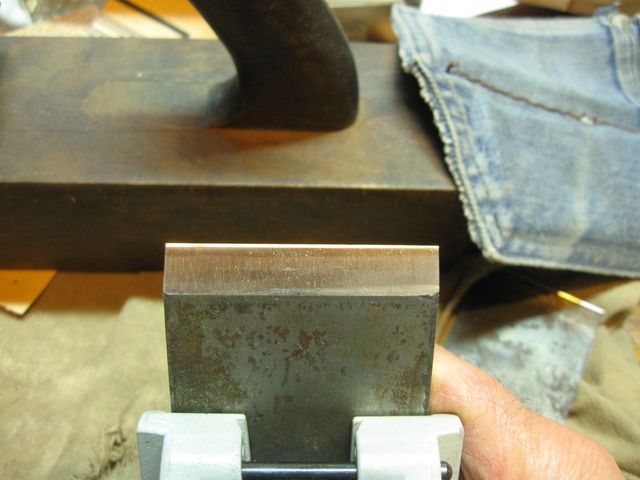
There are some blemishes on the neck that I want to get rid of while I am doing this. For example, the wood on the heel was dented somehow in the previous operations.
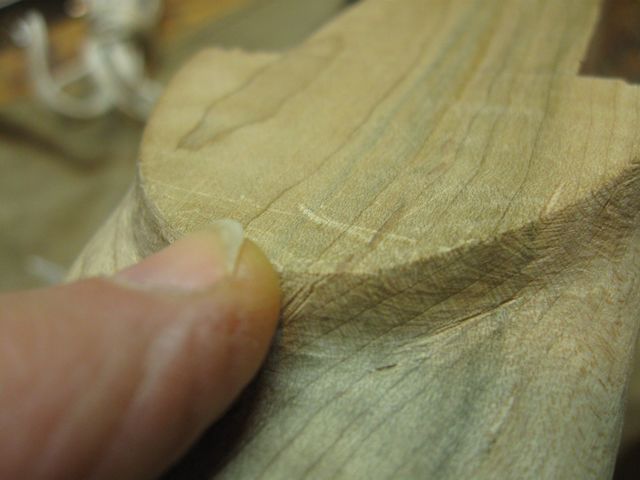
My Finger is Pointing At a Dent
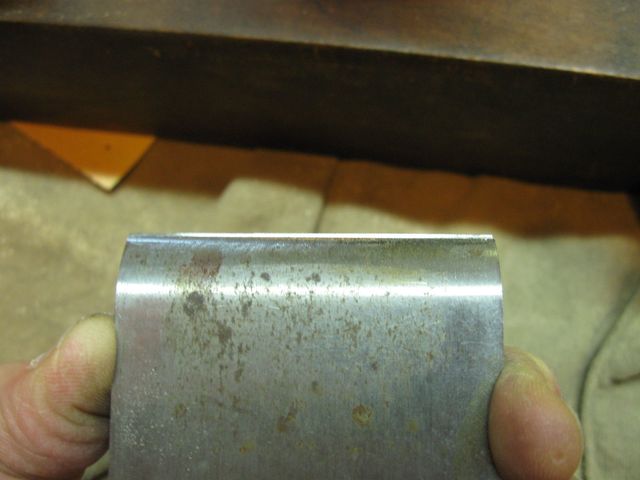
On the tip of the peghead there is another blemish, but that one looks more like a cut than a dent. It looks like some marks left by an edged tool... probably the cabinet scraper.
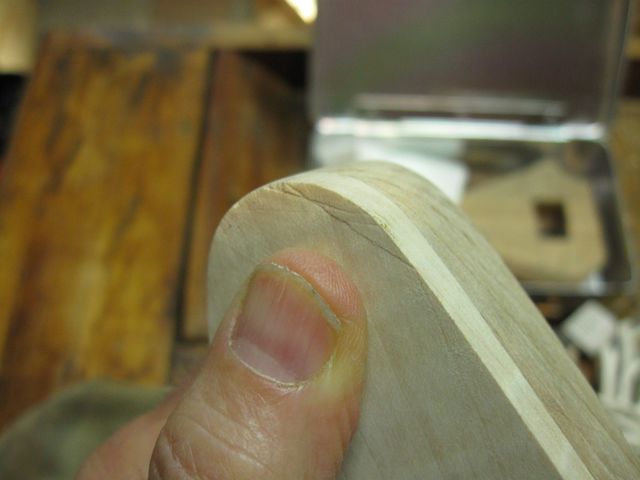
This One Looks More Like a Cut
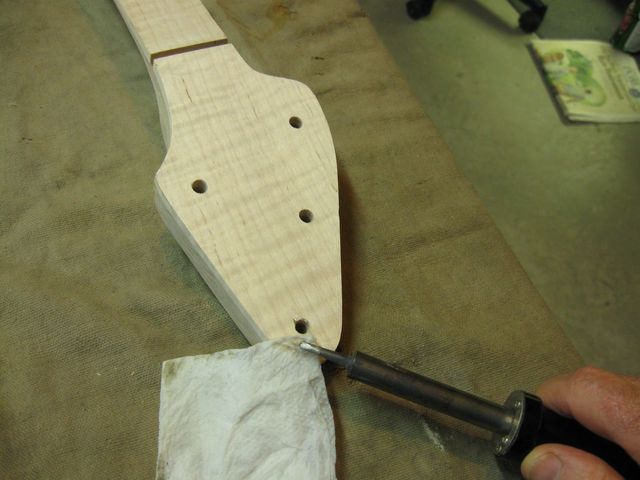
It is possible to steam out a dent. Here is the way I do it. I take a moist paper towel, and a hot soldering iron. I put the towel on top of the dent, and I touch the soldering iron to it just long enough to make a little steam. I move the towel around and touch it many times with the iron. The trick is to avoid burning the wood with the iron. You want to touch it just long enough to force some steam through the towel and into the wood.
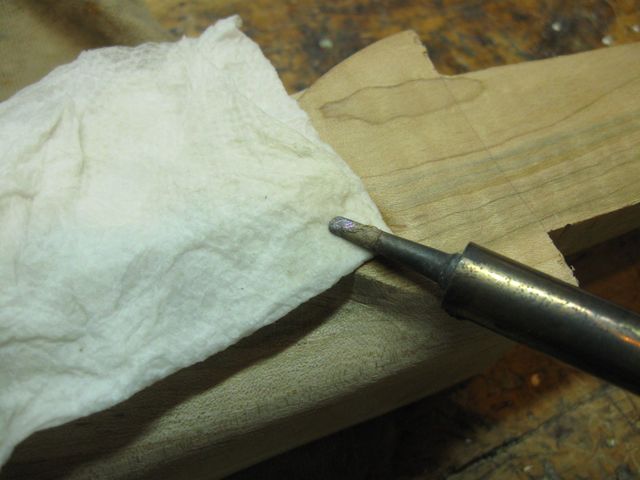
The Hot Iron Pulls Steam From the Wet Towel
I did the same procedure on the end of the peghead to see how much of that blemish I could remove.
I Steamed the Peghead As Well
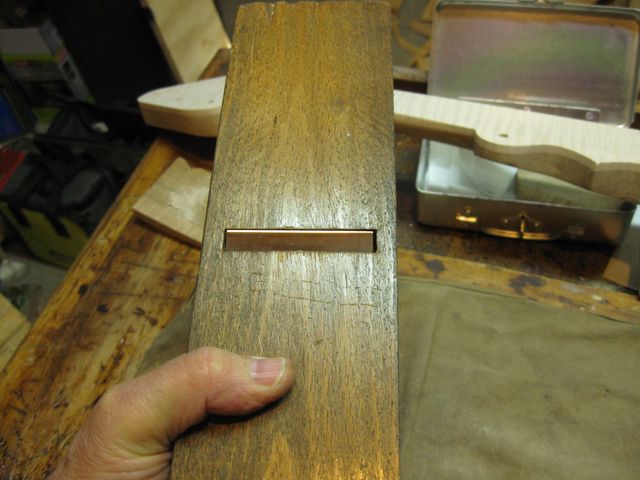
After I was done, the dent on the heel was completely gone. You can see in the photo below that there is a small cut going across the heel, and that is in both photos. But in this second photo, the dent is gone. Scroll back up to see the dent.
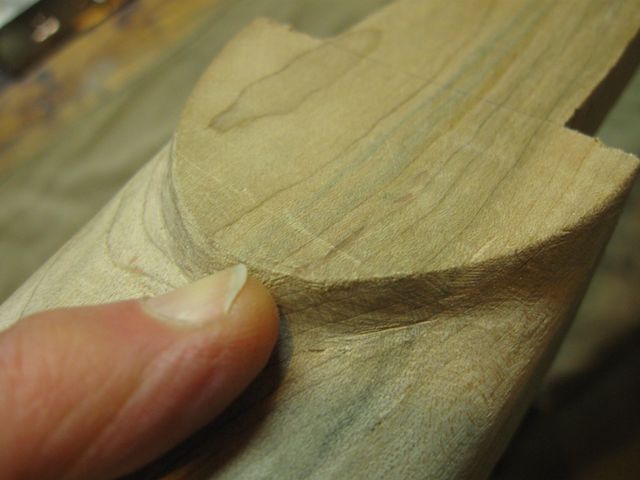
The Dent is Completely Gone
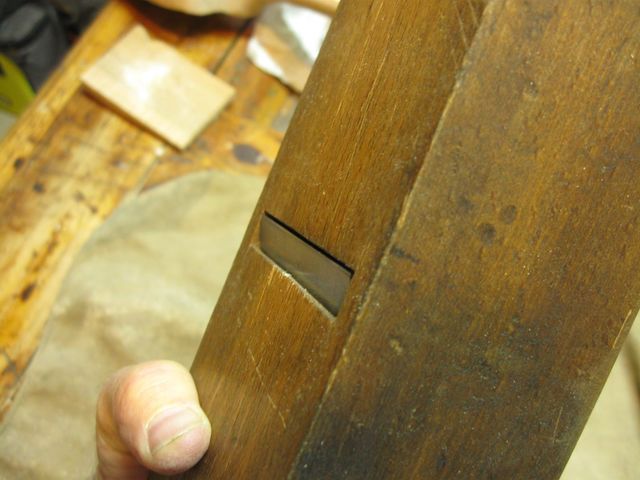
On the peghead, not so much. That is because you can steam out a dent, but if the fibers have been cut, the steam won't help.
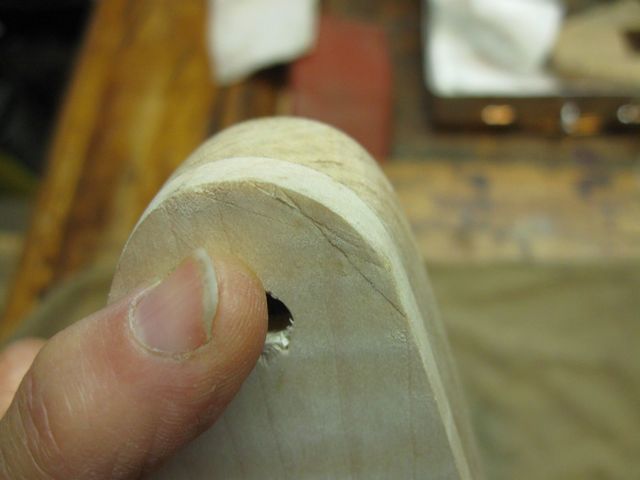
The Peghead Did Not Do So Well
I will have to plane/scrape/sand to get the cuts out of the wood. That is OK because, with 1/4" of wood in the overlay there is plenty there for me to take off in order to fix this.
While I had the sandpaper out, I used it to round off that curve on the peghead that looked too sharp. That is 60 grit sandpaper, and it takes wood off pretty quickly.
Re-Shaping the Curve on the Peghead
I also used a piece of loose 60 grit sandpaper to knock down some edges on the neck shape.
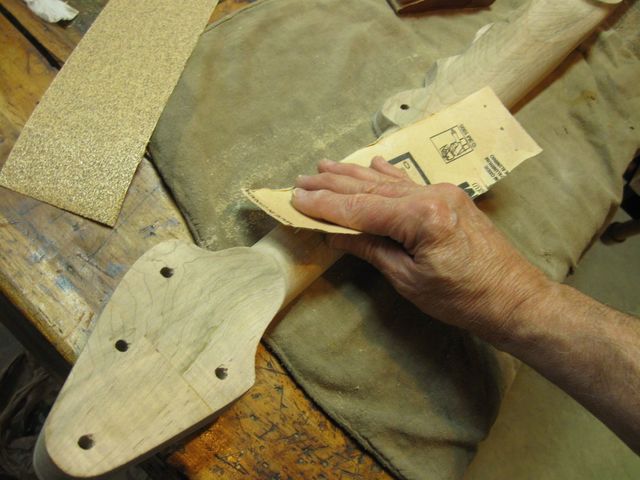
The Loose Sandpaper Shapes Itself to the Neck Shape
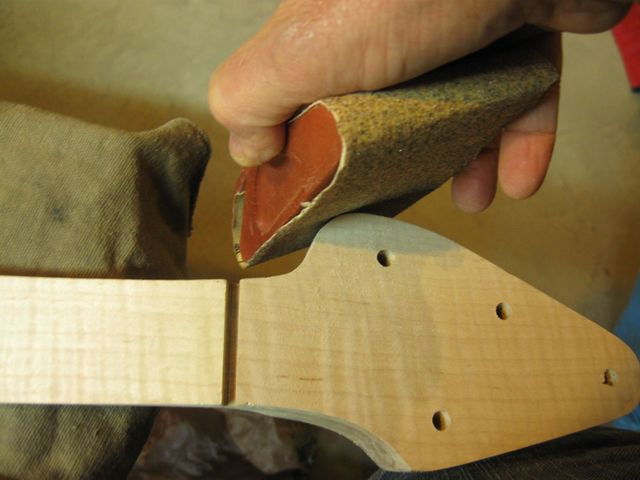
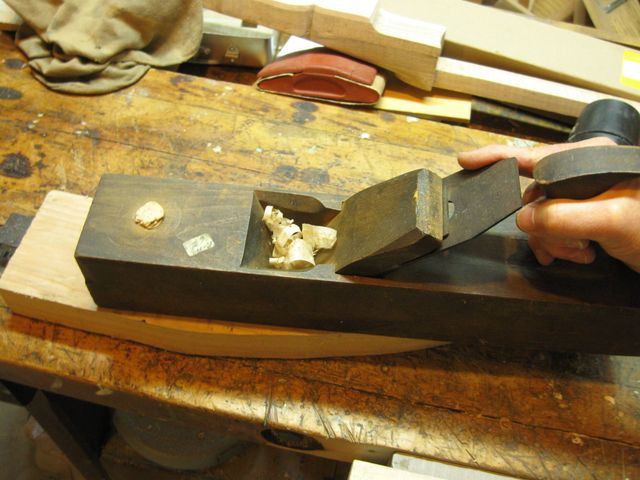
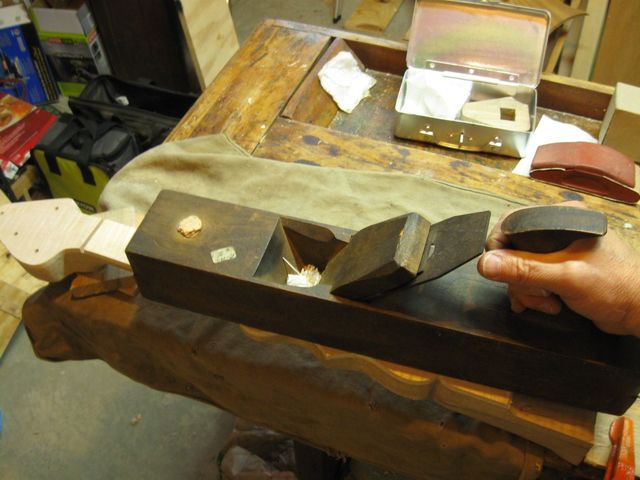
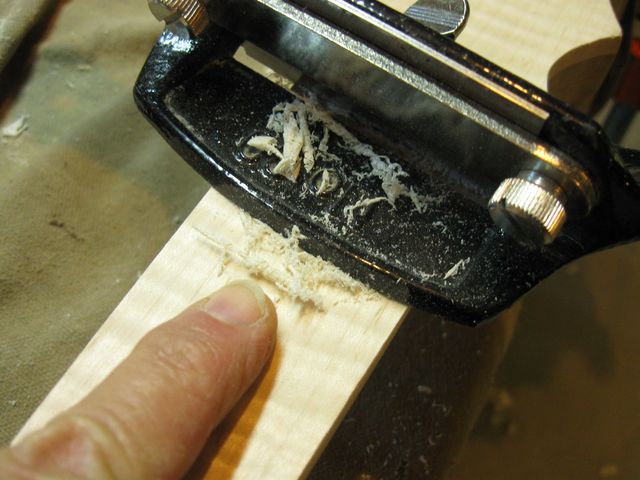
OK. Time to scrape those cuts out of the peghead overlay. The cabinet scraper can take very fine cuttings, so I used that to remove the wood down to where the cuts were gone.
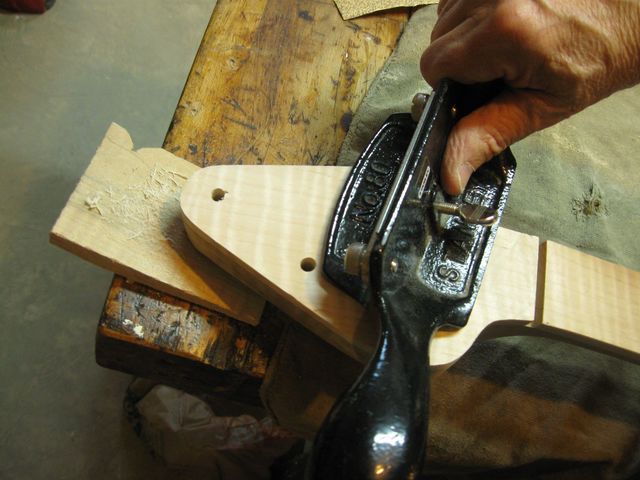
The Scraper Makes a Smooth Surface
To avoid nicking the wood as the scraper drops off the far end of the peghead, I took some cuts from that end. Generally, it is wise to plane or scrape wood only along the grain. That avoids tearout. But the scraper takes such fine cuttings that sometimes you don't have to follow that rule. Besides, this is curly maple, so the grain runs all which ways anyway.
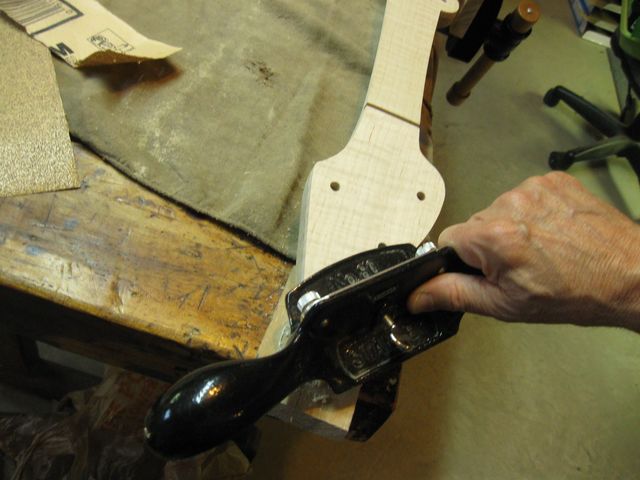
Scraping in the Other Direction
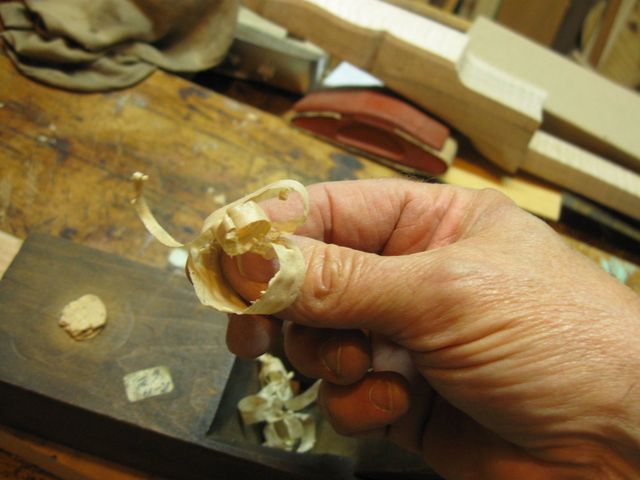
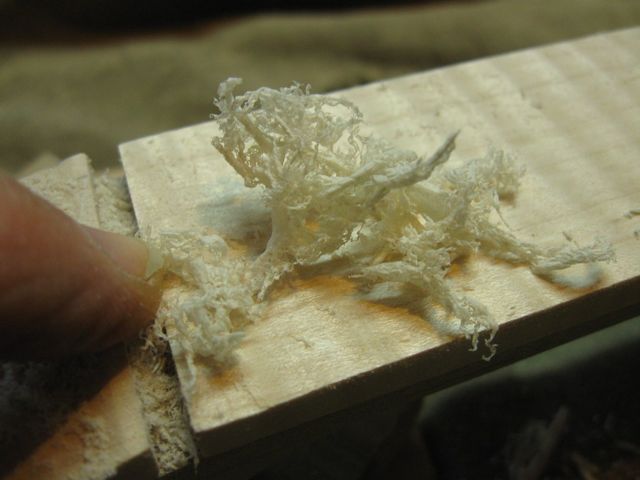
I really love these tiny little shavings.
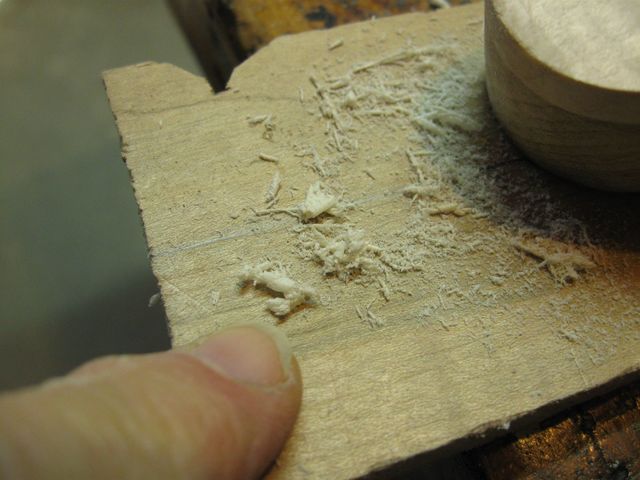
The Scraper Makes Tiny Little Shavings
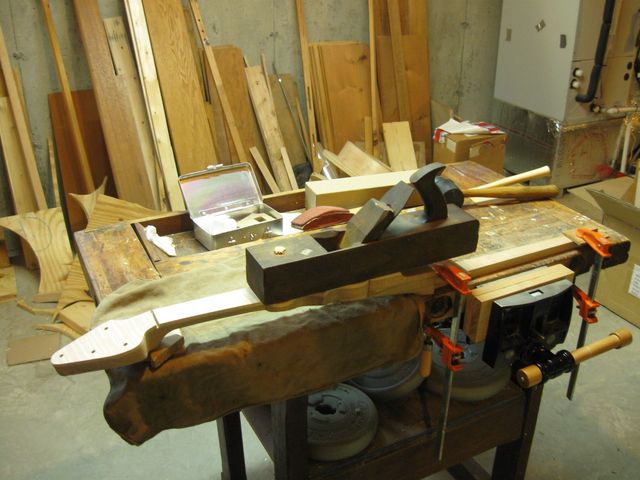
Next I got out the Big Guns. The neck has to be flat as well as smooth or the strings will buzz against it. I found that out the hard way on one of my gourd banjos. I finished that one off with the card scraper, and the card scraper followed the grain of the curl. So the top of the fingerboard was curly. That is not a good thing.
So, to make sure that the fingerboard is flat all along its length, I got out my antique wooden plane. Here it is sitting along side the neck. The plane is almost as long as the finger board, so this should act like a jointer and make the finger board flat along its entire length. There is no way that the sole of the plane will be following any curves in the finger board.
The Plane is As Long as the Finger Board
I bought that plane many years ago at a rummage sale. I don't remember exactly when. For a long time it sat on the shelf as a decoration because I didn't know how to use it. But a couple of years ago I got a bee in my bonnet to try it and see what it can do. After a couple of lessons from the internet, I found that I can adjust this plane to take finer cuts than I can with my metal Stanley jack plane.
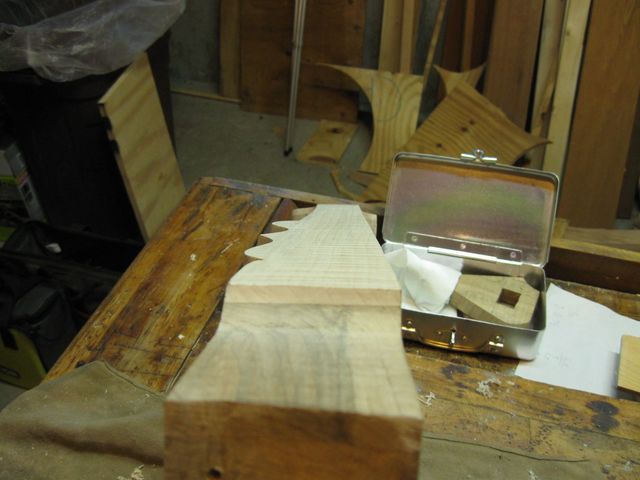
Here is another old tool that I just picked up this weekend. This screwdriver is a veteran for sure.
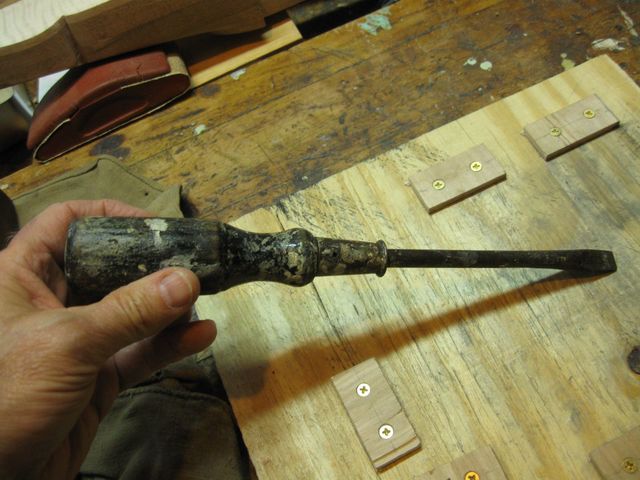
This Screwdriver Has Seen A Lot of Action
I will throw it up on the shelf next to the plane and use it to take the chip breaker off of the iron.
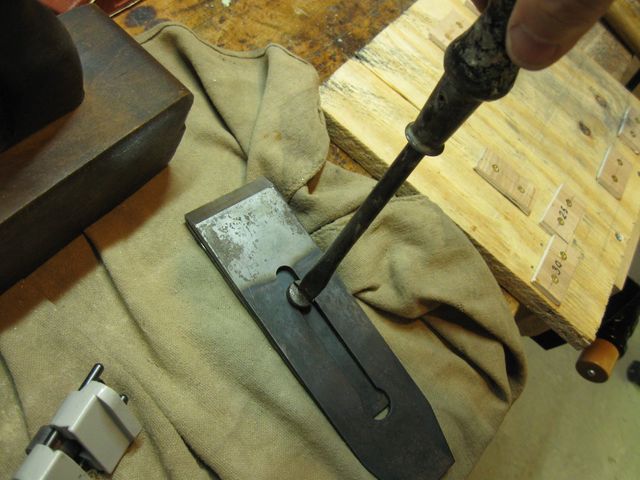
Removing the Chip Breaker from the Iron
I sharpen this old iron on using my sharpening jig like I do the others. Today I just sharpened the secondary bevel, so I set the sharpening guide to 30°

The Guide is Set to 30°
That bevel is so narrow that rolling the iron across the fine stone a few times will sharpen it nicely.
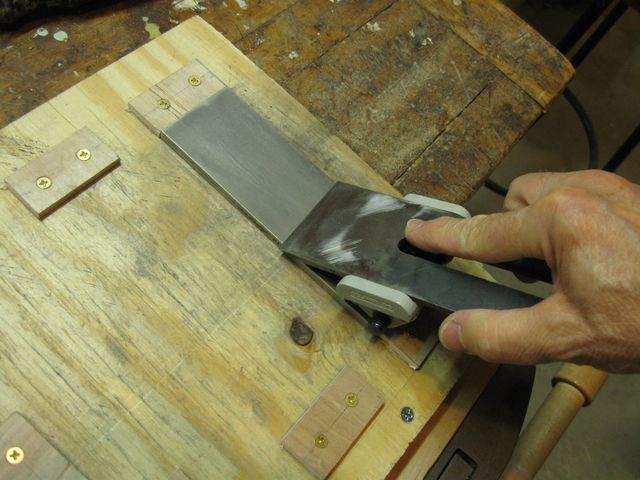
It Doesn't Take Many Passes to Sharpen the Secondary Bevel
In this photo you can see the secondary bevel. I sharpened it on the fine and then extra fine stones.
The Secondary Bevel
I put the chip breaker back on the blade so that it is just 1/32" or so behind the edge. That is not a critical measurement, but for making fine cuts it is best to keep it close to the cutting edge.
The Chip Breaker is About 1/32" Behind the Edge
After I had the blade assembled, I put the blade into the body of the plane and aligned it visually. The visual alignment is important because there are no mechanical aids that help much keeping the blade straight. Using this old tools is 90% skill, so it takes practice.
I pushed the blade out of the mouth so that it is just about to protrude beyond the sole of the plane. Ideally, when I have the blade initially set, it will not cut the wood when I push the plane over it. Then, I will gradually move the blade out a very tiny bit until it just takes a very thin shaving.
The Edge of the Blade is Not Quite Out
It is sometimes easier to see this from the side.
The Blade from the Side
Sometimes I also pull my finger across the surface of the sole and across the blade to feel how far out the edge is. This has to be done gently and carefully to avoid planing off the finger tip.
So here is how it works. To move the blade farther out, tap it gently on the back of the blade. It is just a gentle "tap tap" using less force than you would to knock on a door.
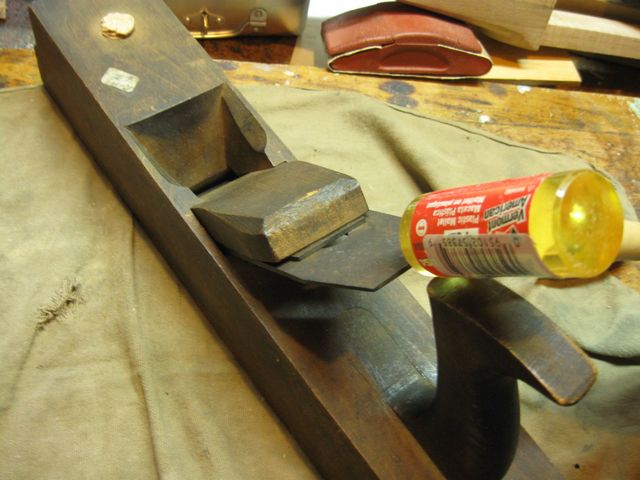
Tap the Back of the Blade to Extend the Edge
If the edge of the blade is not parallel with the surface of the sole, that is adjusted by tapping gently on the side of the blade. The same rule applies here. It is just a very gentle "tap tap" on the side. The movements of the blade are imperceptible when doing this, but it does move.

Adjust Side to Side Angle by Tapping on the Side
Just as a matter of habit, I usually give the wedge a couple of taps after tapping the blade. The wedge will work itself loose otherwise. I am not sure if this is really necessary or not, but it seems to work.
One thing that surprised me as I was learning how to do this, was the fact that you don't have to jam the wedge in very tightly to keep the blade in. It is just finger tight, and then the gentle "tap tap" after tapping the blade seems to set it tightly enough to hold the blade.
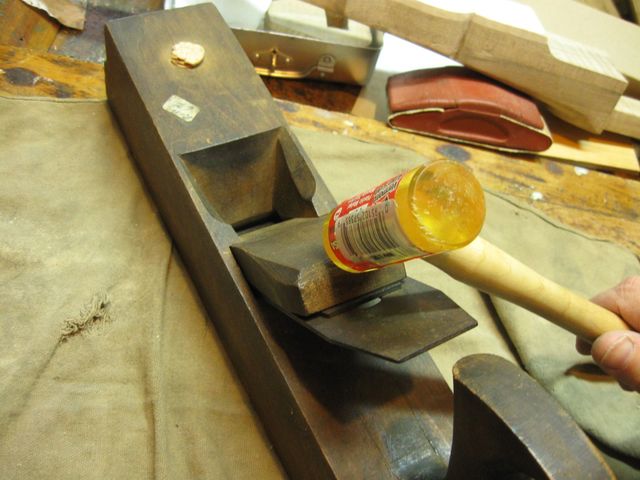
Tap the Wedge to Reset It
So, if you were paying attention, you might have noticed that I have told you how to extend the blade farther out, but not how to pull it back in. There are a couple of ways to do that. One is to tap the back end of the plane. That will force the plane body forward, and the inertia of the blade will cause it to back up. I have managed to do that effectively a few times, but it tends to loosen the wedge. Tapping the back of the plane has to be a bit harder than tapping the blade because you have to force the body of the plane forward, and it is considerably more massive than the blade.
Usually, if I have to pull the blade out, I just smack the back of the plane with my rubber mallet. That loosens the wedge so that I can pull the blade all the way out and start over. The trick to getting really fine shavings is to start with the blade not cutting the wood, and gradually push the blade out until it starts to cut.
I did the setup on a piece of scrap lumber until it was taking some fine shavings.
The Plane is Finally Cutting
Here are the shavings. Not bad.
These Shavings are Pretty Fine
Once I got the plane set up, I clamped down the banjo neck with the finger board facing up.
The Finger Board is Ready to Plane
Here it is, ready to rock and roll.
Ready to Start
What actually happened, was that the plane was set too deep for the hard wood, and it chewed up the finger board a bit. So I banged the iron out of the plane and started over, setting it up directly on the finger board. Planing hard wood is a totally different setup from planing soft wood I guess.
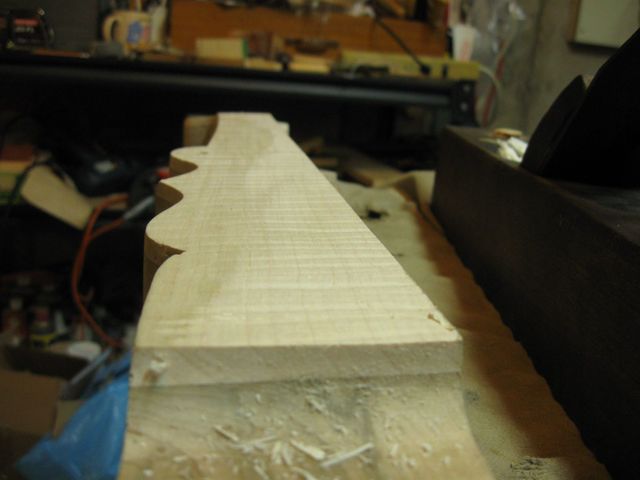
Nevertheless, soon I was taking some good shavings off of the finger board.
The Plane is Cutting Fine Shavings from the Finger Board
Sighting down the neck, you can see where the iron is cutting. The newly cut wood swirls around a bit, showing that the board is not quite exactly flat.
The Plane Iron is Flattening the Board
After a while, I stuck my straight edge on the top of the finger board to see how flat is was.
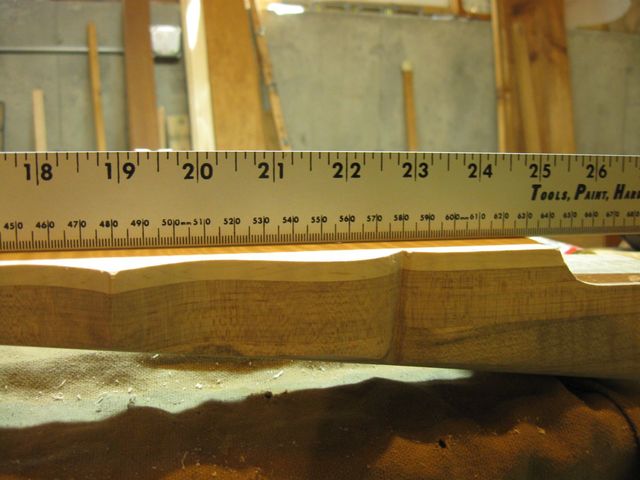
Looks Pretty Good at the Heel End
I checked the entire length of the board.
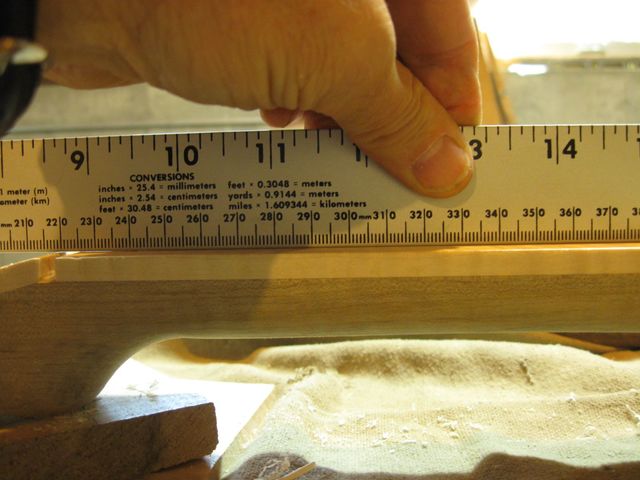
Looks OK At the Peghead End Too
Here is the quality of the shavings I am taking from the wood.
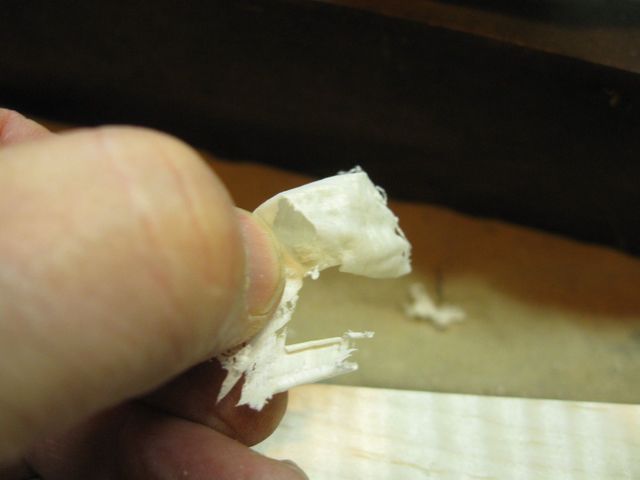
This is a Pretty Fine Shaving
The plane did take some chips out of the curly maple, so I finished it off with the cabinet scraper, which takes a finer shaving and is less prone to tearout. The problem with the cabinet scraper is that the sole is so short it can't be used to make the board flat. It is used to make it smooth. So I need to use both tools.
Back to the Scraper
I just can't get over how fine these shavings are.
Tiny Little Shavings
They are very light and lacy.
Lacy Shavings
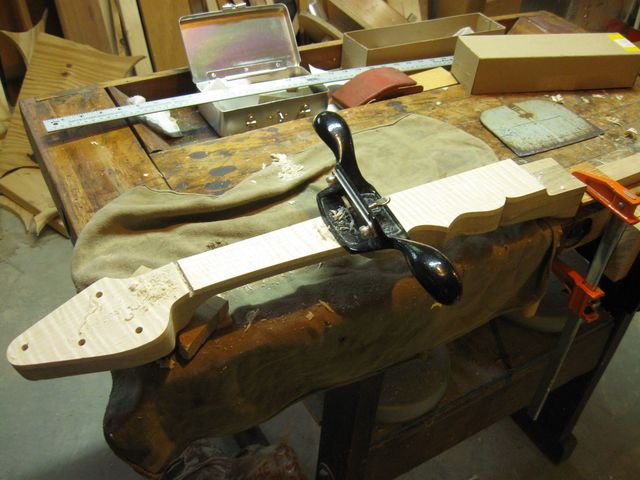
Here is the finger board all flattened and smoothed. I think it is mostly done now, although I might do some more detailing later before I stain the neck.
That Looks Pretty Flat to Me
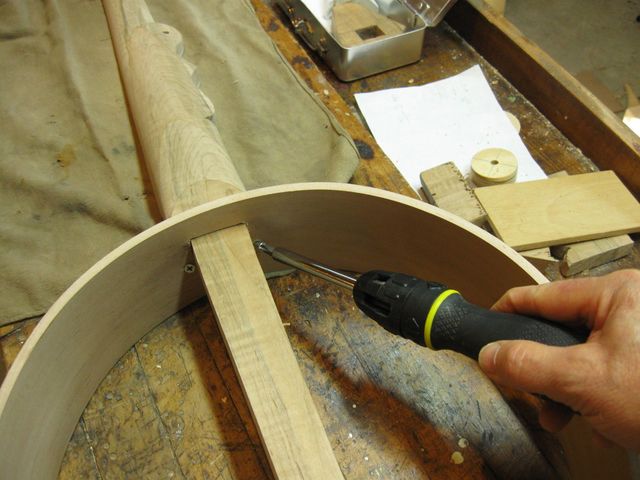
I screwed it all back together the same way I took it apart.
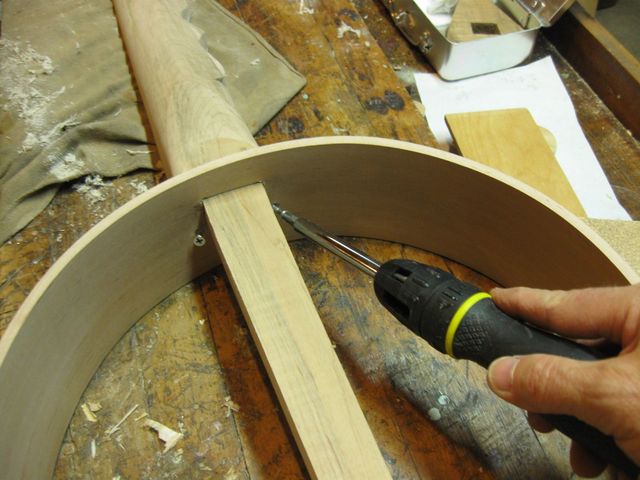
Screwing the Neck Back Into the Hoop
Here it is... another step completed. It doesn't look any different from last time, but the refinements I am making now are small. Important, but small.
Done
Next time I might stain the neck and the hoop. That will require sanding it smooth several times while wetting it down between sandings. I will explain that when I get to it.
