The other half of the tailpiece sits above the head and has the strings tied to it. The strings are held apart the same distance as they are at the nut so that the strings have a straight pull across the top of the bridge instead of pulling across the bridge at an angle.
Once again, I like the shape of the tailpiece on the gourd banjo, so I made one for this banjo that is very similar. Here is a photo of the tailpiece on the gourd.
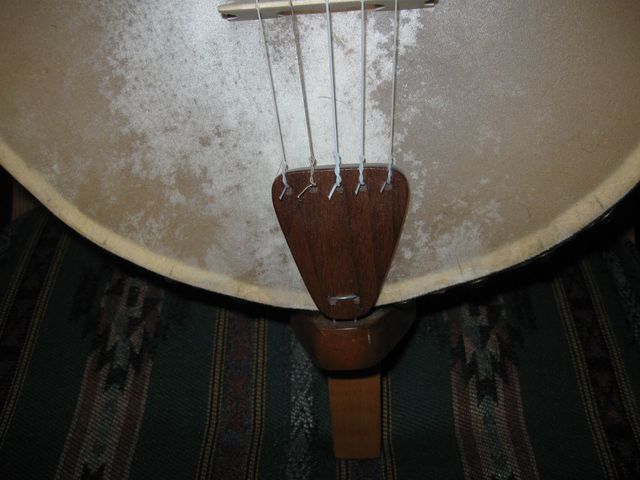
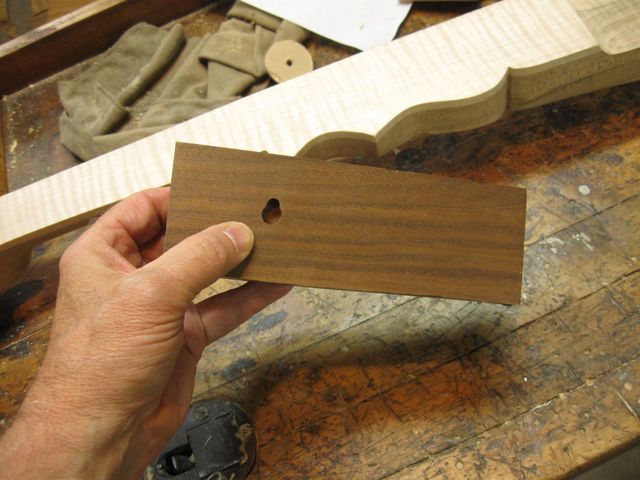
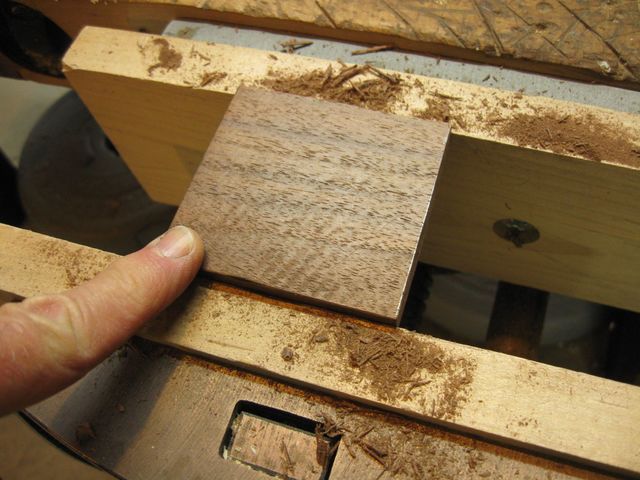
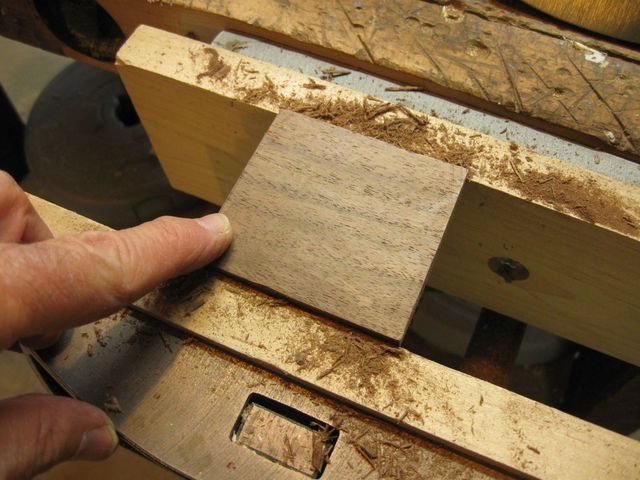
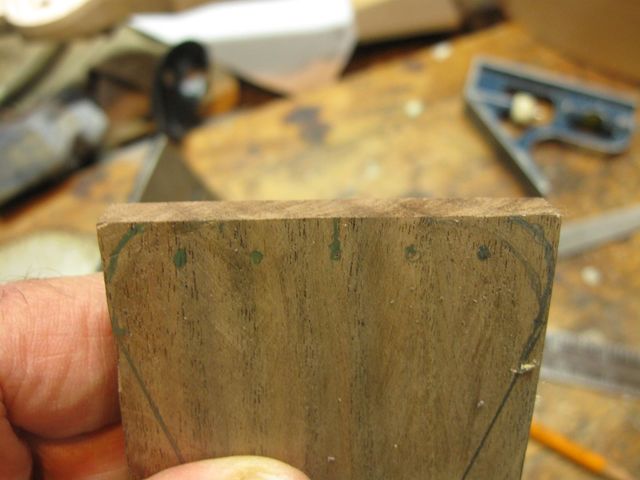
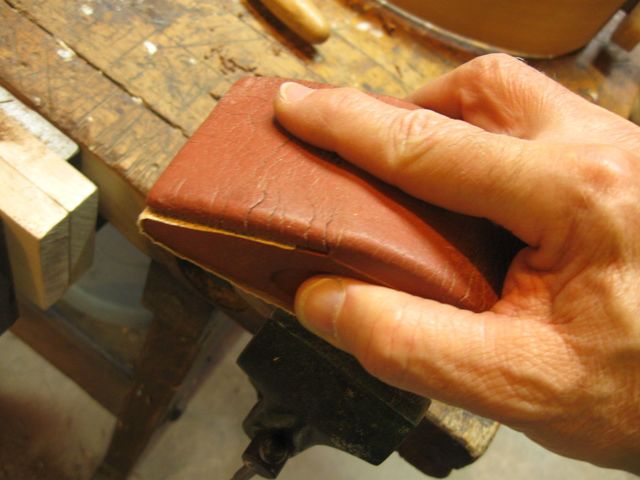
The Old Tailpiece
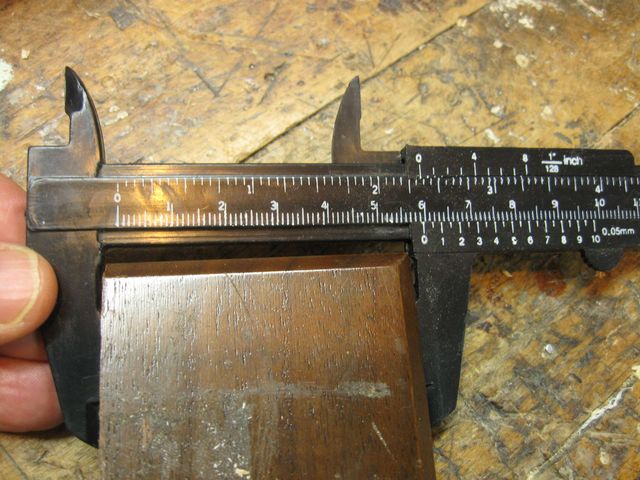
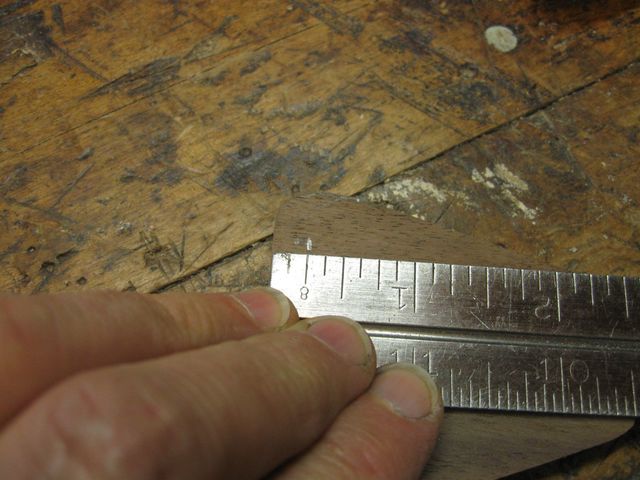
For reference, I measured the dimensions of the old tailpiece.
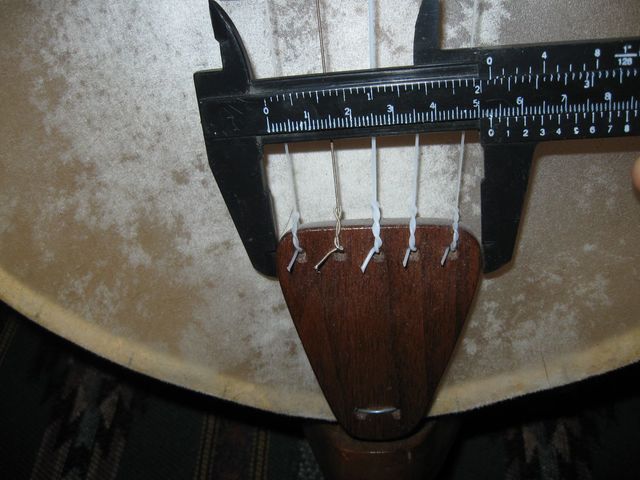
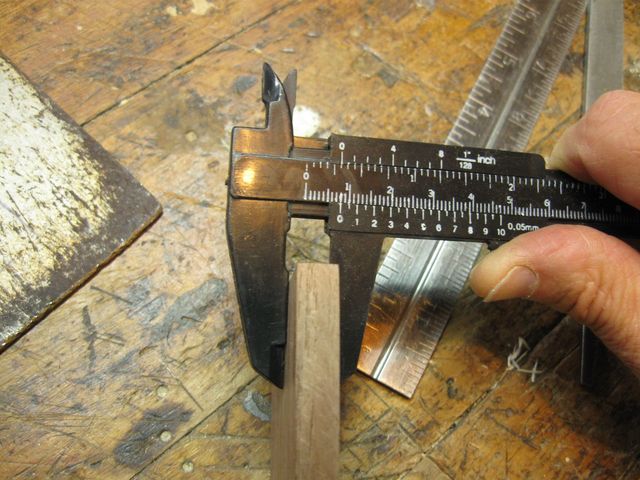
The Width of the Tailpiece is Just Over 2"
I also measured the length of the tailpiece.
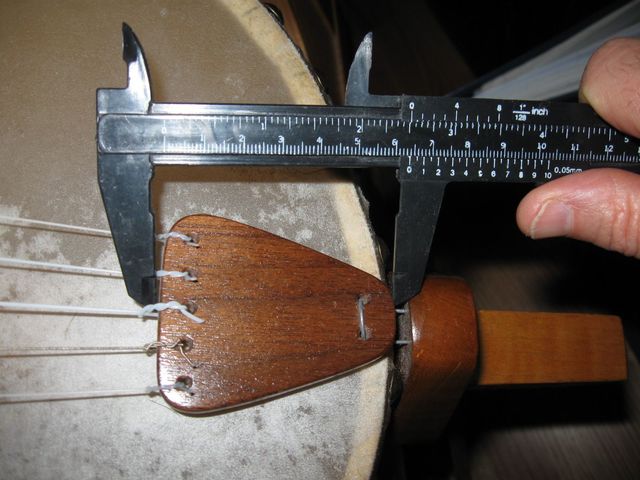
The Length of the Tailpiece is Very Slightly Over 2 1/2"
So that is what I did with the new one. I made the tailpiece out of some black walnut that I had lying around.
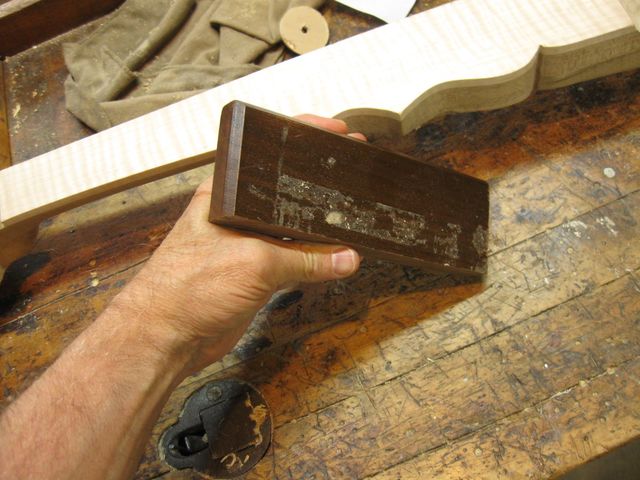
A Scrap of Black Walnut
That is what is left of a walnut plaque that I bought at a rummage sale for 25 cents. The engraved plaque itself had been ripped off, and just the board was for sale. You can see the glue that was still on it.
I used most of the board to make a stand for my Admiral Fitzroy Storm Glass, and this is what is left. You can see on the back the hanging hole that is still there. I had to avoid that hole when I cut out the tailpiece.
Avoid The Hanging Hole
Looks like the width of the board is about 2 11/32" side to side. That is slightly larger than the 2 3/32" of the old tailpiece, but after cutting and shaping it will be close enough.
This Board is Wide Enough
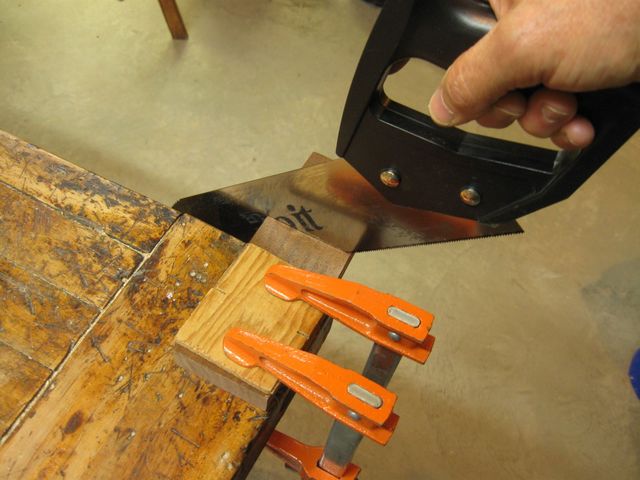
Since the board is 3/4" thick, I re-sawed it down the middle to give me two boards that are 3/8" thick minus sawdust. I did this with my panel saw because it has a very thin blade, and that will minimize the amount of sawdust I take out of the middle of the board.
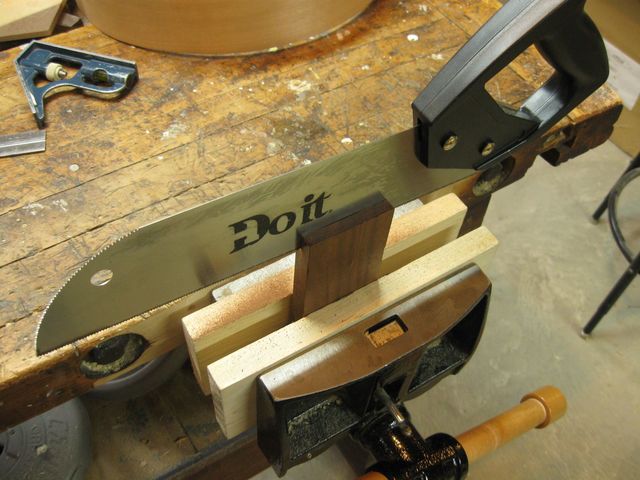
Re-Sawing With My Panel Saw
Do not take the positioning of that Great Big Brand Name Logo on the saw as a personal endorsement for this brand. In fact, the saw is very finicky, and it binds in the kerf a lot. The teeth are sharp, but they have no set at all, so the saw binds. I might have to go find a different saw. I have an older panel saw that used to work fine... except that it got dull and I could not sharpen it anymore. The blade bent when I tried to set those tiny teeth. So I bought this new one thinking that it would be better. Not so much.
Anyway, here is another photo of the saw... this time with the Great Big Brand Name Logo buried in the wood so I don't have to look at it.
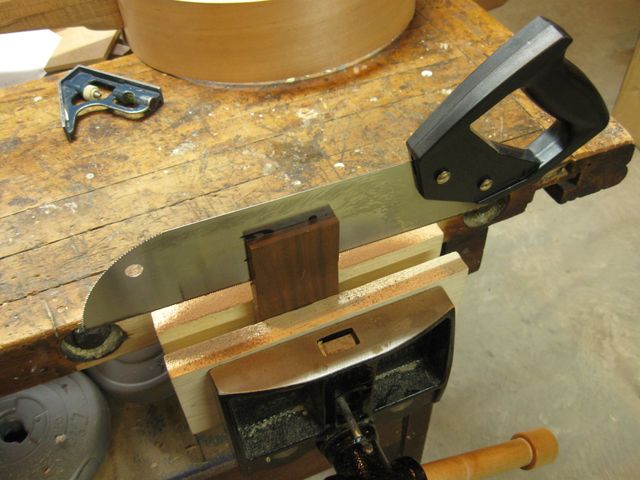
The Do It Best Saw Doesn't
I should stop complaining. It worked OK as a rip saw in this wood, so we moved on. After I sliced the wood in half lengthwise, I cut off the two pieces.
Cutting Off the Two Pieces of Wood
A funny thing happened though. Somehow I didn't cut all the way through, so I ended up with the two pieces of wood still joined at the bottom.
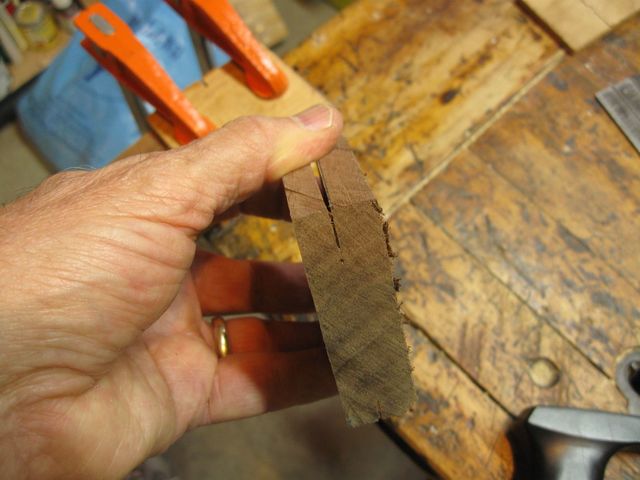
The Two Pieces are Still Joined Together
I just stuck the panel saw between them and finished the cut. No big deal. Here is the piece that I will make the tailpiece out of.
I Will Use This Piece
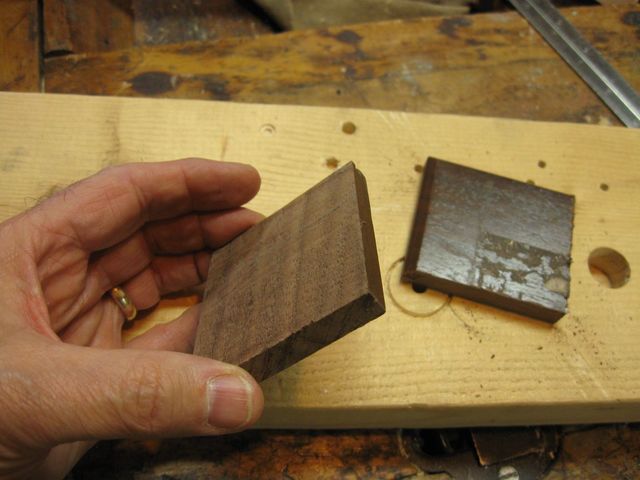
The saw marks were easily removed using the cabinet scraper. The scraper is dead easy to set up, and it takes very fine shavings. So on a small piece like this it is much easier to use than a plane.
I Used the Cabinet Scraper to Dimension the Wood
The other side of the wood still has the finish on it from when it was a plaque. I don't know if you can see it in this photo.
This Side Still has A Finish On It
After scraping it, the finish is gone.
The Finish is Gone And We Have Bare Wood
Let's see how thick our piece of wood is.
Looks Like It Is Just Over 5/16" Thick
Looks like it is about 5/16" thick. That is an OK thickness. It isn't critical. I might be taking a bit more off of it when I sand and finish.
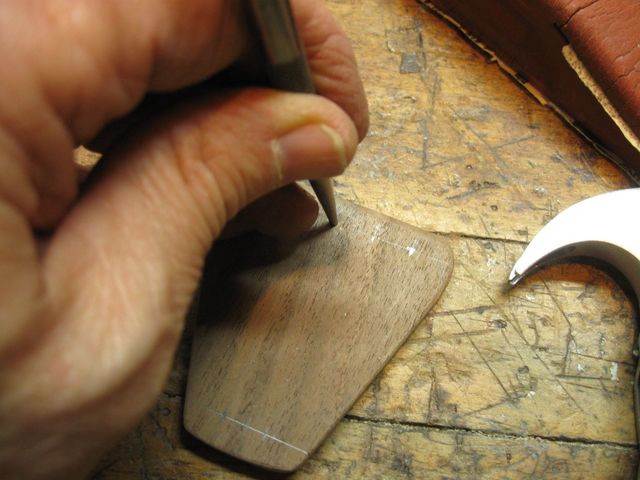
I drew the basic shape of the tailpiece on the wood freehand. The shape is not critical, so why not just have some fun. The narrow part at the bottom will be connected to the other part of the tailpiece, the one that slips over the dowel. That narrow part is about 1" across.
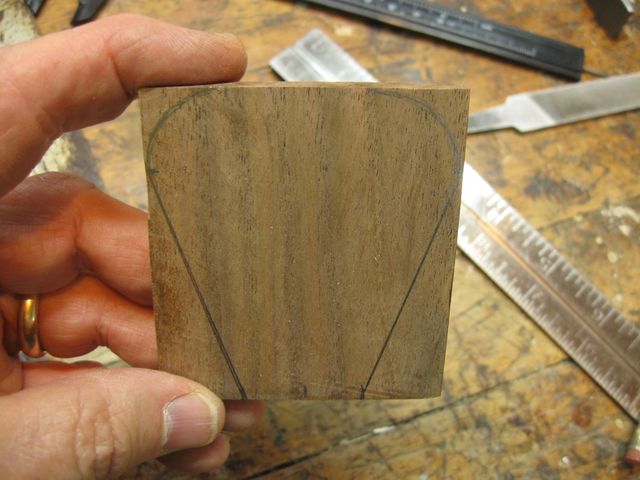
The Basic Shape of the Tailpiece Has Been Drawn
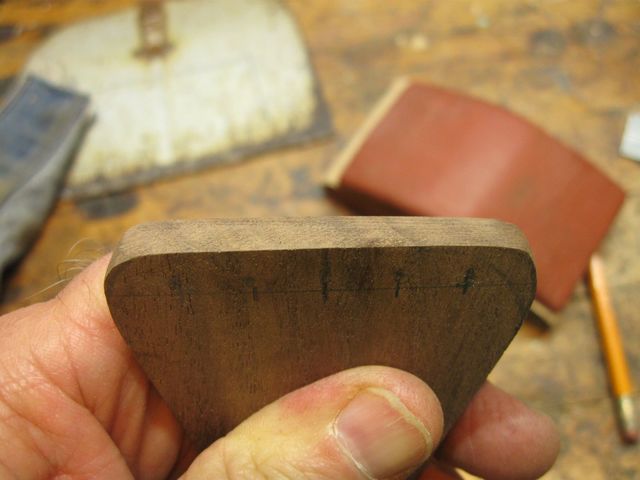
I roughly marked where the string holes will go. They have to be 1/8" from the edge of the tailpiece and 3/8" apart in order to match the spacing at the nut. You can see that after I marked the string holes, I decided to redraw the rounded part of the tailpiece to provide some extra space around the strings. The corners have been made sharper.
Locations of the Holes Have Been Marked
I tried to cut the angles with the panel saw, but it was binding in the kerf again, so I said the heck with it and got out the coping saw. The coping saw never binds in the kerf unless I am making a cut that has a sharp curve. In this case, I am making a straight cut, so there is no binding.
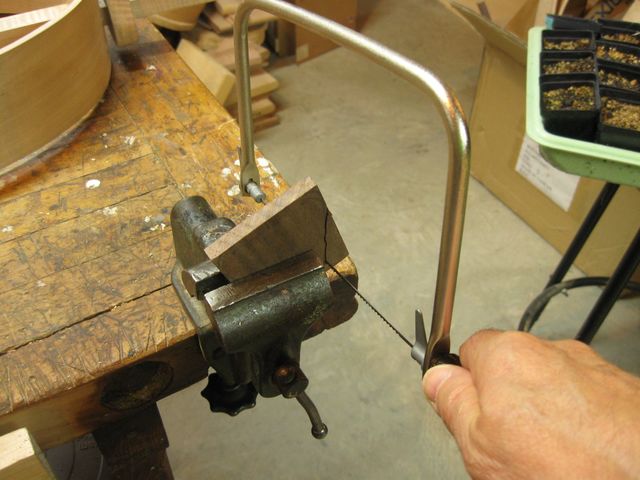
Coping With The Coping Saw
Well, OK then. That cut wasn't as straight as I had hoped it would be.
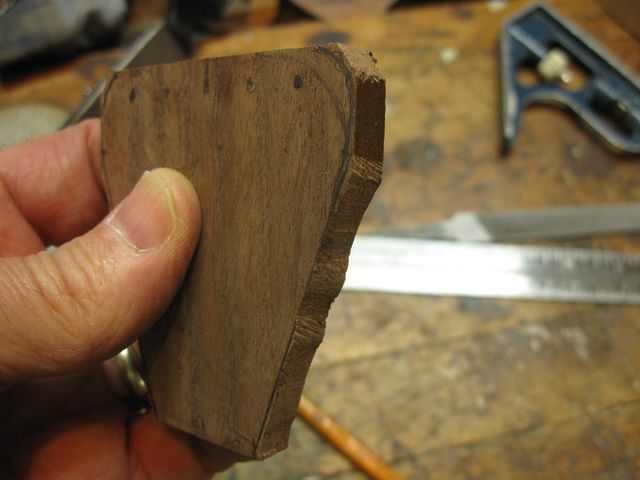
That I One Crooked Cut
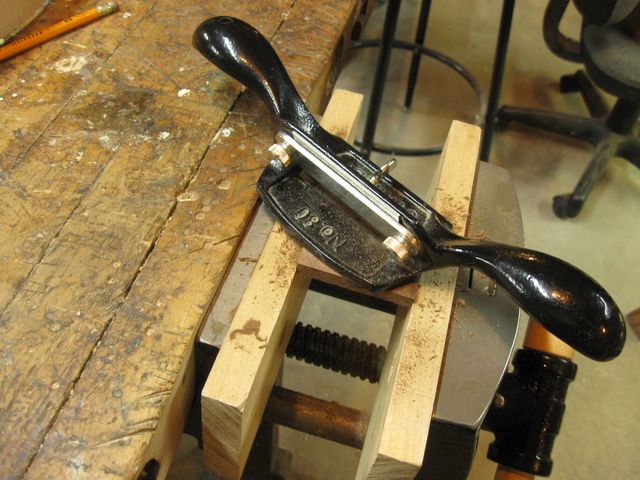
No problem. I got out my spokeshave and squared up those angles very quickly.
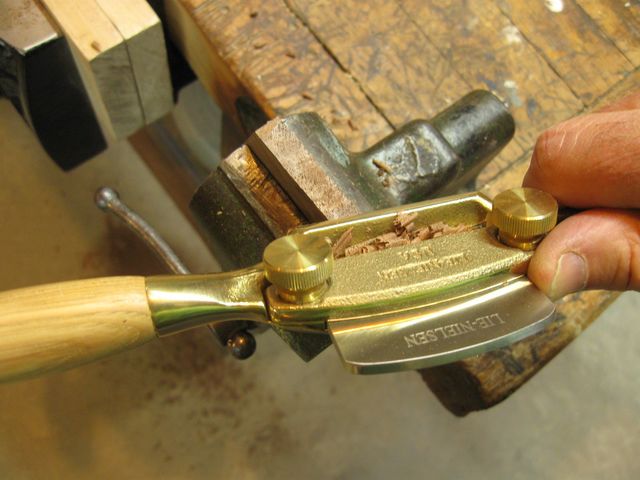
The New Spokeshave Cuts Very Fine Shavings
After I straightened out the cuts with the spokeshave, I smoothed them with the sandpaper.
The Sandpaper Finishes the Shaping
I had taken off some wood with the sandpaper, so I measured the location of the holes again, this time more accurately. The holes are 1/8" back of the front edge and 3/8" apart.
It is Best To Measure Everything
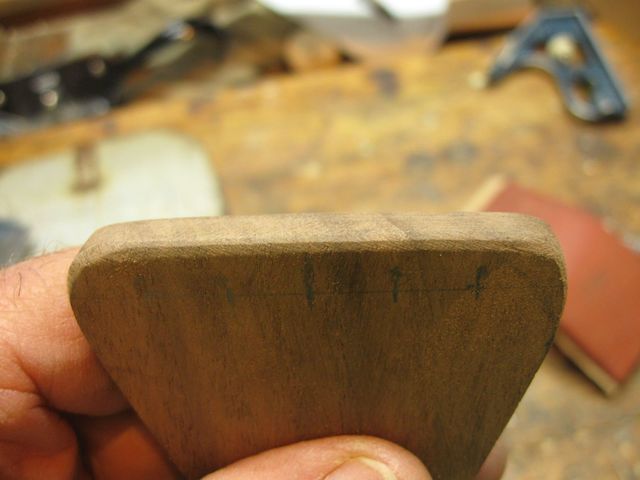
While I was measuring the locations for the holes, I noticed that the tail end of this thing is not very even either. I cleaned that problem up with the spokeshave and the sandpaper as well.

That Is Not a Pretty End
Here is another problem. The edge of the tailpiece where the strings tie to it is quite sharp. An edge like that will cut through a taught string and cause it to break.
This Sharp Edge is Not A Good Thing
I took the sandpaper and chamfered the whole thing all the way around.
A More Rounded Edge Is Preferred
Time to drill out the string holes. I punched them with the center punch to start the drill.
The Hole Locations Get Marked
There they are, ready to drill.
All of the Hole Locations Have Been Punched
I used a 7/64" drill bit to drill out the holes. That is the size I used before, so I used it again. It seems to have worked before. I have a vague memory of starting on one of my banjos with a 1/16" bit and re-drilling with ever increasing drill sizes until the strings would actually go through the holes... and I ended up with 7/64".
But I could just be making that up.
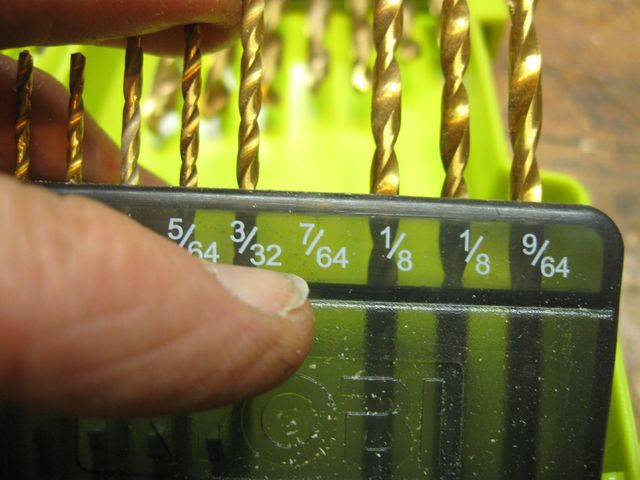
The Bit I Used Was 7/64" In Diameter
Drilling is the same as ever. Just clamp it down and drill it out.
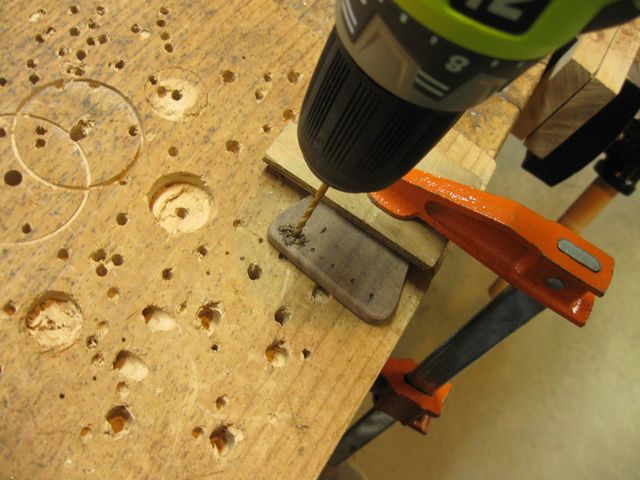
Drilling The Holes
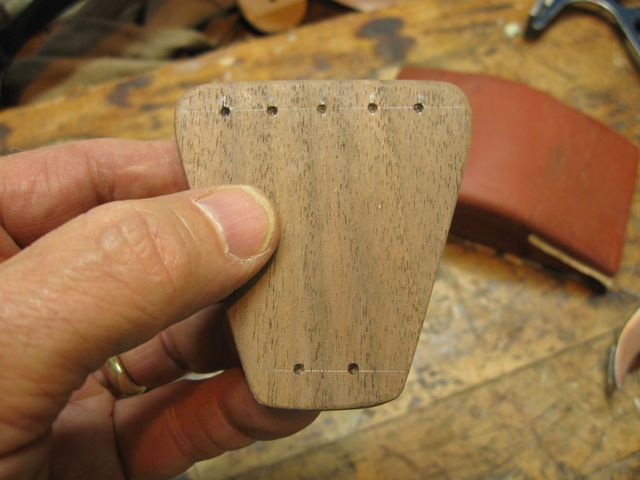
All of the holes have been drilled.
The Holes Are Done
The holes at the narrow end are also 3/8" apart. When I assemble the banjo I will drill equivalent holes in the other tailpiece and wire the two of them together with baling wire.
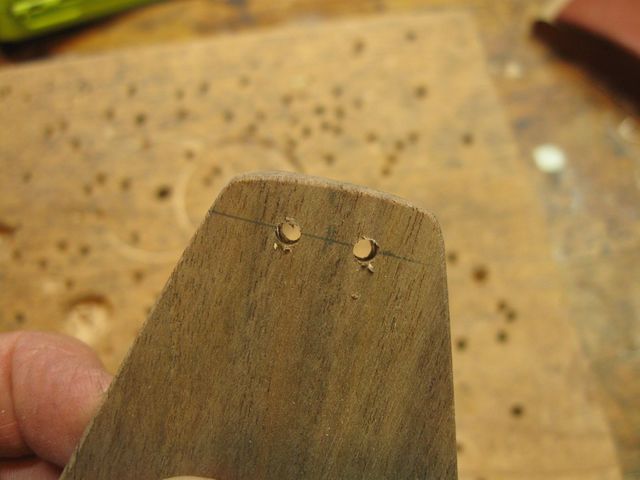
The Narrow End of the Tailpiece
The sharp edges of the holes present the same problem as the sharp edges of the tailpiece, so I chamfered them as well.
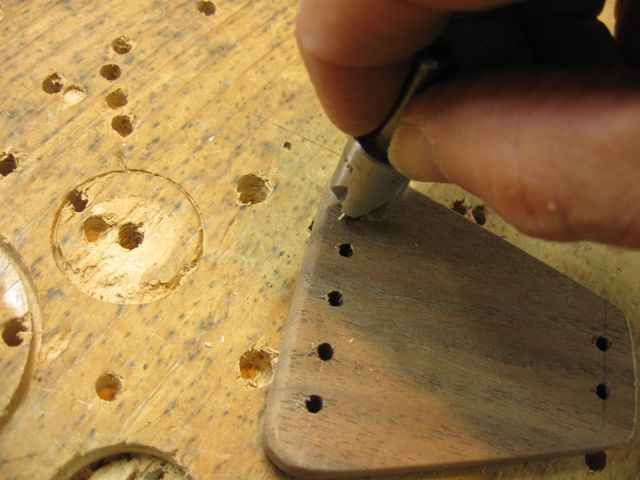
I Used My Screw Recessing Tool By Hand
Here is the first one done. Looks pretty good.
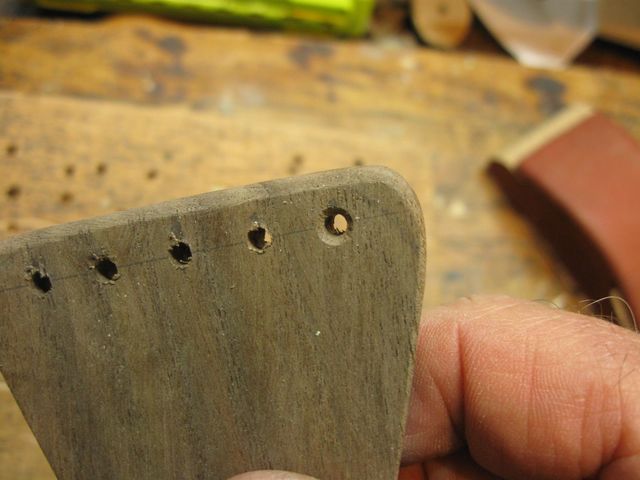
The Recessing Tool Does a Good Job
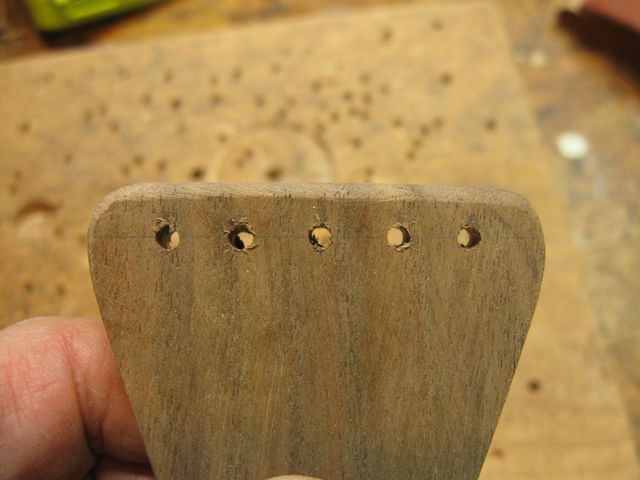
Here they all are. Nice, even chamfers.
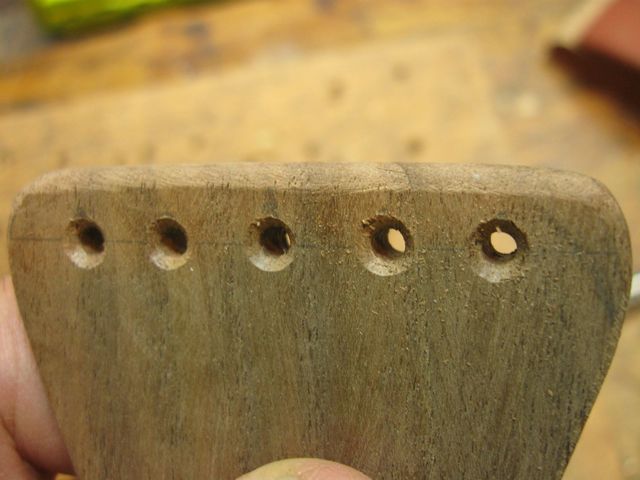
All the Holes Are Chamfered
Here is how the top tailpiece will hook to the one that slips over the dowel. It hovers over the banjo head when it is under string tension.
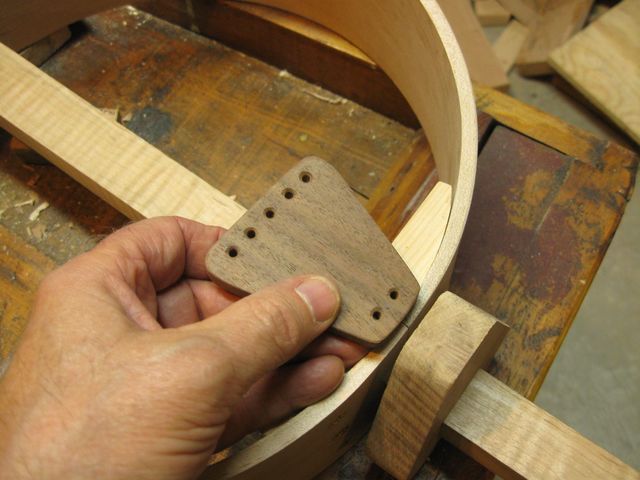
The Tailpiece Goes Here
I don't want to lose this, so I put it away in a nice aluminum box that I bought at the rummage sale for about a quarter.
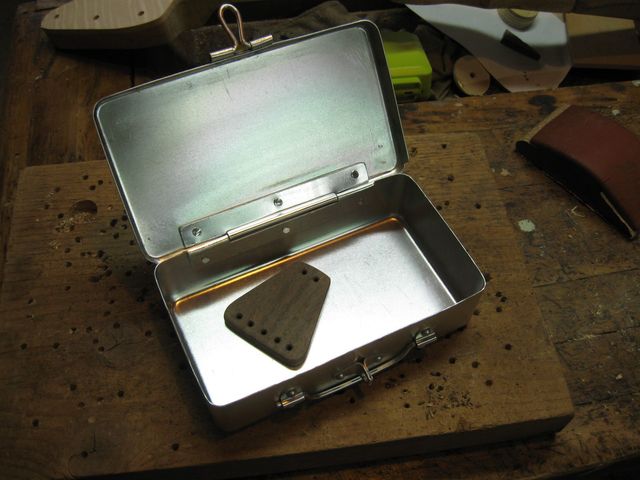
Safe And Sound in the Box
All ready to go when I assemble the banjo. Now, as long as I don't lose the box....
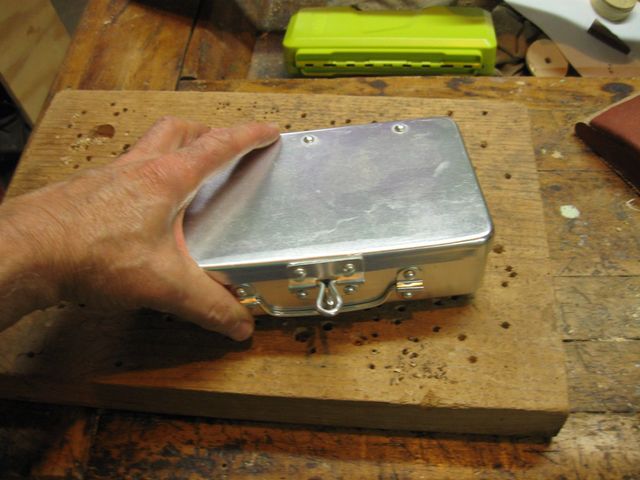
Savely Huddled Inside the Box
