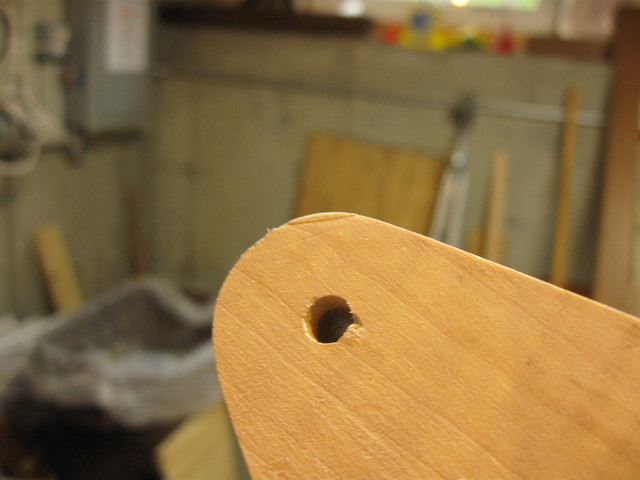
Now that the neck has been planed flat, I need to sand it before putting on the stain and the finish. But before I started sanding it, I noticed some chips that I took out of the finger board when I planed it. Up by the nut, there is still a notch that I don't like.
I Don't Like the Look of This
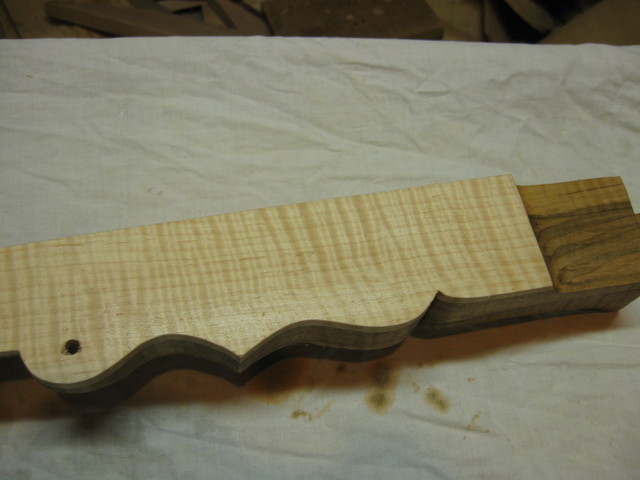
Down by the frailing scoop there are also some blemishes.
I Chipped out Some Wood Down Here As Well
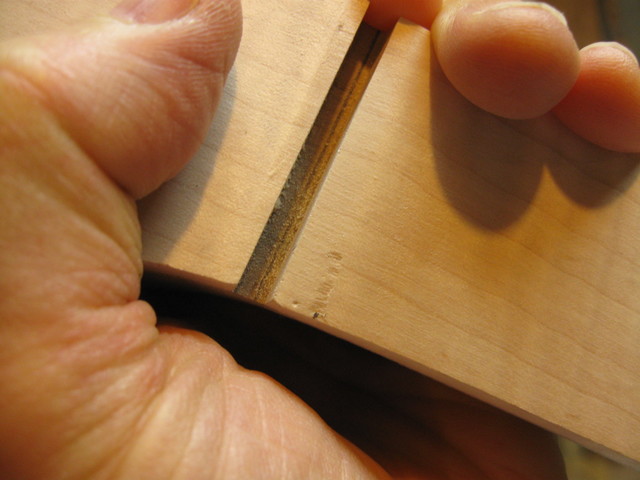
And there is still a slash at the end of the peghead that I want to get rid of.
This Slash is Still Here
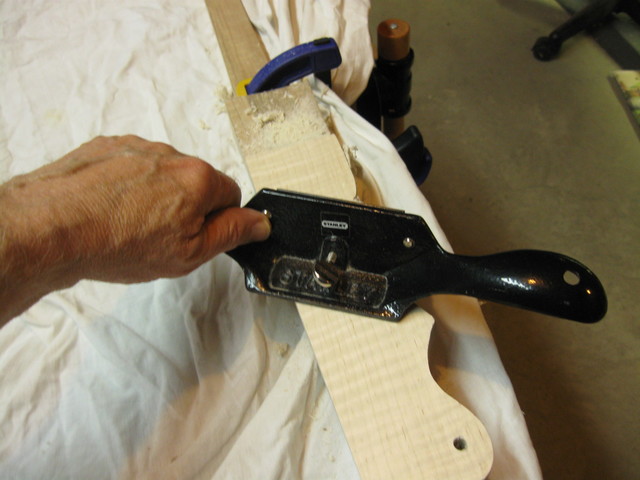
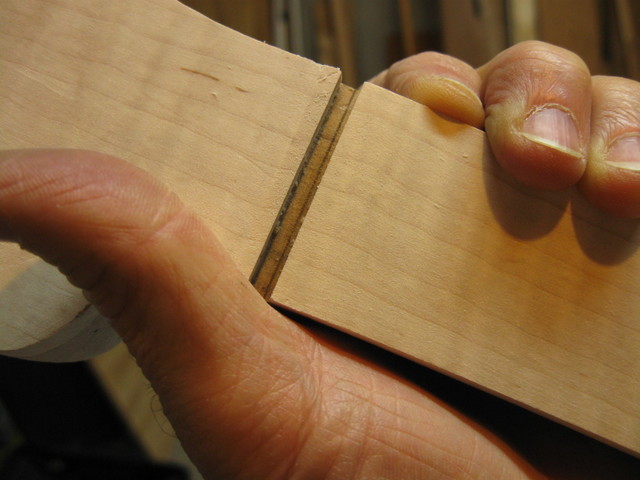
This work for my cabinet scraper. So I put a new edge on the scraper blade and started working the finger board again, taking off very fine shavings.
The Scraper Takes Fine Shavings
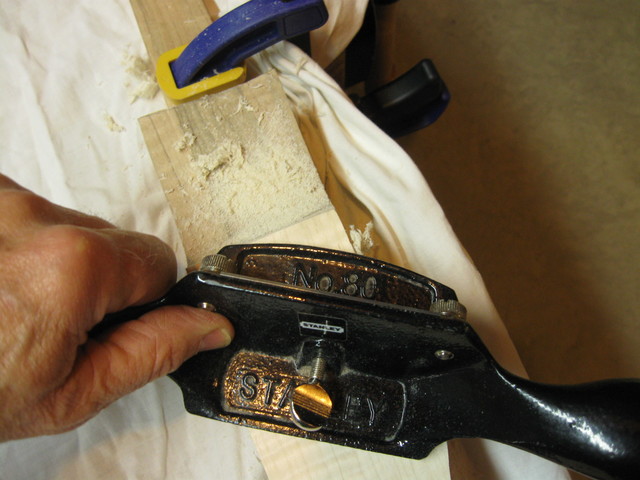
In order to keep the scraper from falling off the edge of the finger board and nicking it again, I scraped it at an angle. That keeps more of the scraper sole on the wood longer so that I can keep it level.
Scraping At An Angle Ensures a Clean Exit
Here is a closer view.
A Closer View of the Scraping
I did the same thing up at the nut end.
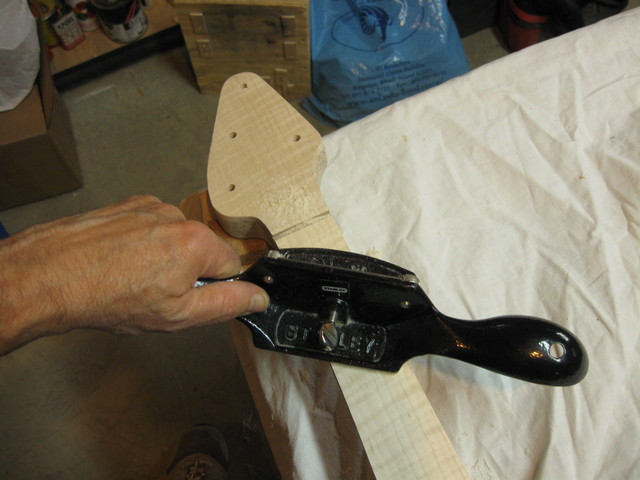
Scraping the Finger Board at the Nut
While I did this, I continually checked the flatness of the finger board with my straightedge so that I would not inadvertently cup the board. The finger board has to remain flat along its length and width.
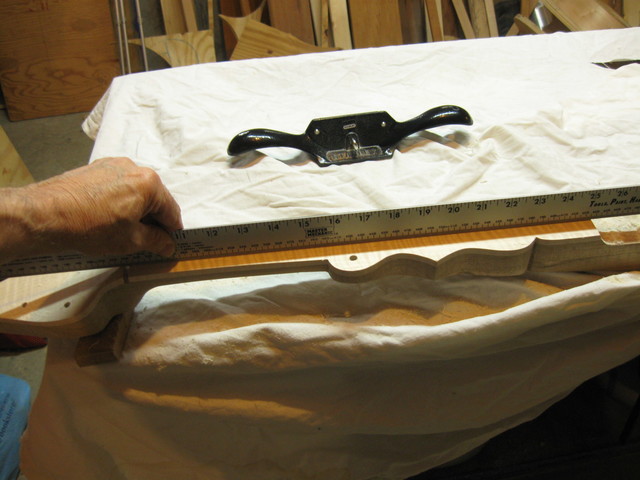
The Straightedge Keeps the Board Flat
A few minutes later, the nick at the nut is gone.
No More Tearout at the Nut End
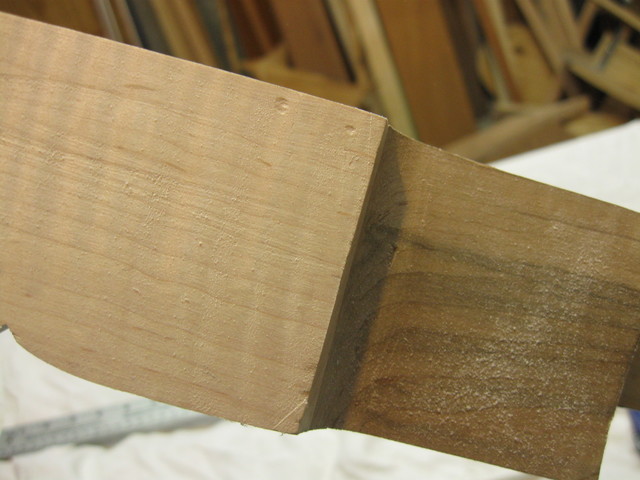
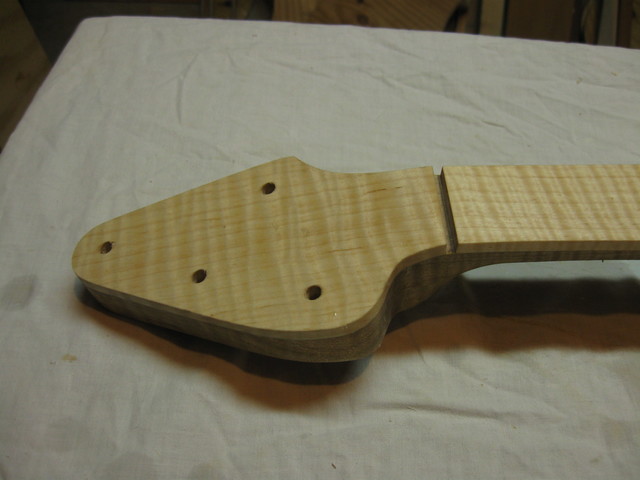
I have made progress on the tip of the peghead, but there is still a blemish there.
Not Completely Done at the Peghead
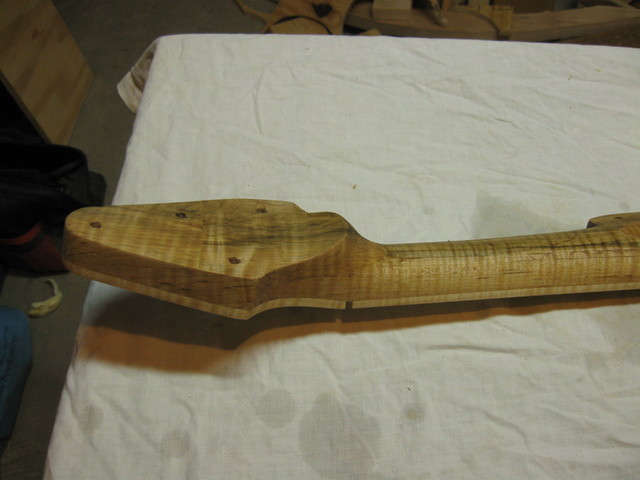
Similarly, down by the frailing scoop, there is still some wood to remove.
Alomst Gone, but Not Quite
I decided to finish up with some coarse sandpaper. This is 120 grit paper.
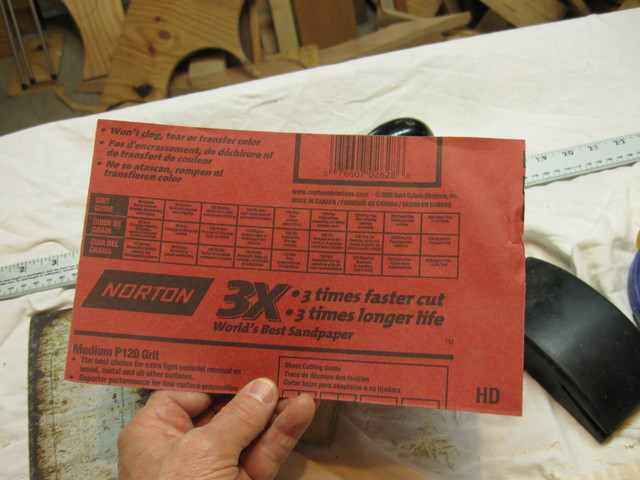
I Used 120 Grit Sandpaper to Finish Up
I put it on my new sanding block.
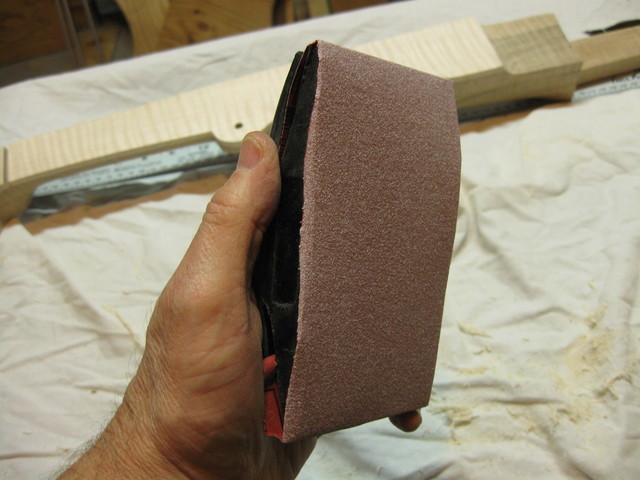
The New Sanding Block
I sanded down the wood to finish removing the blemishes. This sandpaper cuts very quickly.
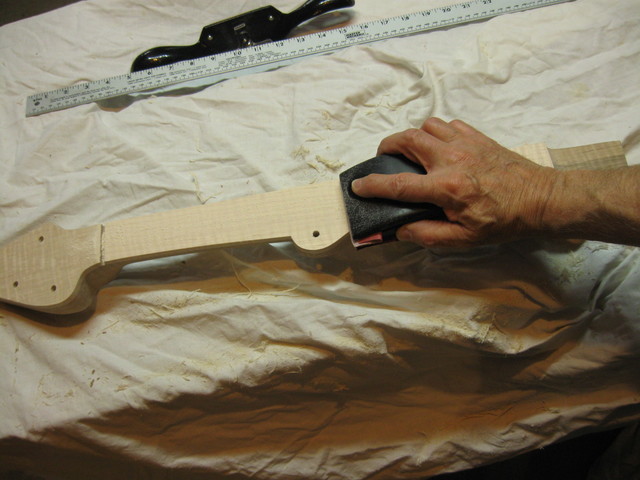
Sanding Flat Surfaces with the Block
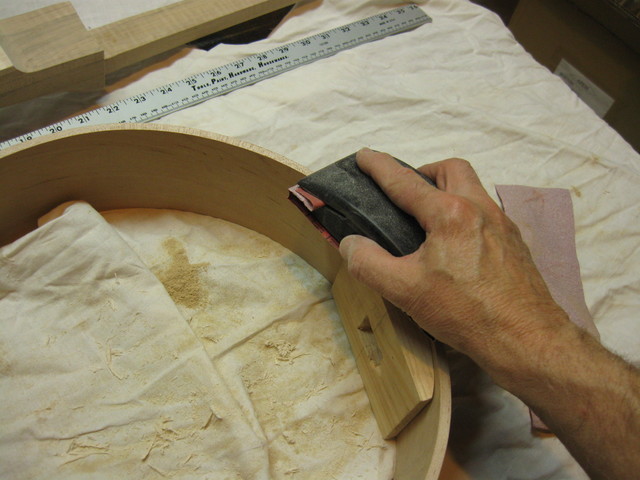
For the round surfaces, I used an plain piece of sandpaper.
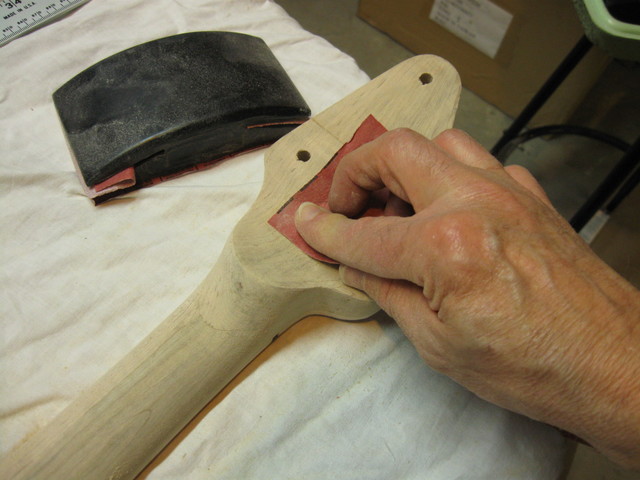
Sanding the Concave Part of the Handstop
I sanded the outside of the hoop.
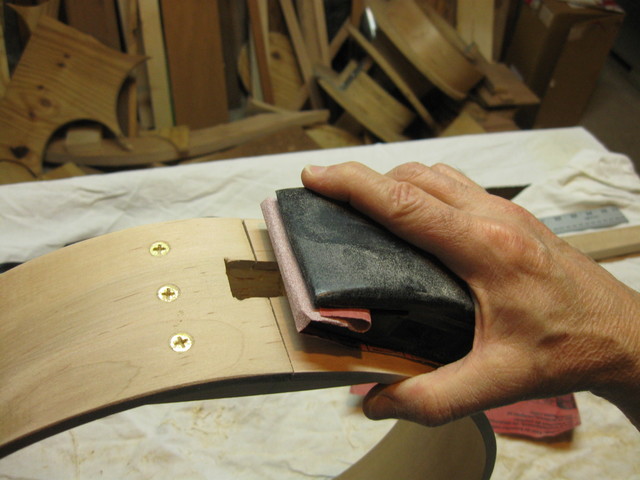
Sanding the Hoop
I sanded the edge of the hoop, chamfering the edge of it where the skin head will be stretched over it.
Chamfering the Edge of the Hoop
After sanding with the 120 grit paper, I switched over to 150 grit paper to finish. I have read that sanding figured maple with very fine sandpaper will dull the effect of the figure once it has been finished. It fills the pores or something and the stain will not take as well. I don't know, but I will try stopping at 150 grit before putting on the stain, and then after the stain is on I will finish it off with 220.
OK. Enough sanding. I had to go find my stain. I had packed it away three years ago when we moved out of the old house, and I need to unearth it for this project. I found it under the bench where I had put it when we moved into the new house. Here is it, still packed.
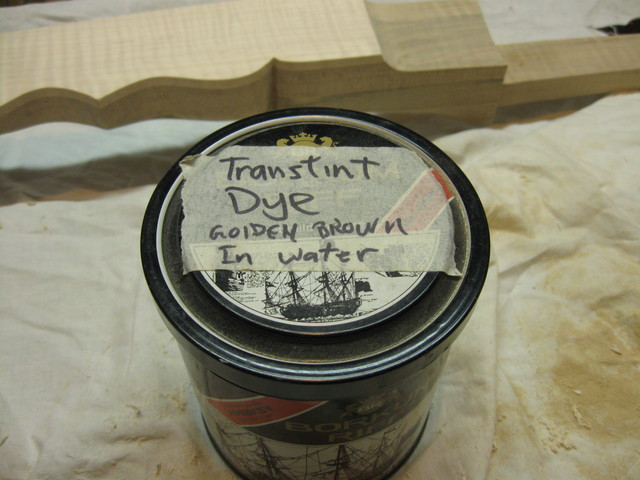
The Stain
This is the stain that I used for my previous banjos. I bought a concentrate at the woodworking store and mixed part of it with water. I have a few ounces of it, diluted, in a glass jar inside of that can. You can read about the stain on one of my previous web pages, so I won't repeat that information here.
The little bottle of concentrate contains enough to make two quarts of the diluted stuff, and I only made up one cup, so there is enough left to make 7 more cups. I have used this batch to stain three banjos, and barely any of it is gone. So, at this rate, I have enough stain to last the rest of my life. Scary.
This stain is very concentrated stuff, so I packed it well to avoid breakage and a spill. Now I need to dig out the stain and see what is left in there.
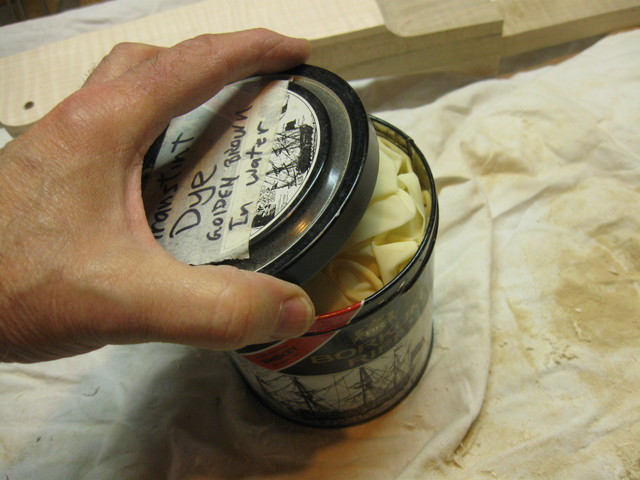
Opening the Lid
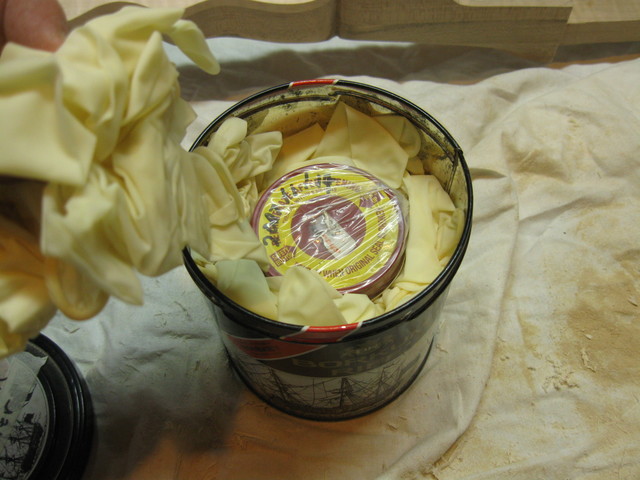
I packed the jar into the can with old rubber gloves that had gone bad. You can see that the can is completely full of them.
Full of Rubber Gloves
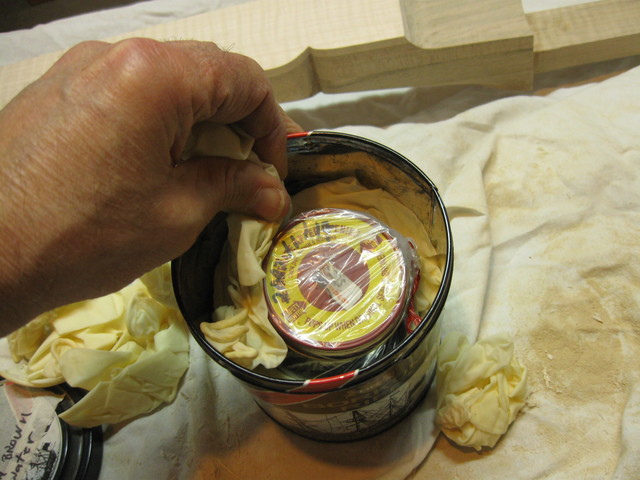
Pulling out the gloves, I have found the jar of stain.
There's the Top of the Jar
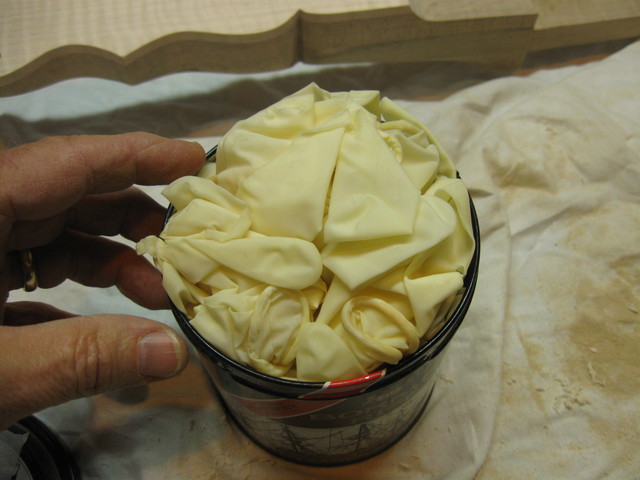
I pulled out the gloves that were packed around the jar.
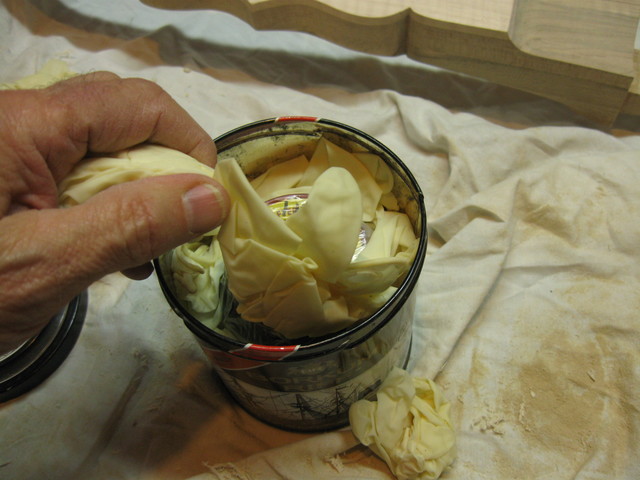
Pulling out More Gloves
Pulling out even more gloves. I really packed this thing tight.
Even More Gloves Come Out
Well, there it is.... wrapped in a plastic bag just in case.
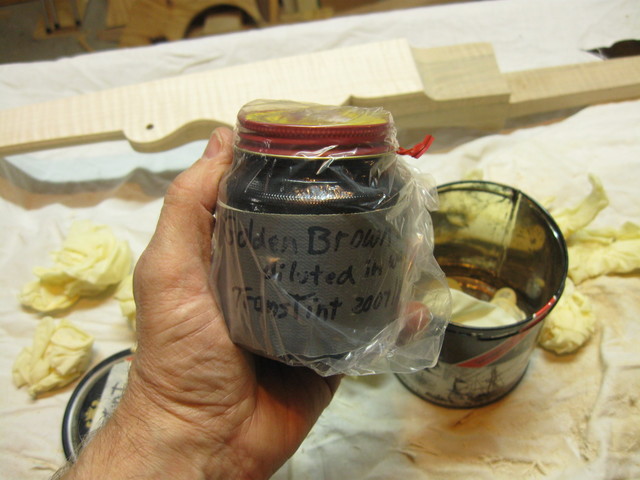
The Jar is Bagged, Just In Case
It turned out that the lid of the jar was stuck shut, so I fetched the jar opener from the kitchen to crank it open.
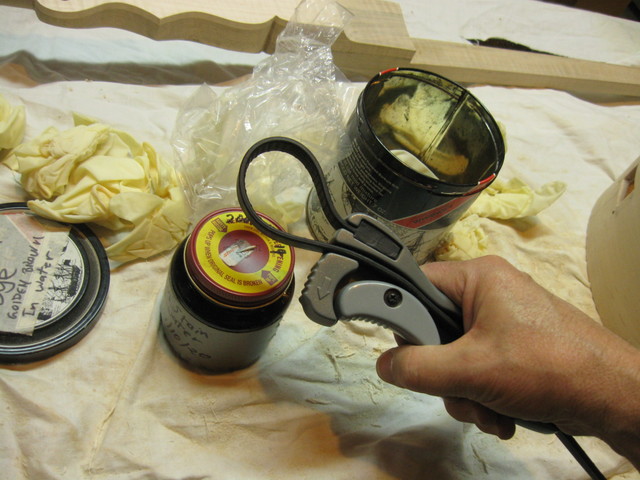
This Should Make Short Work of that Lid
That worked. I shook up the stain a bit to mix it up in case it had settled. That is what made the bubbles.
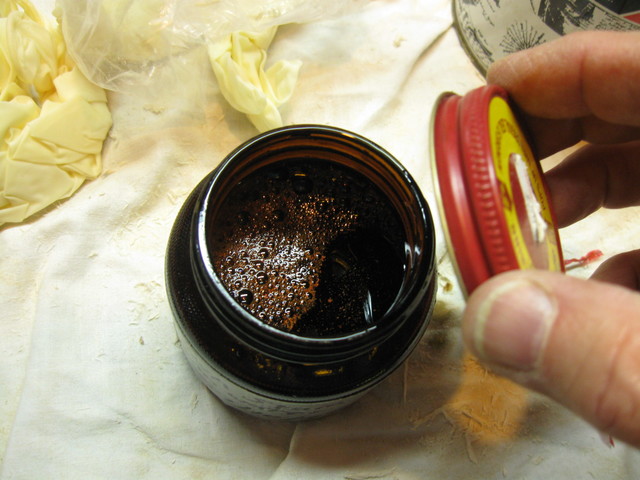
Here is the Actual Stain
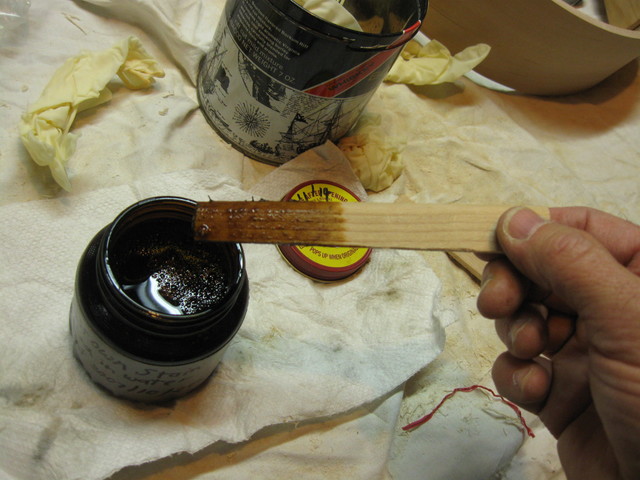
I made a stirring stick out of some scrap so that I can see what is in there.
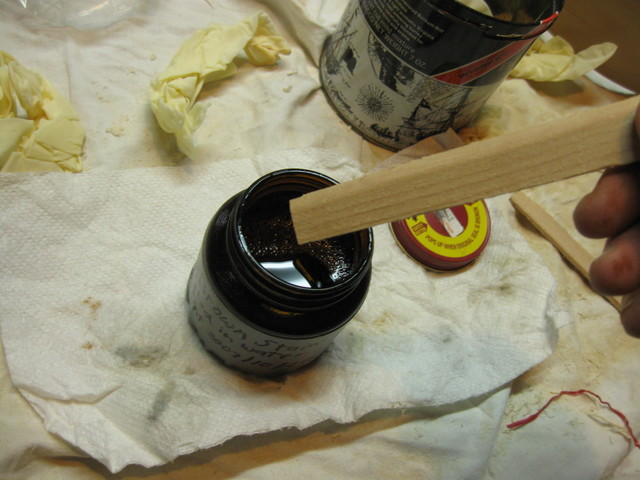
The Stirring Stick
Stirred 'er up some.
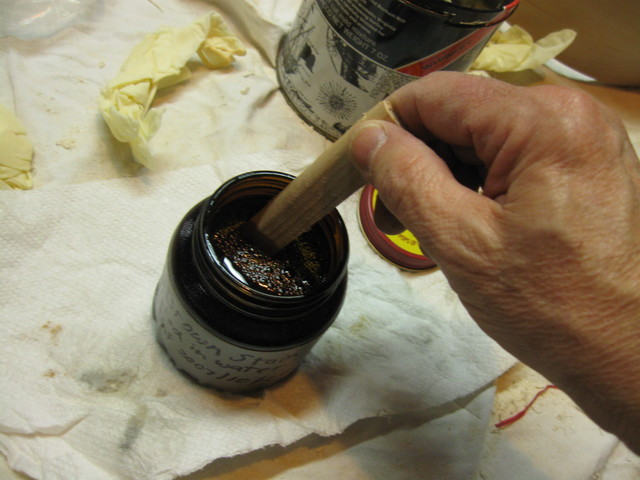
Stirring the Stain
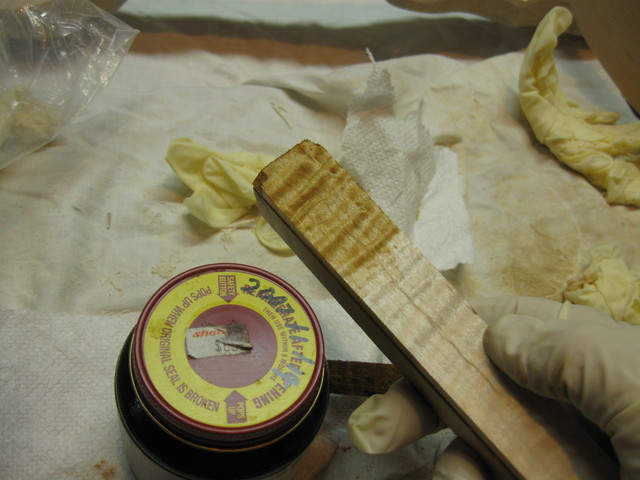
Yep. That's stain in there.
Stained Stirring Stick
To see what it will look like on the maple, I tried it on a piece of scrap that I had cut off when I was shaping the neck.
Staining a Piece of Scrap
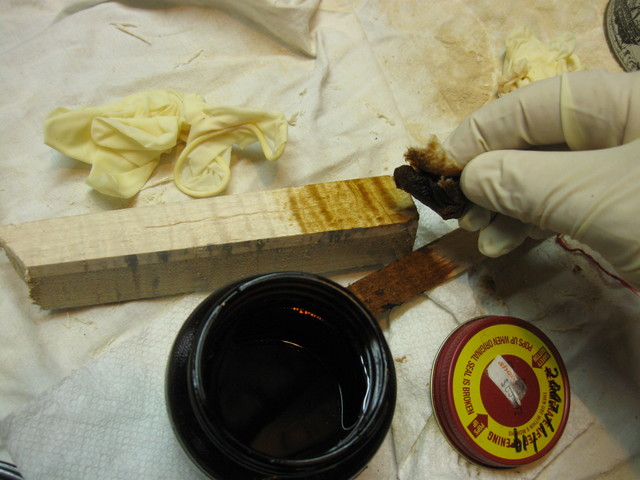
Here is what the stain will do to my banjo parts. Notice the rubber glove. This stain is very strong, and unless I want my fingers to look like I am a life-long smoker, I need to wear gloves whenever I handle it. I like that color in the wood. It makes the banjo look like old maple, but without having to wait 20 years to let it happen naturally.
This is the Color the Stain Makes
It is good to know that the stain is still there and functional. I am not going to stain today because I need to wet sand the wood a few times before I do that.
There are two ways to dilute this concentrated stain, in water or in alcohol. The water stain is less likely to streak, and will probably come out more even than if I had diluted it in alcohol. But the water will raise the grain of the wood and make it necessary to sand the wood again after application of the stain. If I sand the wood too much after staining, the sandpaper will cut through the stain and cause it to be uneven. Therefore, before I put the stain on, I go through a series of wetting the wood with plain water, letting it dry and sanding.
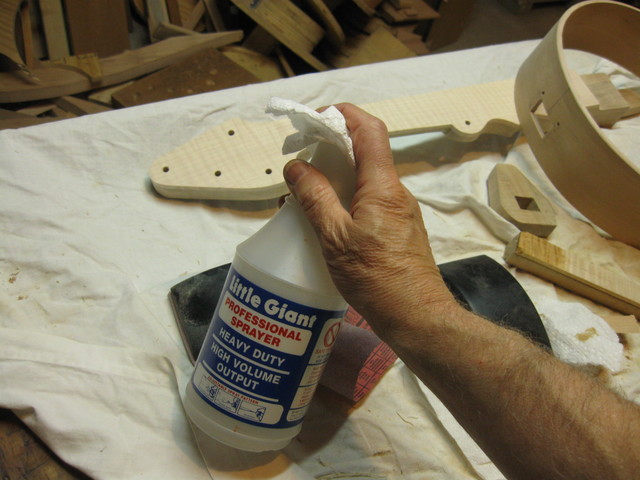
Getting Water from my Spray Bottle
I got the water out of the spray bottle that I use to keep my acrylic paints moist when I am painting. There is nothing special about that, it was just close at hand, so I grabbed it. It's just water.
After wetting down the wood, before it dries, it looks about the same color that it will be after it has the finish on it. It gets light again after it dries, but this gives me a brief peek at what the color of the neck will be after it has been completely finished. Here is the wet finger board.
The Curl Comes Out on the Finger Board
The water brings out that nice curl on the finger board. The stain and finish should do the same thing. Here is a photo of the peghead.
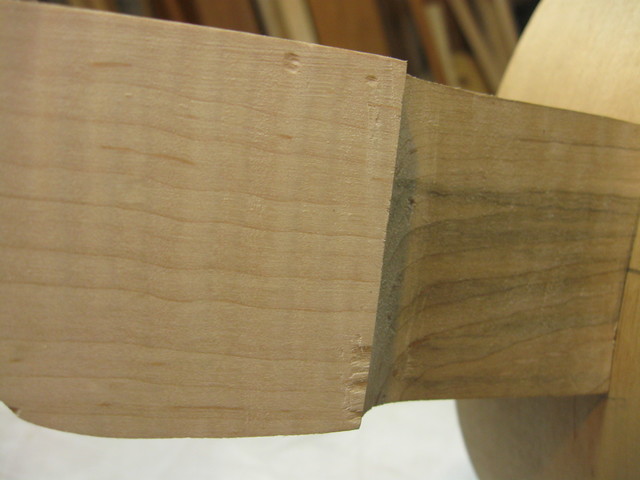
The Peghead Overlay was Cut From the Same Board
The peghead overlay and the finger board were cut from the same piece of wood. You can see that the curl pattern crosses over the nut slot from the finger board to the peghead. Cool
The back of the peghead has both grain and figure in it. It is also a darker piece of wood than the finger board. That ought to provide a nice contrast.
The Back of the Peghead
There is some nice figure down by the heel as well.
Figure in the Heel
Hey. Look at that spot on the cloth under the neck. Looks like some of that stain escaped. This really is concentrated stuff. Spilling the stain is something that I have to avoid.
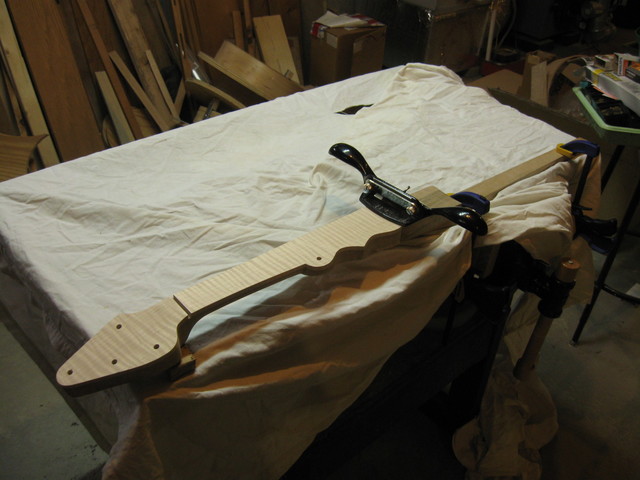
Here are all the banjo parts, wet to raise the grain.
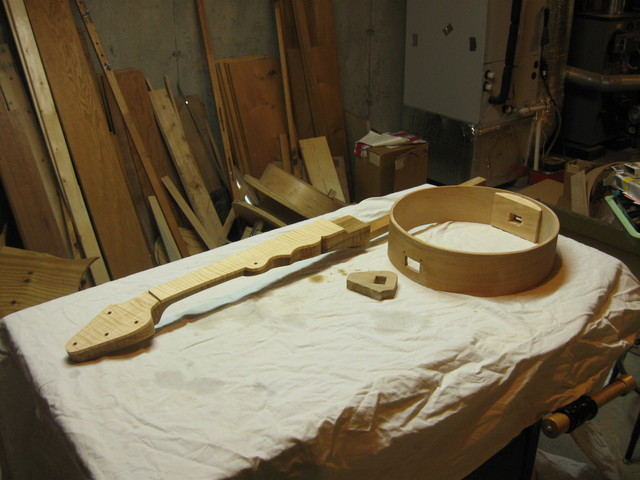
These Parts are All Wet
Tomorrow, I will sand them again and apply more water.
