This is the part of carving the neck that everyone shows in their tutorials. This is the fun part, where you take your tools and shape the neck so that it is rounded to a comfortable shape. Real progress is made quickly, and the shavings fly. So it is a popular part of the process.
Here are the tools that I use to carve the neck. There are the spokeshaves and the hook knife. That is just about it.
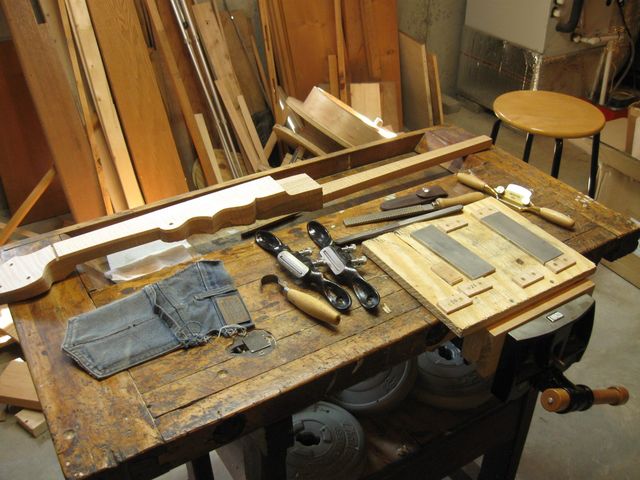
The Tools I Use to Carve the Neck
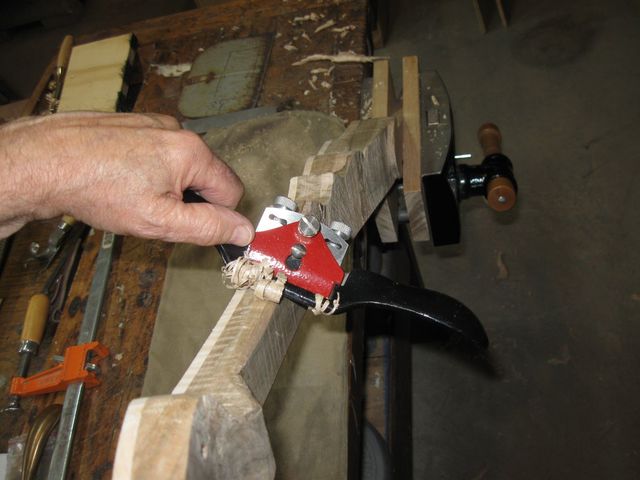
The first thing I did was to cut down the side of the dowel because it was still a bit off center. The new spokeshave made quick work of that job.
The Spokeshave Makes Quick Work of the Dowel
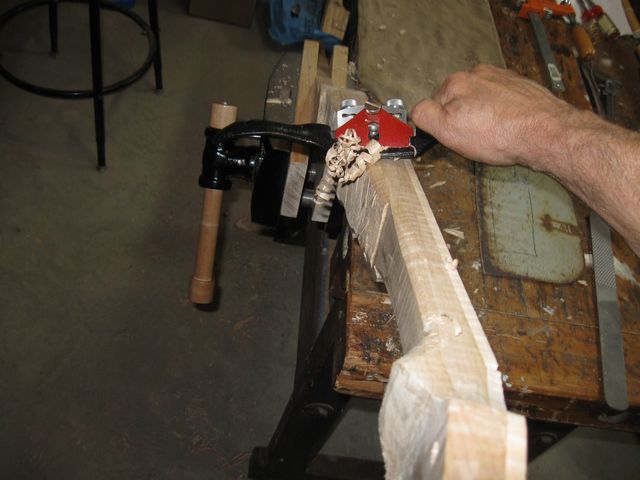
I have now pared down the dowel to one inch wide at the narrow end, which was the target value.
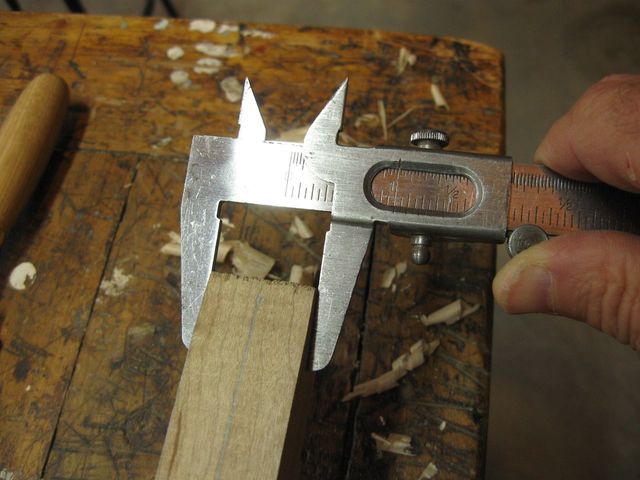
The End of the Dowel is One Inch Across
I hollowed out the concave part of the handstop with the hook knife. If I use it like a scraper it works pretty fast.
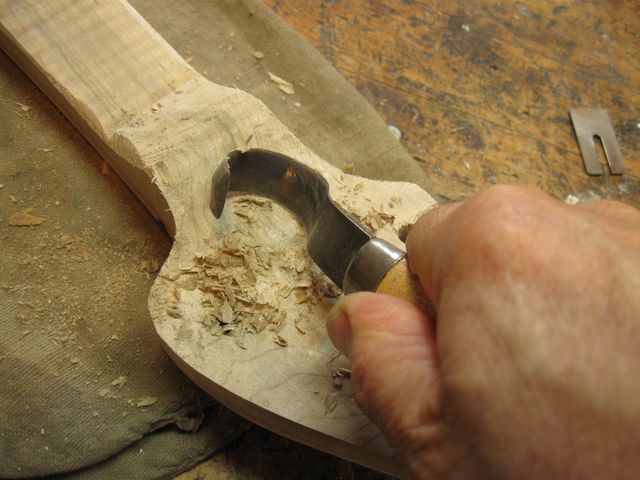
The Hook Knife Hollows Out the Handstop
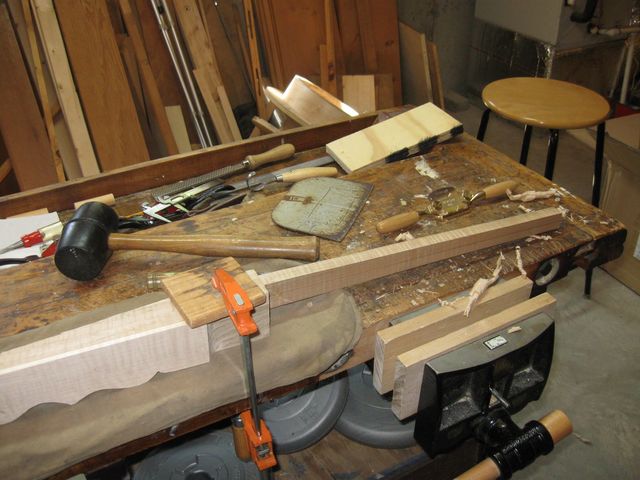
This is the fun part. I cut the corners off of the neck using the spokeshave. I started with the Stanley flat soled spokeshave. It takes off thicker shavings than the the new one does. I still do not know how to use that round bottom thing. Its a real puzzle. But the flat bottom spokeshave works nicely.
The Corner Comes Off Quickly
I turned the neck over and did the other side.
I Did the Other Side as Well
When I got a good chunk of the wood removed, I switched to the new spokeshave to take finer shavings.
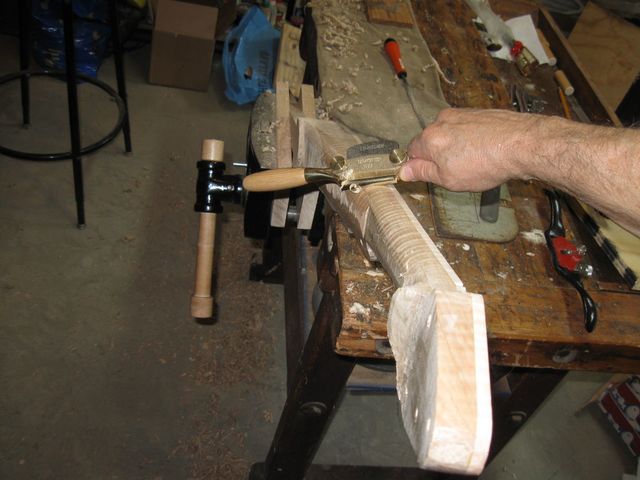
The New Spokeshave Takes Finer Shavings
The shoe rasp rounds out the convex part of the handstop next to the neck. At this point, I am using the fine side of the rasp to avoid tearing up the neck too much.
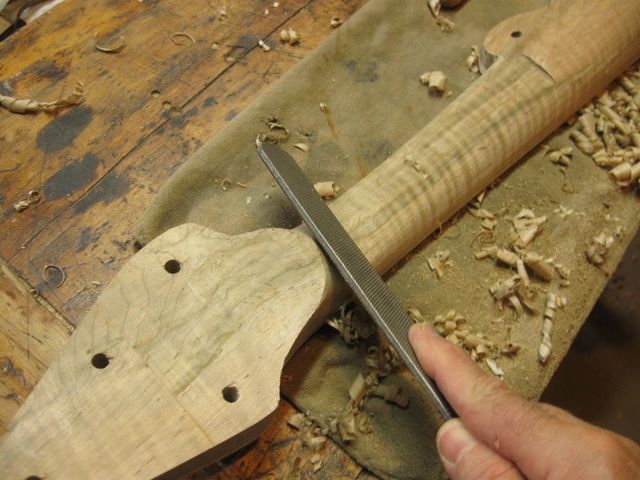
The Shoe Rasp Does the Handstop
Here is a closeup. You can see that the neck under the handstop is still a bit too square, and the neck needs to be pared down to meet up with the part that I just cut back to get the handstop done.
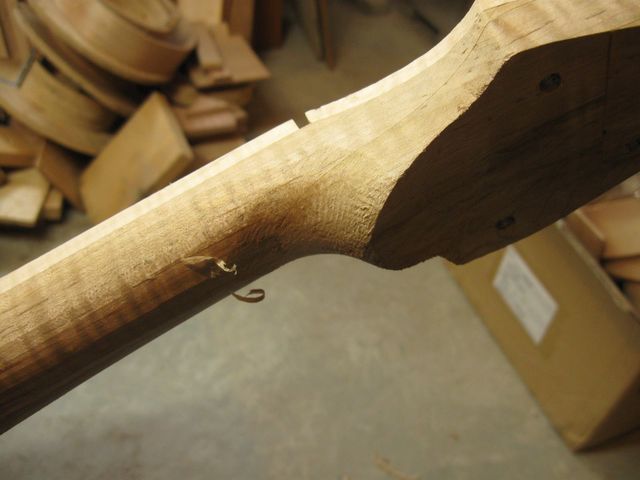
Still a Little Too Square
I also need to keep paring down the bottom of the neck in order to get rid of things like this glue line.
The Glue Line Must Go
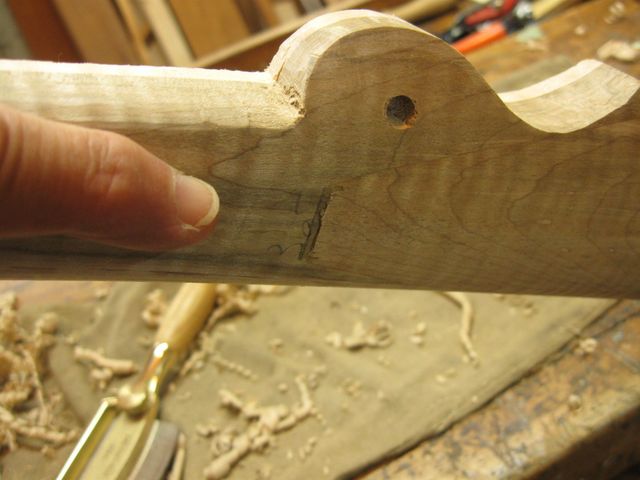
I worked and I worked... and in the end... the neck was shaped like a banjo neck. What is cool about this is that there are no set plans. I just cut the wood until it feels right, and when it feels right it is done. Here is the neck up by the handstop.
This is Just About Done
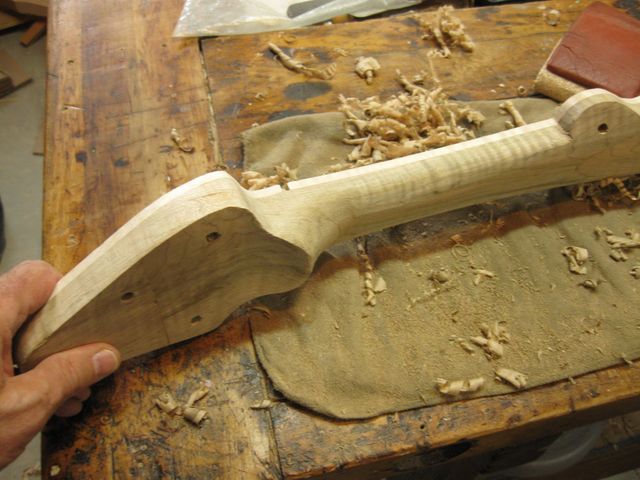
Here is the back by the double ogee. There will be more fine tuning of the shape, but for now it is almost done. This really looks like a neck now.
The Back of the Double Ogee Looks Pretty Good
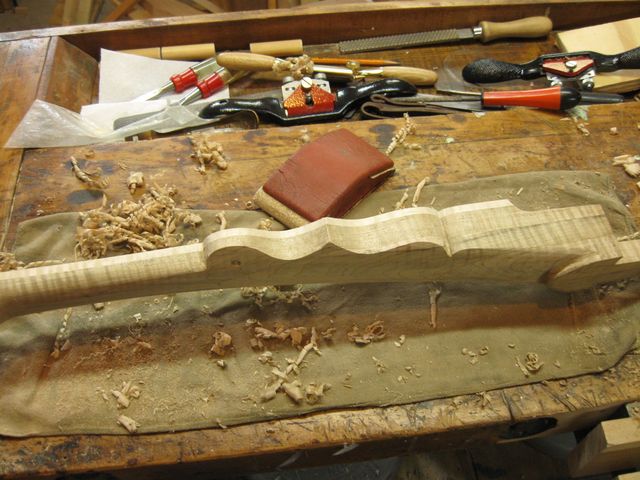
Here is the whole neck.
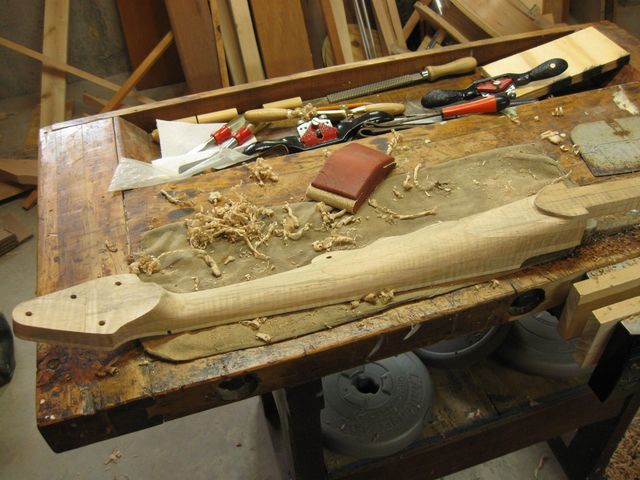
The Whole Neck
Here it is on its side sitting on the bench for comparison to its origin.
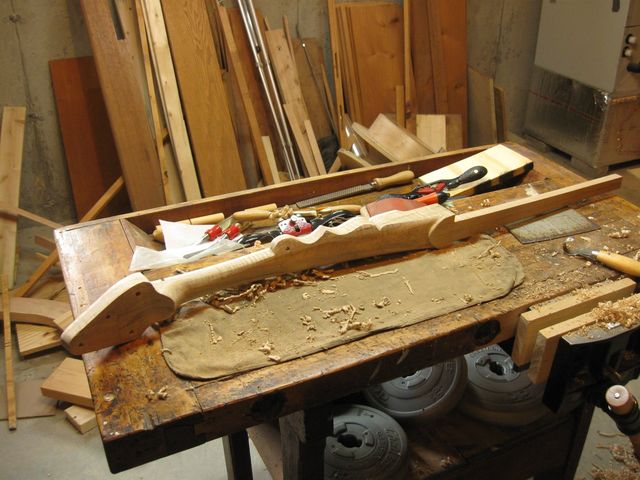
Sitting on Its Side
It hardly resembles the blank that it started from.
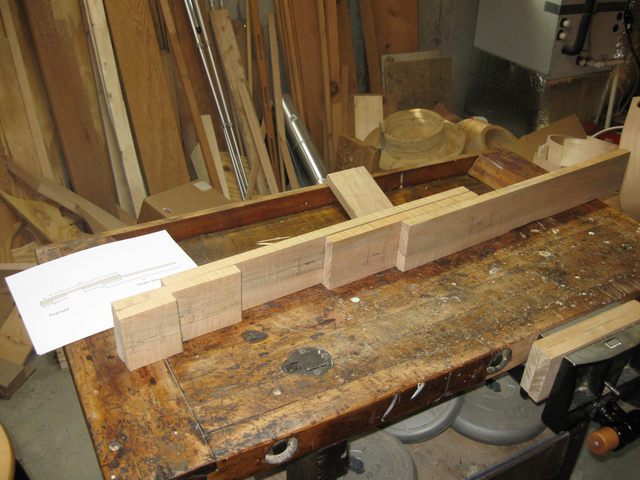
The Blank
That is it for today. There is still more detail work to do before this is done, but that will have to wait for another day.
