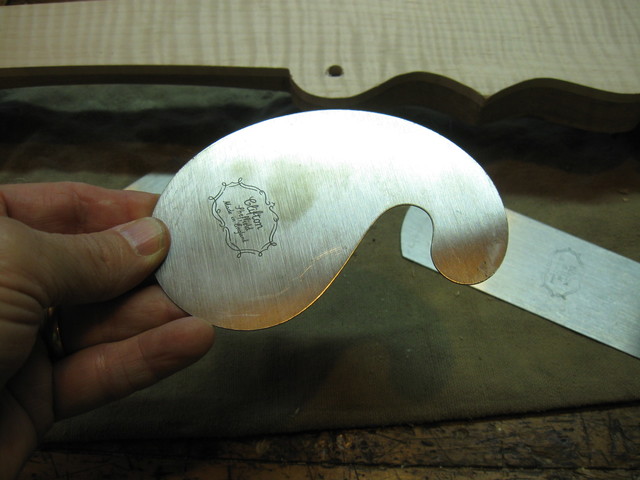
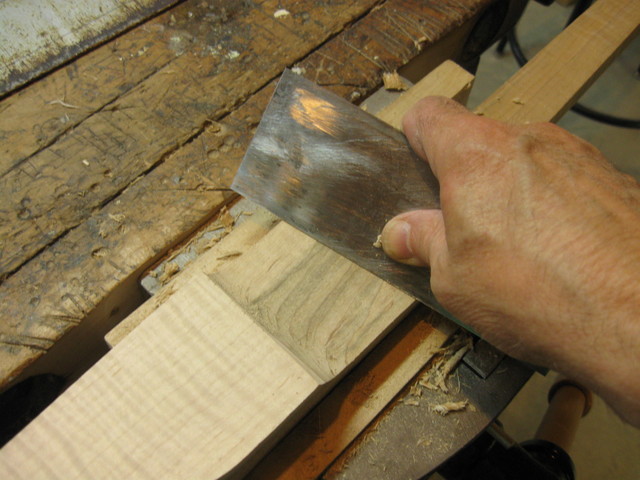
The main shape of the neck is done, but there are some places on it that I need to tweak. I just do not like the way it is shaped in some places. It also has some rough spots that I want to smooth out. To smooth the convex part of the handstop I am going to use my French curve scraper. Here it is.
This Odd Shaped Thing is Actually Useful
That one will get into places that are difficult to address with any other tool. I have several different shapes of scrapers. There is the plain rectangular one, of course. You have seen that one many times in these pages.
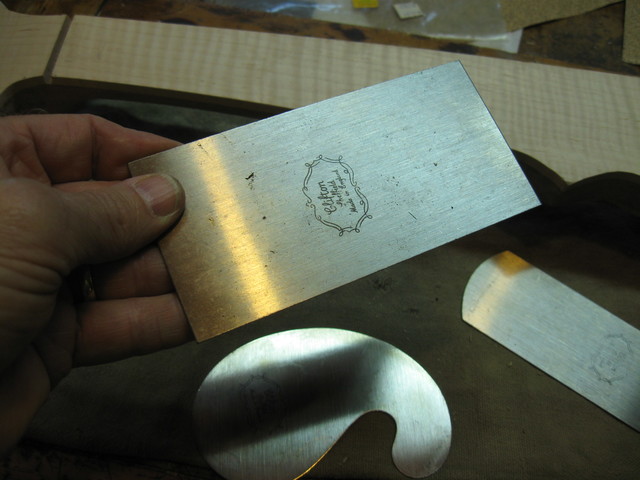
A Plain Old Rectangular Scraper
Then, there is this one for round things.
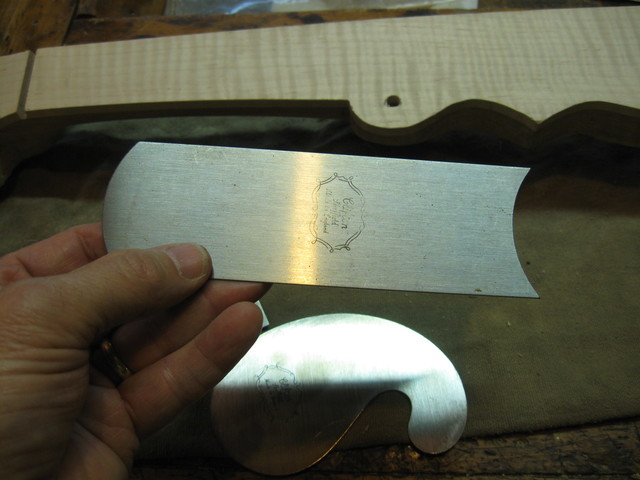
This One is Useful for Round Things
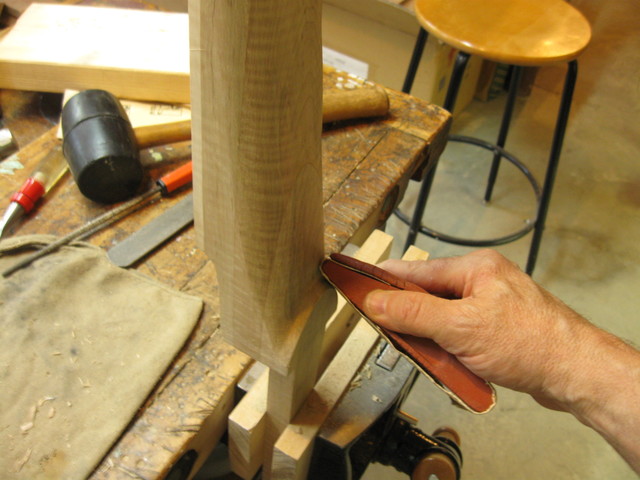
I also have my unique, one-of-a-kind sanding block that has a round bullnose on it instead of a square end. Here it is sitting next to a new sanding block. You can see in the photo that the old one is about to fall apart. I don't know what I will replace it with when that happens.
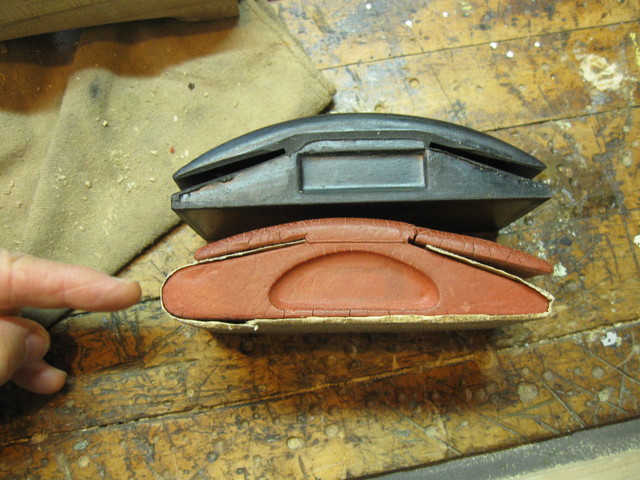
The New Sanding Block has Square Ends
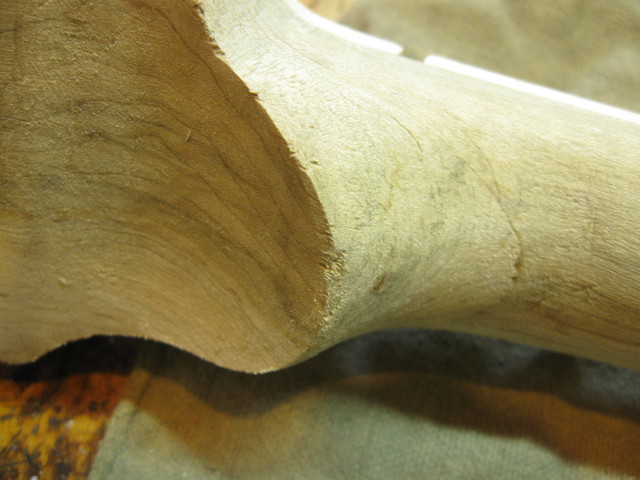
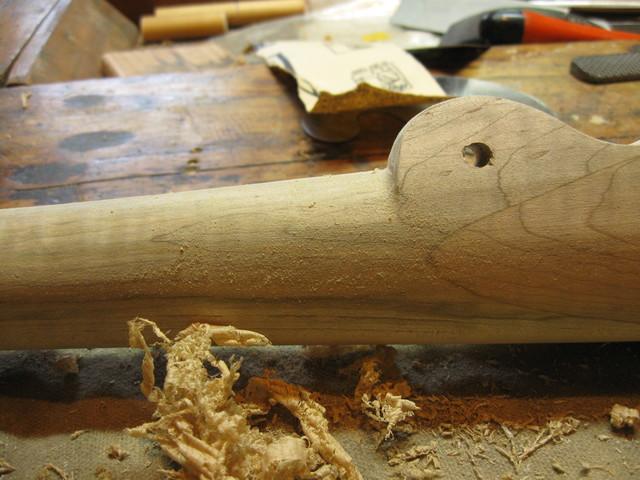
That is enough about the tools. On to the wood. There are some issues that I want to remedy with the neck in its current form. For example, the place where the upper neck joins the bump at the 5th string peg is still too square. You can see that in the photo below.
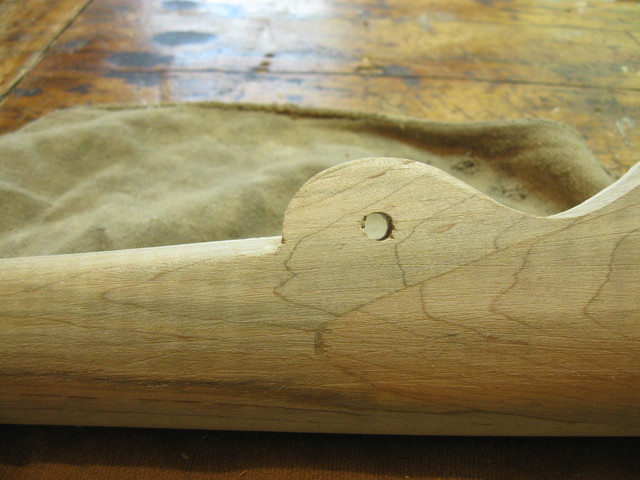
The Neck Here Needs to be Rounded More
I have included a 3D image of the location to help you see the issue. You can see the 3D image by clicking on the link below. There are instructions available on the page for viewing the images in 3D. Some people find that it is difficult to see, but it is natural for me now. So, occasionally I will create a page with a 3D image on it. If you cannot see them in 3D, that is fine. They duplicate the regular images that are on the page.
There are other issues as well, such as the gouge in the frailing scoop seen in the photograph below.
I Don't Like This Gouge
On the other side of the frailing scoop is some tearout that I want to get rid of.
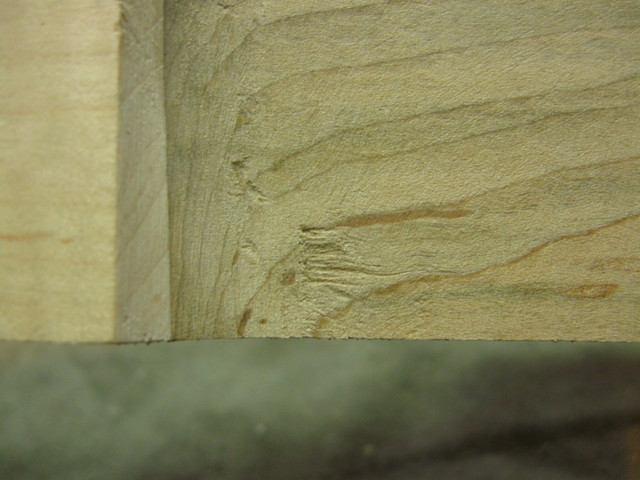
This Is Some Tearout
Up on the peghead there are some minor dings and blemishes.
Is This a Ding, or a Blemish?
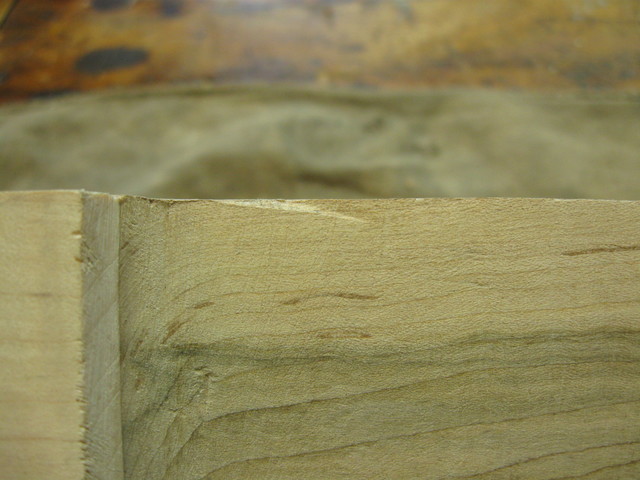
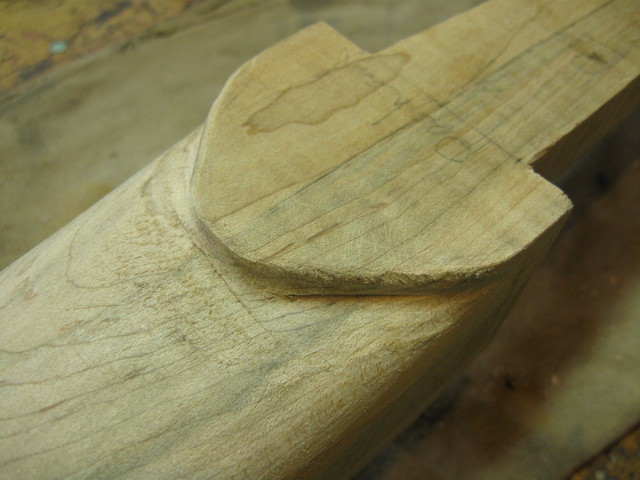
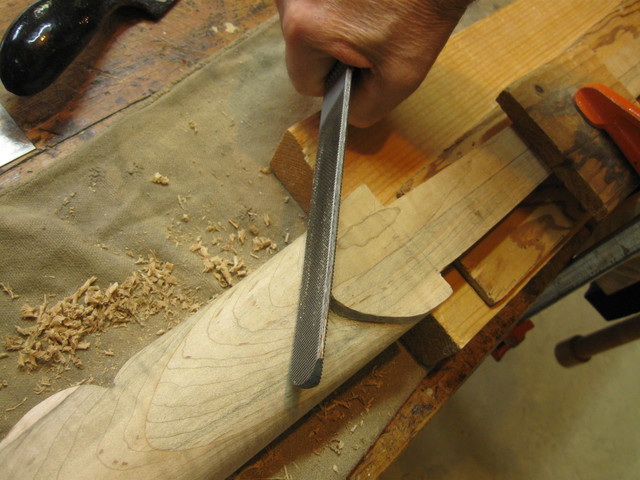
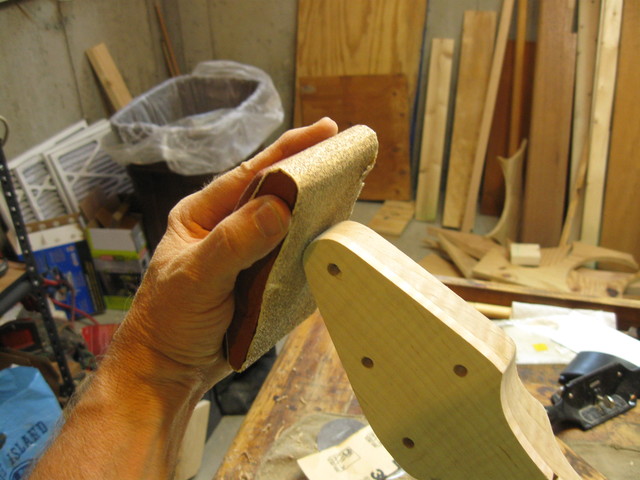
The edge of the handstop is jaggy where I cut the wood with the rasp.
The Edge of the Handstop Could Be in Better Shape
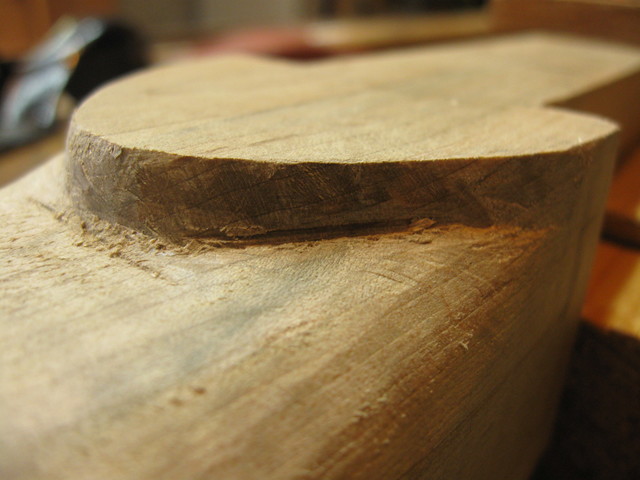
The part of the neck that is under the handstop is not quite round enough. It is difficult to see that in the photo, but it is easy to feel it when my hand is on the neck.
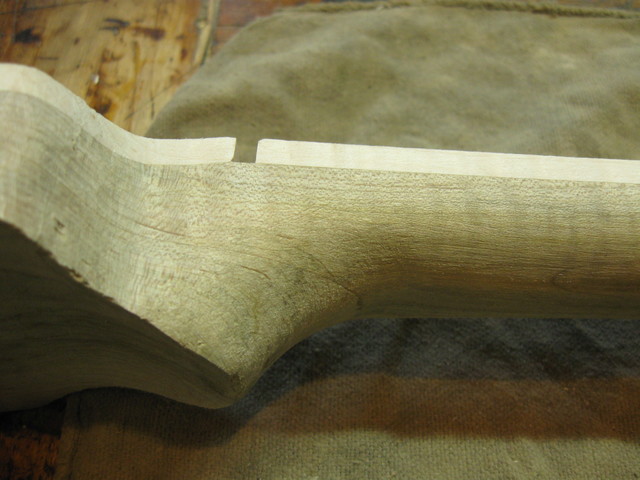
The Shape of the Neck is Not Quite Right Here
The boat heel is in sad shape. That needs a lot of work to get rid of the random saw cuts and other rough places.
The Heel Needs a Lot of Work
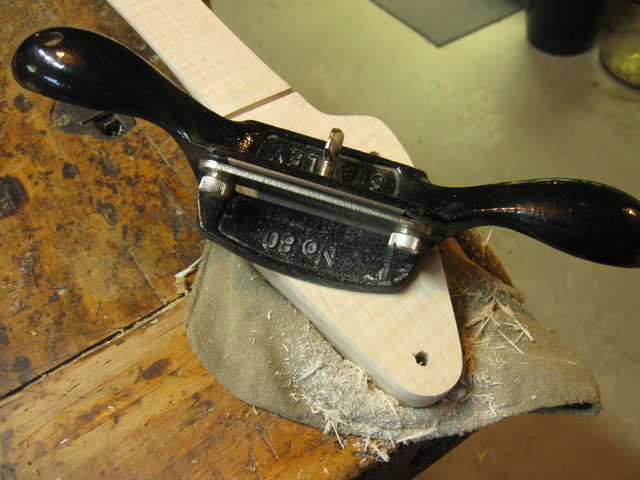
I got started with the rectangular card scraper. It takes off quite a bit of wood when it is sharp, although it is less aggressive than the spokeshaves.
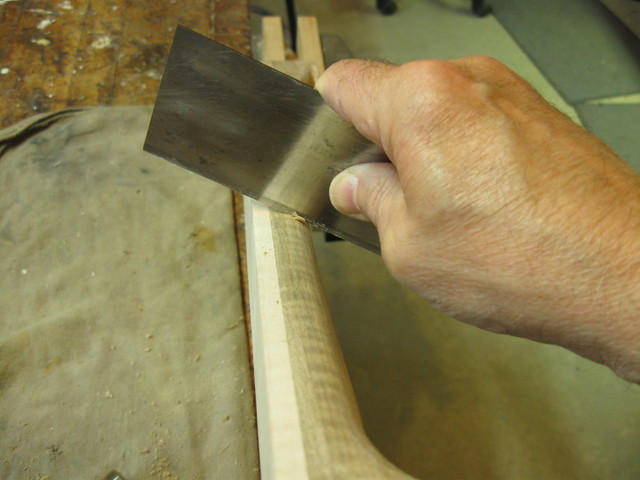
The Card Scraper is one of my Favorite Tools
The round nose on the sanding block with some 60 grit sandpaper over it works well in the curves of the double ogee.

Sanding the Double Ogee
I took the shoe rasp to that boat heel. I need to remove quite a bit of wood to get a clean transition from the heel to the neck.
The Shoe Rasp Fits in the Boat Heel Curve
I had to take off quite a bit of wood to get past that errant saw cut. It goes pretty deep.
I Am Not Sure Where this Came From
But I kept at it, and I finally reshaped it enough that I got it cleaned up. I finished it off with the sanding block.
The Sanding Block Finishes the Boat Heel
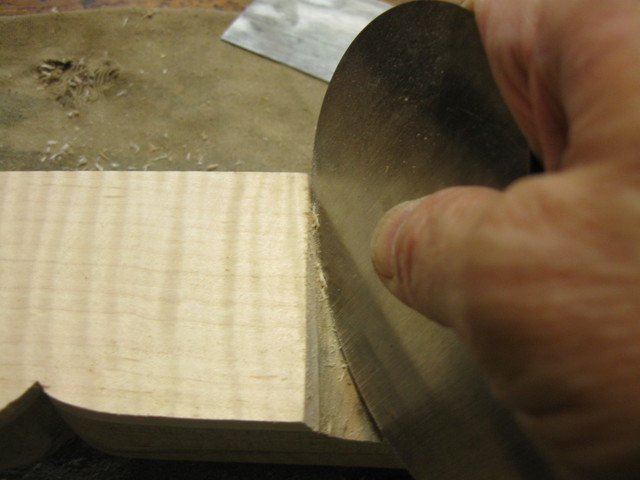
Here is my French curve scraper blade in action. You can see that there is a constant change of the radius of curvature on the edge of the scraper. That makes it so that I can fit it into any size concavity that I need to smooth.
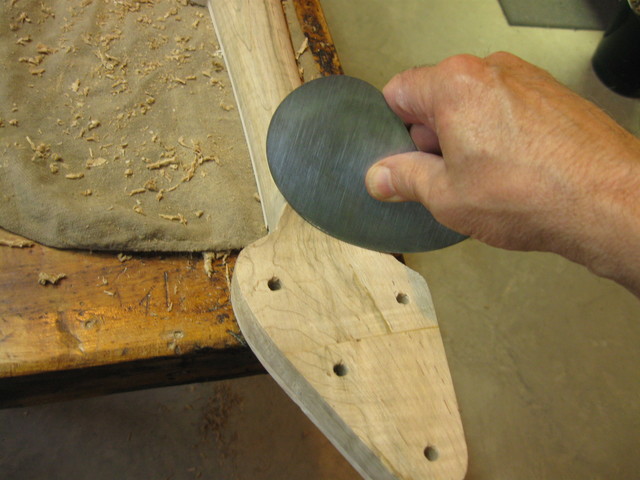
The French Curve Scraper in Action
The very end of the peghead is rounded using the sanding block and the 60 grit paper. It actually goes pretty fast with that rough abrasive. Don't need no stinkin' power tools.
The Peghead End is Rounded with Sandpaper
I took another shot at smoothing off the surface of the neck and the peghead using the cabinet scraper. It works well as long as I keep the shavings out from between the sole and the wood. I dented it that way here, and had to take it down some more to get rid of the gouge.
The Cabinet Scraper Smooths the Neck and Peghead
Here is a foreshortened view of the neck. The goal is to make it flat and square so that it will be playable.
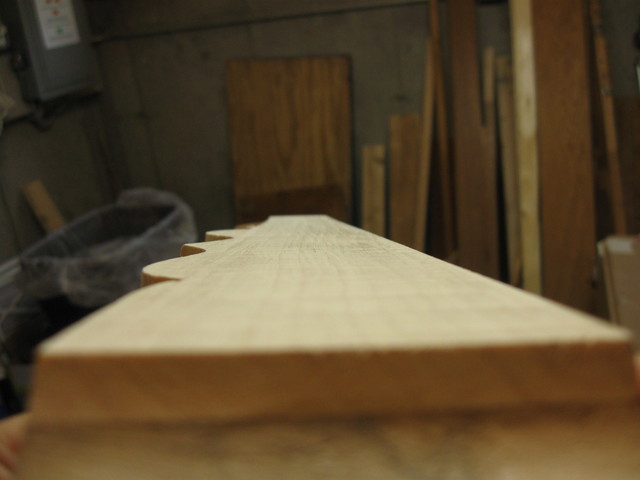
The Finger Board Looks Pretty Good
That looks OK to me. I took a look at the edge too just to make sure that it isn't back bowed or has a dip in it. It looks pretty straight to my old eyeballs.
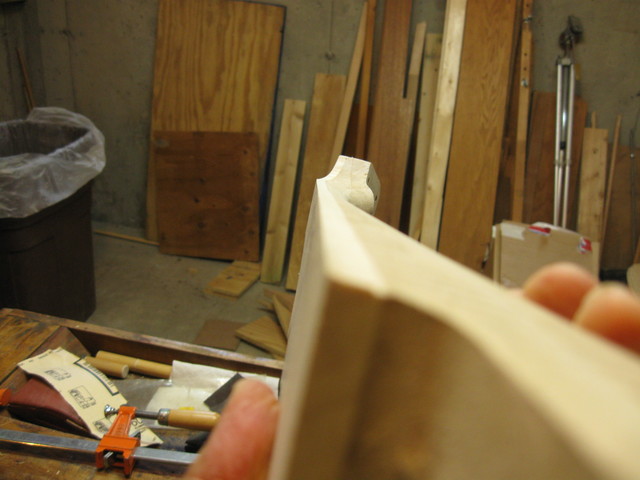
The Edge of the Neck Looks Straight
Going back down to the heel end, I took some more wood out of the frailing scoop to get rid of the dings and the tearouts.
Cleaning Up the Frailing Scoop
I found that the French Curve scraper fits nicely into the round section of the frailing scoop too. That is much easier to use than the rasp or the rattail file... and it leaves a smoother surface.
The French Curve Scraper is Useful Again
I smoothed off the dowel stick using the cabinet scraper.
Smoothing the Dowel
Then I chamfered and smoothed the end of the dowel stick with sandpaper.
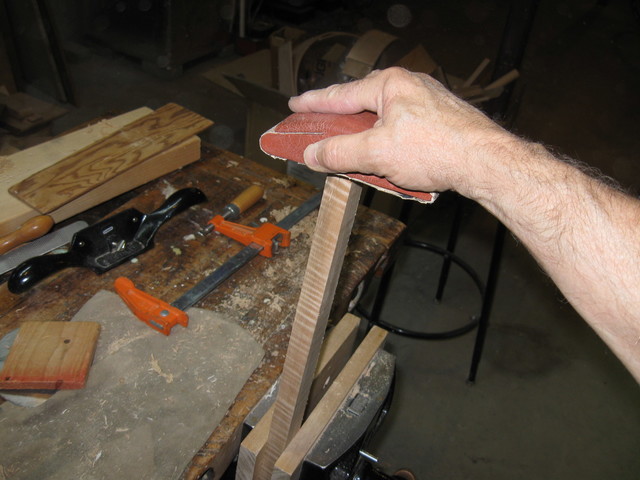
Smoothing the End of the Dowel Stick
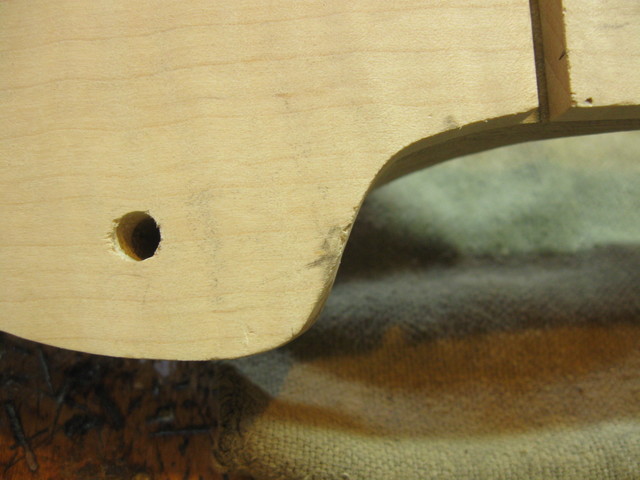
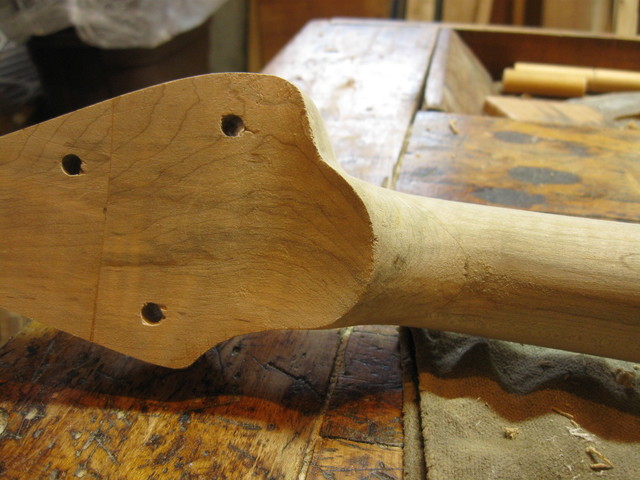
That is about it for this round. Here is a photo of what I did to the neck up by the 5th string peg hole. You can see that the neck wraps around a bit more now behind that bump.
The Neck is Rounder Here Now
The handstop has been improved a bit as well, although it looks like it could use some more work.
The Handstop Is Better... But....
Here is the neck. You can't really tell from this distance that anything significant has been done to it compared to last time, but up close it is much better.
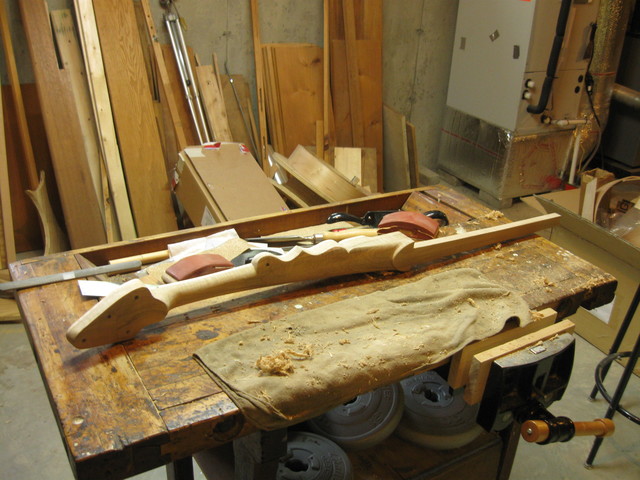
It Really Is Better... Trust Me
I think I will stop now with the shaping until after I have assembled the neck to the rim. After that, I can go back in and do some final adjustments. I will probably have to fix some more blemishes and gouges by the time I am done putting the neck and the rim together.
