No Bubbles

Disaster has struck! I had such high hopes for this beer. I did it by the book, but there were never any bubbles. None! No friendly bloops, or even any silly bblbllblbls. It just sat there and did nothing for a whole day! My yeast starter was bubbling away when I pitched it into the beer. But after I pitched it…. nothing!

I checked on Monday morning as I left for work. Nothing!

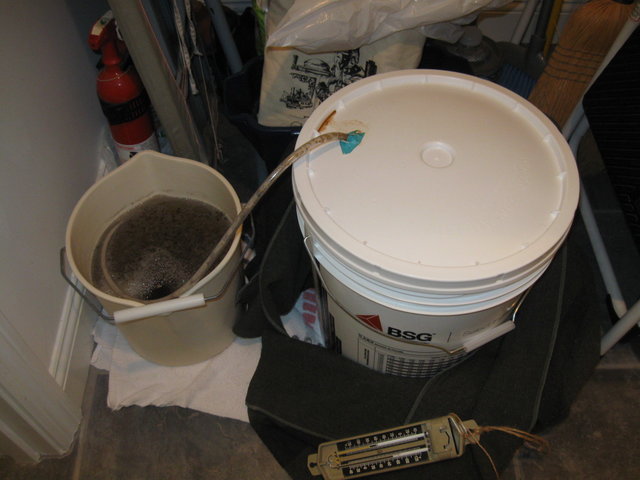
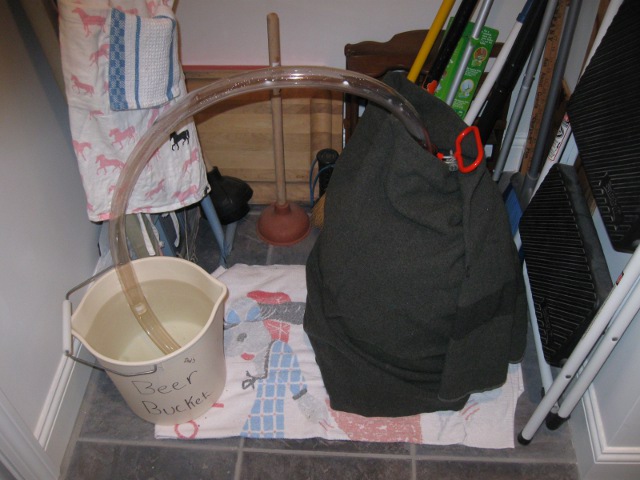
I checked again Monday after work, and there was still nothing going on in Dad’s Beer Bucket except for one drowned gnat. Here is a photo:
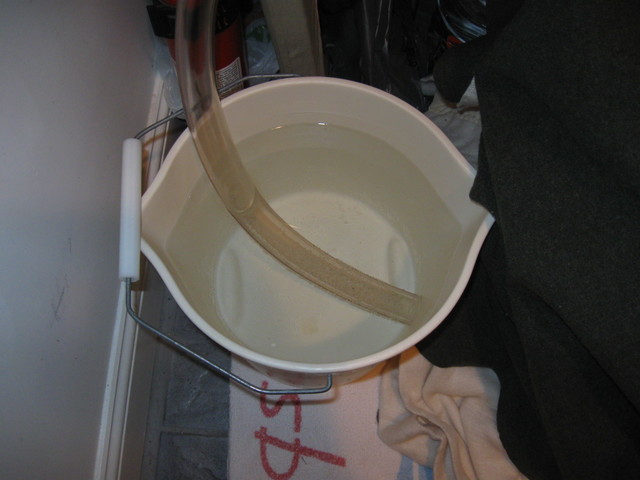
gnats!You can’t see the gnat in the photo, but trust me, it’s there.

You can imagine my disappointment with another stalled fermentation. Has this one gone sour too?

But then, I took a look under the blankets to see if I could see anything in the hose. What I found was that the little plug in the piddly little hole had popped out. Something in that beer bucket pushed the plug out of the hole! And if the hole is open, then it makes sense that there would be no bubbles coming out of the Big Hose. All the gas would come out of the piddly little hole in the top of the bucket.

I can only hope that another gnat didn’t find its way into the beer down that hole and drown in the beer.

Then, I picked up the thermometer to see what the temperature was and saw this:
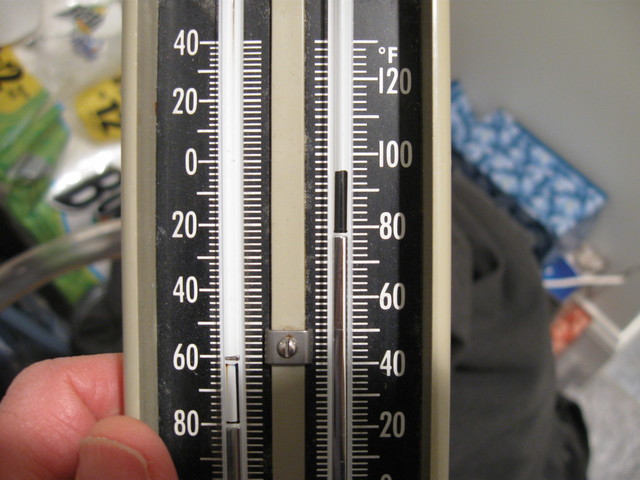
What?That says 78 degrees! It is only 67 degrees in the room. Something has been going on inside of that fermenter that took the outside of the beer bucket up to 11 degrees above ambient temperature. That happens if there is a strong fermentation going on…. Fermentation is a mildly exothermic reaction. The beer usually heats up under the blankets, but I don’t think I have ever seen it go up that high.

So, maybe there is hope after all. The temperature measurements indicate that a fermentation happened, bubbles or no bubbles.

It is now Friday as I am blogging this, and the temperature has fallen back down to 67 degrees. That would be consistent with a fermentation that has calmed down after a week.

I wonder……

Tomorrow I will tap some of the beer out and see what it tastes like. I hope it is still good. If it is, I will rack it into a secondary fermenter and move forward. We shall see.

Stay tuned.

Isn’t this exciting?
Posted in Beer | Comments Off on No Bubbles

The Big Hose

I have started my Spring brewing again. We are almost out of the Honey Porter, so I need to get cracking if we are going to have beer for the Fall.

If you recall a post made long ago, you will remember that I used to ferment with my Big Hose stuffed into the neck of the glass carboy, like this:

Big HoseThat worked great because the Big Hose was big enough to keep the beer snork from clogging the hose and making a mess.

But, I had to stop using the glass carboy, and there is no place to put the Big Hose into the bucket. I ended up using the little hose, which clogged up immediately and made a mess. Remember this?

Ick

Ick.

The top of the bucket bulged up, and Dad’s Beer Bucket was filled with beer snot and other unmentionable substances.

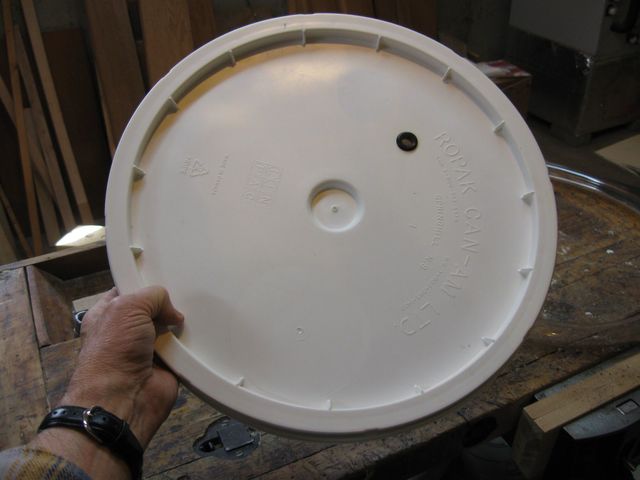
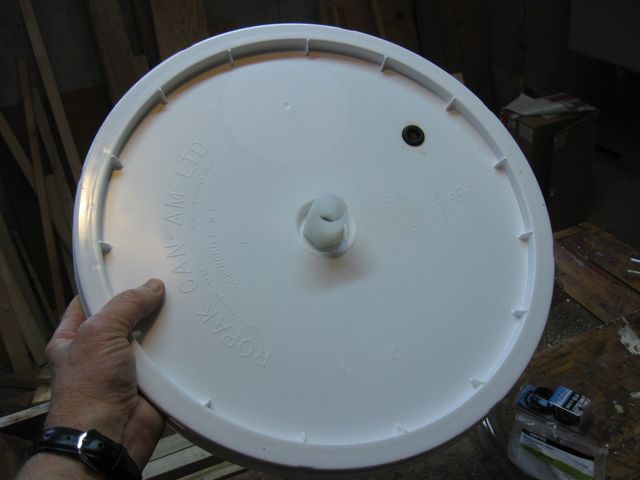
Well, I think I have figured out how to fix the problem with some parts that I found at the local Big Box Home Improvement Store (BBHIS). First, I took the lid from the bucket, which looked like this:

Hey, Kid, where'd ya get the lid?and I cut a 1″ hole right in the middle of it, where that dent is.

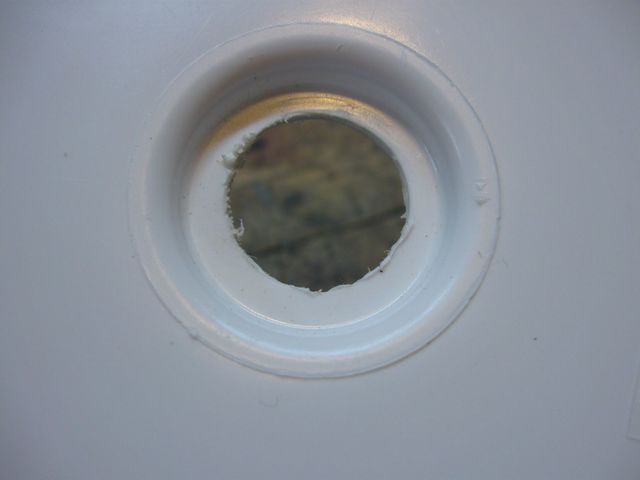
HoleHere’s a closeup of my fine workmanship.

Nice!Well OK, so it’s a hole anyway.

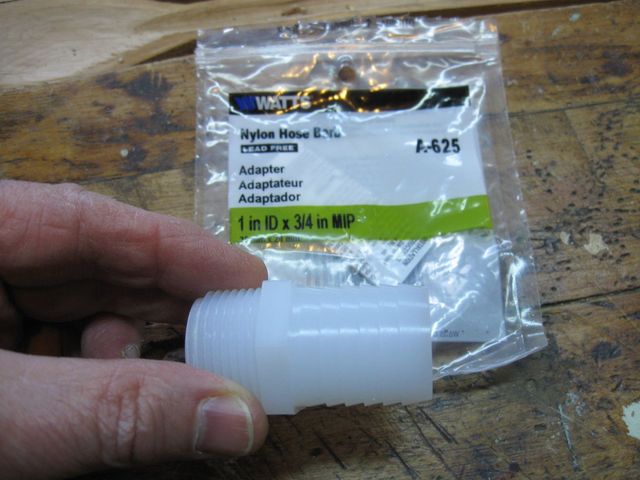
Next, I took this part from the BBHIS out of its bag.

Hose BarbThat is called a “Hose Barb”. The hose goes over the end on the right and the threads on the left screw into something. I think it is called a “Barb” because of the barbs on the end that hold the hose in place.

The hose barb is sized to fit a hose that is 1″ inside diameter….. which….. is just the size of my Big Hose. Fancy that.

The threads on the left side of the hose barb are “3/4″ MIP”. The Associate in the BBHIS could not tell me what that meant, but after some research, I found that the letters MIP stand for “Male Iron Pipe”. So they are some sort of standard thread for screwing together iron pipe…. even though the hose barb is made of nylon… presumably in this case to adapt some ancient iron setup to a more modern nylon hose… or something….. but I digress.

I also found this at the BBHIS.

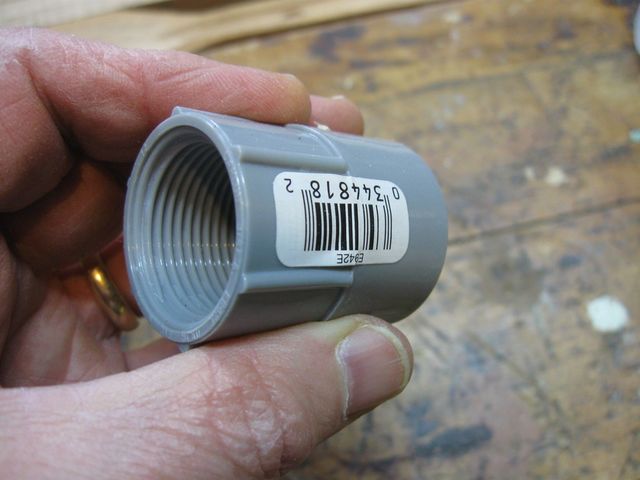
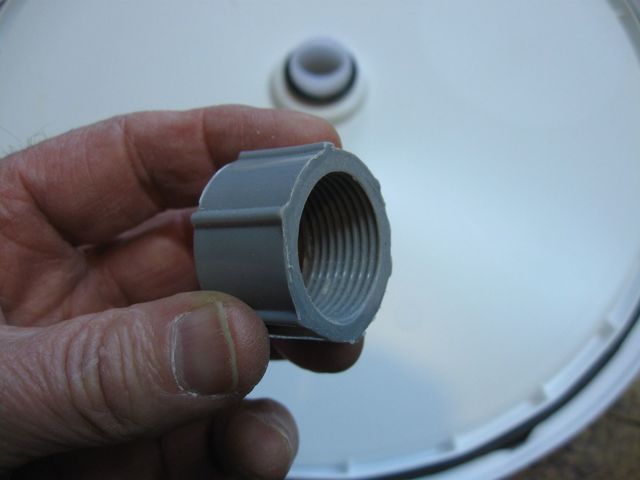
NutThat has threads on the inside of it which just happen to be 3/4″ FIP. That stands for “Female Iron Pipe”. We have some iron pipe hanky panky going on here fer sure.

That is a PVC adapter device for coupling something with MIP threads to a modern PVC system. I actually got this part in the electrical department instead of the plumbing department, so I presume it is intended for electrical conduit. Don’t know. Doesn’t matter. It fits.

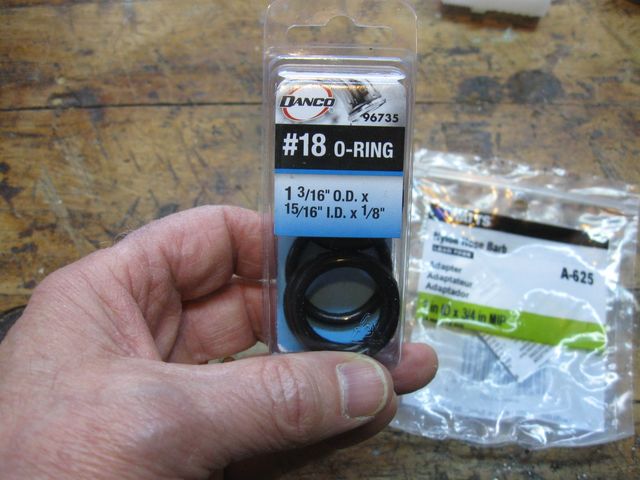
Finally, I found these:

Oh.... ringThose are general purpose O-rings. They are only 15/16″ inside diameter and the threads on the Hose Barb are 1″ across, but they should be able to stretch over the 1″ threads. Yeah, I know….the thread standard on the Hose Barb says that the threads are 3/4″ MIP. But they measure 1″ across. That is because the standard is for the inside diameter of the pipe, not the outside. Pipe standards are strange things…. and don’t get me started on lumber dimensions…..

Anyway, that is all the parts I needed. I suppose you could call that my bucket list.

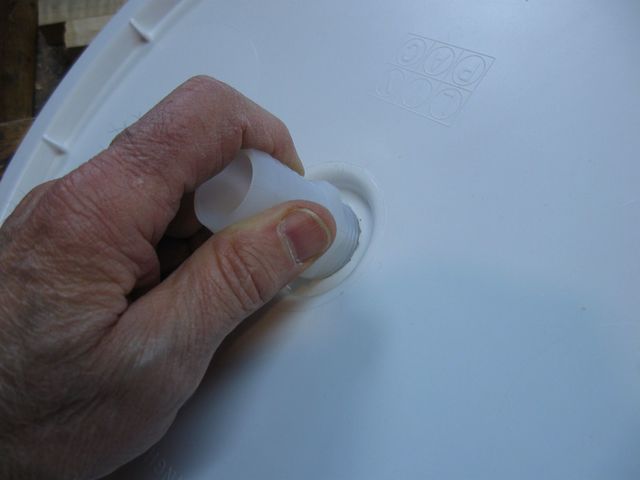
So, here is what I did. I screwed the Hose Barb into the hole in the bucket lid.

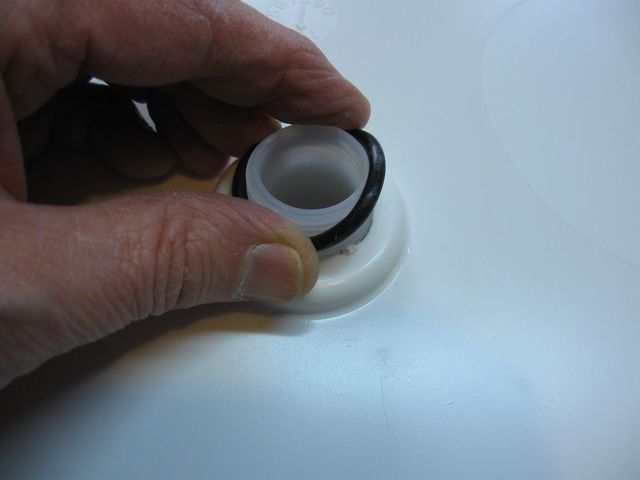
BarbI stretched an O-ring over the threads on the inside of the lid.

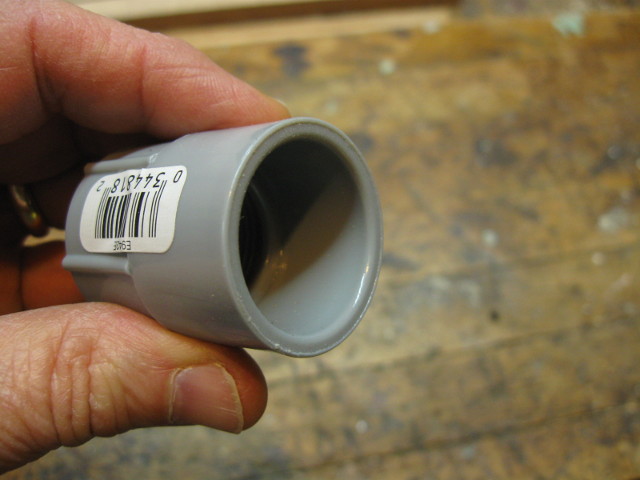
StretchingOn the other side of the PVC adapter, I found a smooth part where the PVC pipe would be glued. No threads in there.

SmoothieI didn’t need that part since I won’t be gluing anything into it, and it makes the thing stick down into the bucket too far, so I cut that part off with a saw.

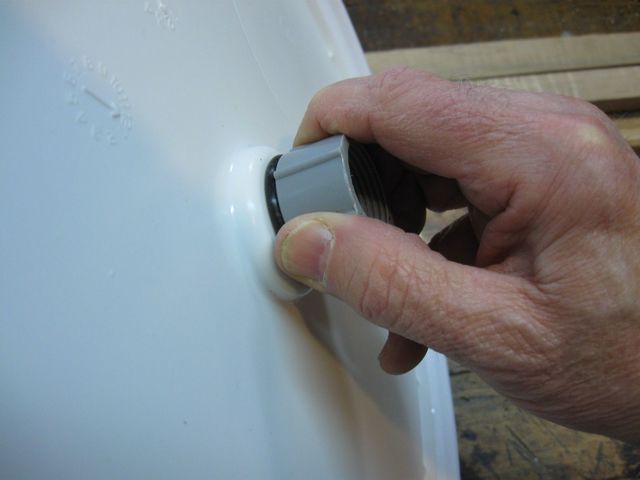
BobbedScrew the nut onto the threaded end of the hose barb….

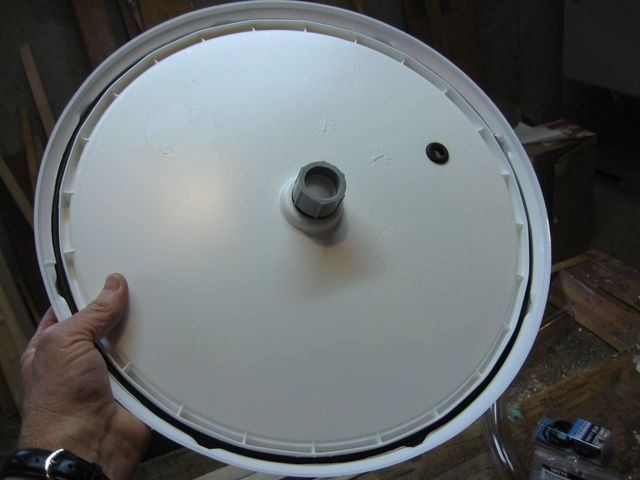
Screw it onAnd there ya go…… the hose barb is securely fastened to the center of the bucket lid.

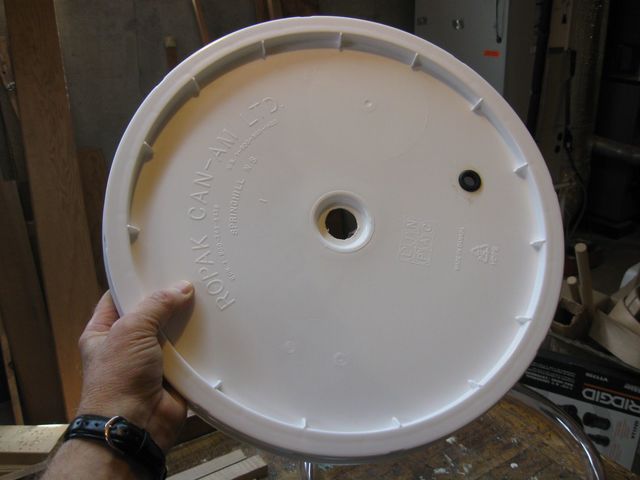
Ta DaaaHere’s the other side.

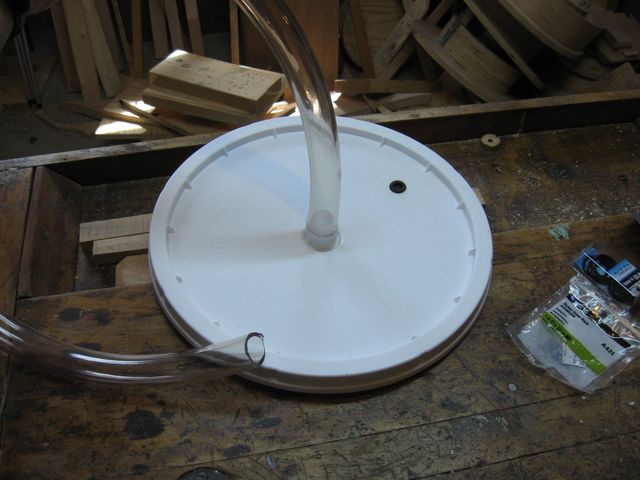
Other SideThis is how the hose fits onto the transformed lid.

Big HoseThat’s it. That is my fix.

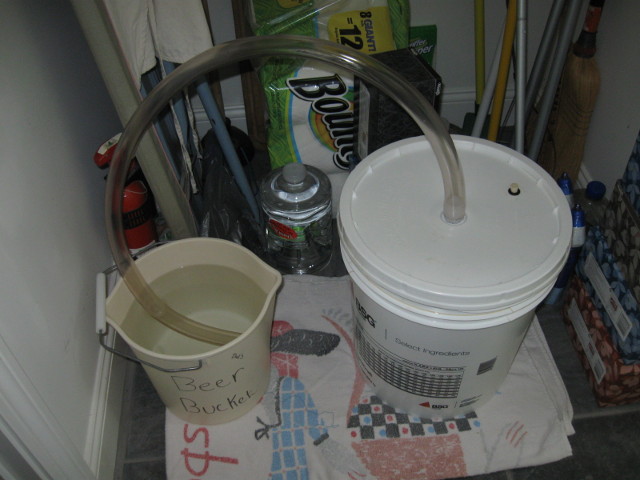
Yesterday I brewed up a batch of Honey Porter and poured it into the bucket to ferment. I am trying out my new Big Hose fixture to see how it works.

Looks goodLooks pretty neat.

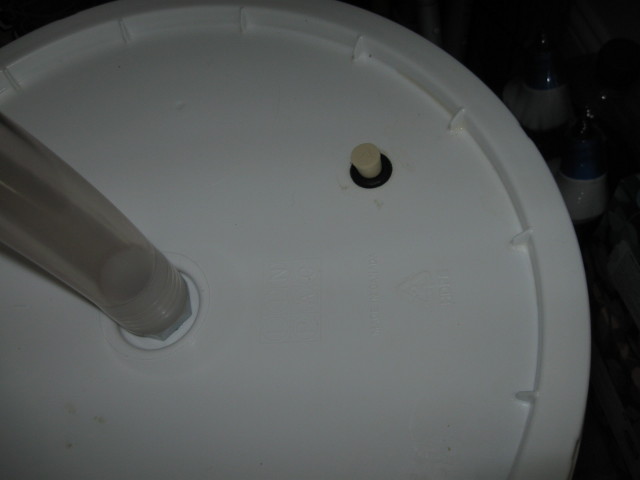
I had to put a tiny little plug into that itsy bitsy hole I was using before in order to seal the bucket. Here is a photo of it to show you the difference between the sizes of the two holes.

Big Hole/little holeCute plug. Pretty cool. I can’t wait to hear those old, friendly bloops of gas bubbles coming out of my new Big Hose setup instead of the silly bblbllblbl… of that wimpy little hose.

Posted in Beer | Comments Off on The Big Hose

The Devil in the White City

I am reading a book from the Bestseller list called “The Devil in the White City“, by Erik Larson (Vintage Books, 2004). It is a non-fiction book about the creation of the Chicago World’s Fair of 1893. It contains the simultaneous story of a serial murderer who stalked the streets of Chicago while the fair was being built. It is well written and gets a Thumbs Up.

I do recommend reading the book, but this is not really a book review. There is a paragraph in it about a train trip that caught my eye. At one point in the story, the architect of the fair, Daniel Hudson Burnham, took a train from New York back to Chicago during the historically bad Winter of 1890 – 1891. Keep in mind when reading this, that it was 1890, 124 years ago, when trains were powered by large men shoveling coal into a boiler and were scheduled by men with mechanical pocket watches.

“Burnham left New York the next morning on the North Shore Limited. Throughout the day his train pushed through a landscape scoured by snow as a blizzard whitened the nation in a swath from the Atlantic to Minnesota. The storm destroyed buildings, broke trees, and killed a man in Barberton, Ohio, but it did not stop the Limited.”

Last week, I witnessed the total disintegration of the MBTA Commuter Rail system by two inches of snow and some drizzle.

What else is there to say?

MBTA Thumbs Down
Posted in Cheap Philosophy, Miscellaneous | Comments Off on The Devil in the White City

Stud Finder

I have been given the task of hanging a shelf in the laundry room. So I went out onto the interwebs to study techniques for finding the studs in the walls. I have to screw the shelf supports into the studs so that the shelf won’t fall down. I found some videos that describe the following foolproof technique for finding studs in walls.

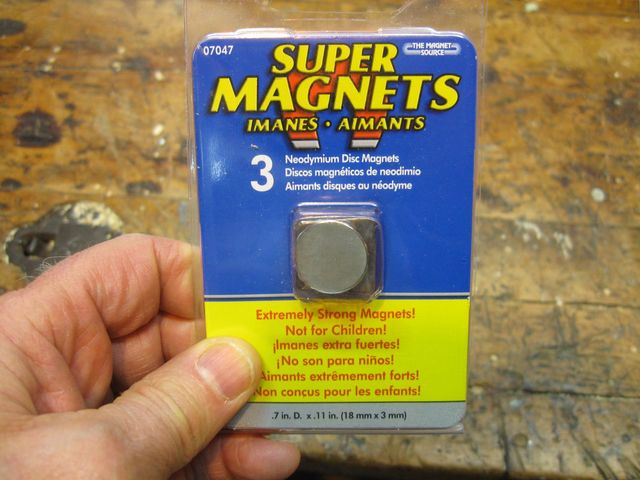
I went to the local Big Box Home Improvement store, and found these super magnets.

Super MagnetsThose babies set me back about $3.98. These magnets will stick to anything with iron or steel in it, even when they are still in the package. When I got them home, they were stuck to the other stuff in the bag, and it took me a while to separate the various pieces parts. You don’t want to fool around with these, they will fly toward anything with iron in it, and they will shatter when they hit.

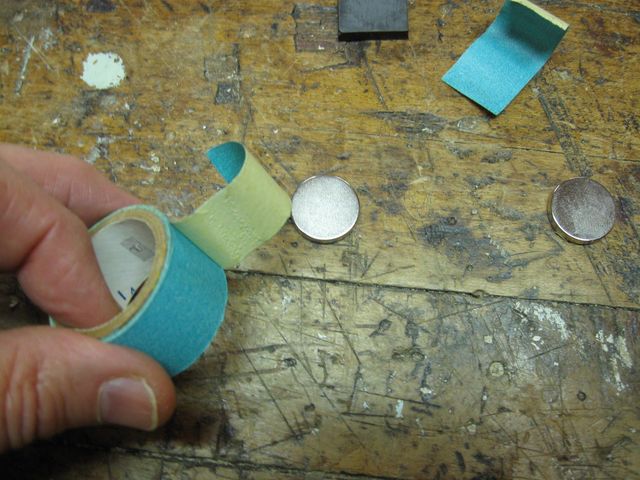
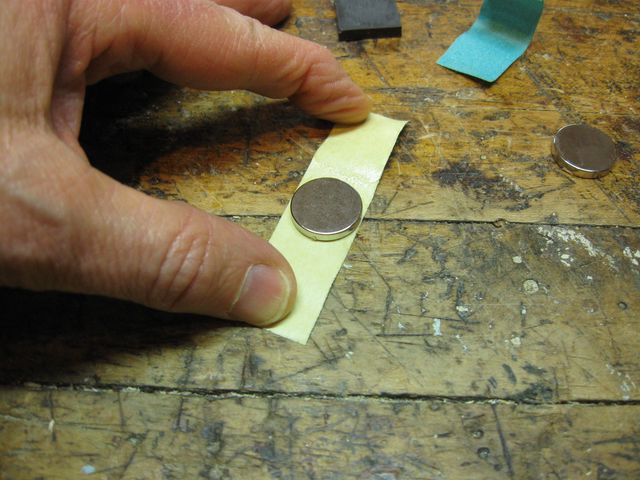
I opened the package and finally pried the magnets apart (they stick to each other quite well too). Then I took some tape that I found upstairs.

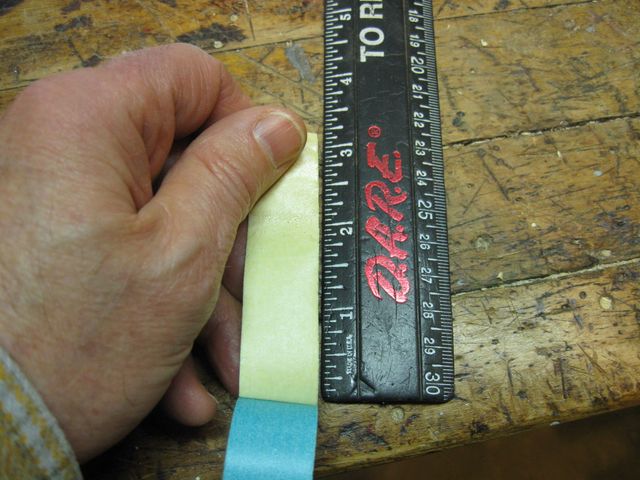
Blue TapeI cut off about three inches of the tape.

3"Then, I stuck one of those magnets right in the middle of that piece of tape.

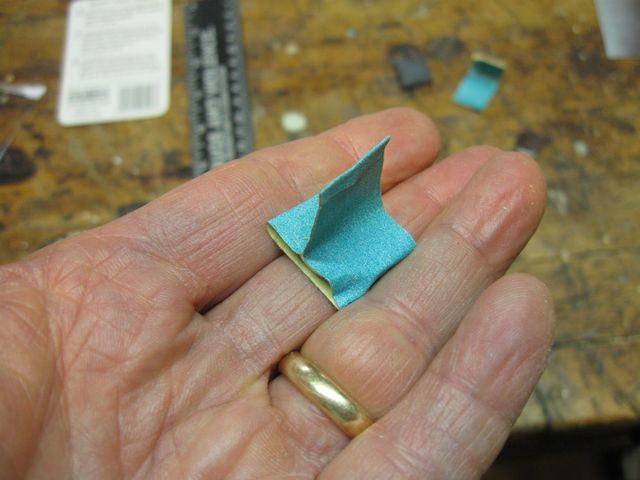
StuckI wrapped the tape over the top of the magnet, and stuck the ends together, and voilà, a magnet with a convenient handle.

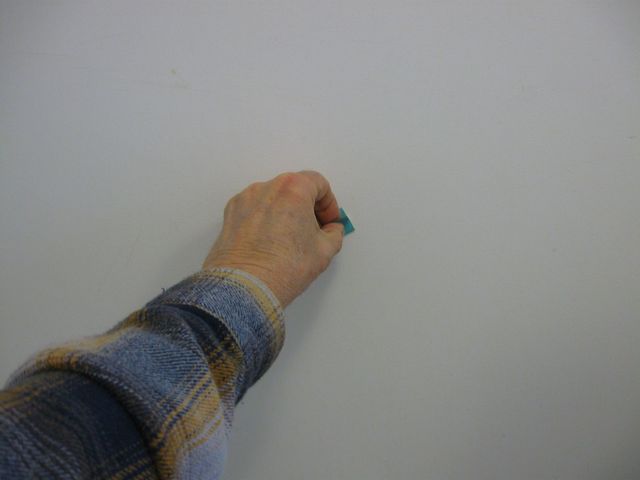
HandleI made three of those, then I took them to the laundry room and simply moved them over the wall in a somewhat random pattern…..

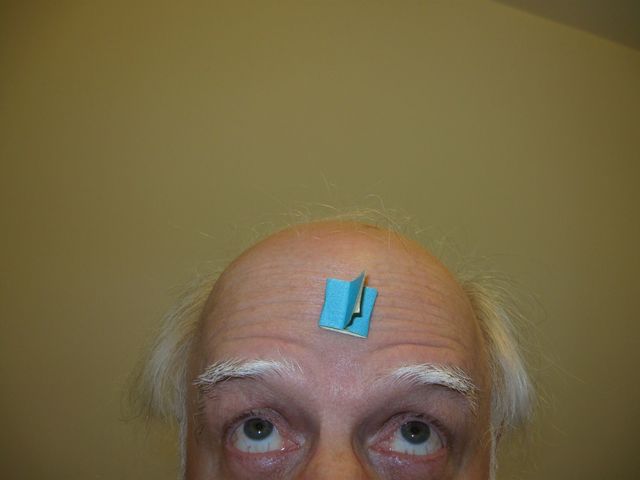
SearchingWhen I moved the magnet over a place where a drywall screw is holding the drywall to the stud, the magnet stuck to the wall. Like this

Ta DaaaAnd there are the studs! Pretty cool, hunh?

Well OK, I did cheat a little bit because I had this picture from when the house was being built.

Oh. There they are.So I knew ahead of time where the studs are. But even so, I think my little home made stud finder worked pretty well.

Stud

Posted in Projects | Comments Off on Stud Finder

“Dimensioned” Lumber

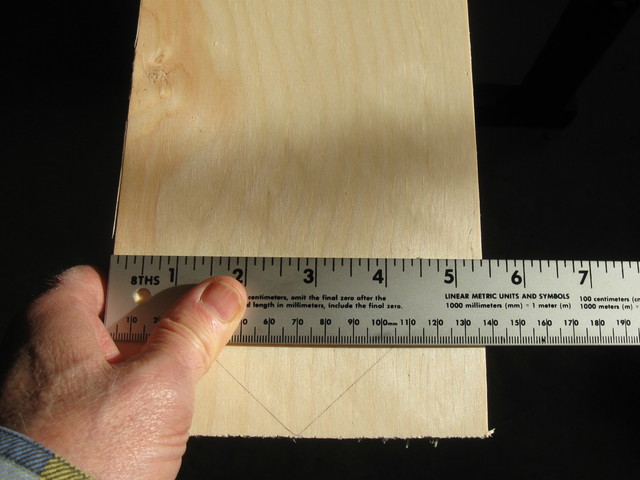
Everybody knows that when you go to the lumber yard and get a 1 X 6 board, it really isn’t 1″ thick nor is it 6″ wide. In reality, the board is 3/4″ thick and 5 1/2″ wide. That is the standard size for such “Dimensioned” lumber.

Last weekend I procured such a board for a project that had been carefully planned to use the actual dimensioned size of the 6″ board, which is 5 1/2″….. However, when I measured the board, I saw this:

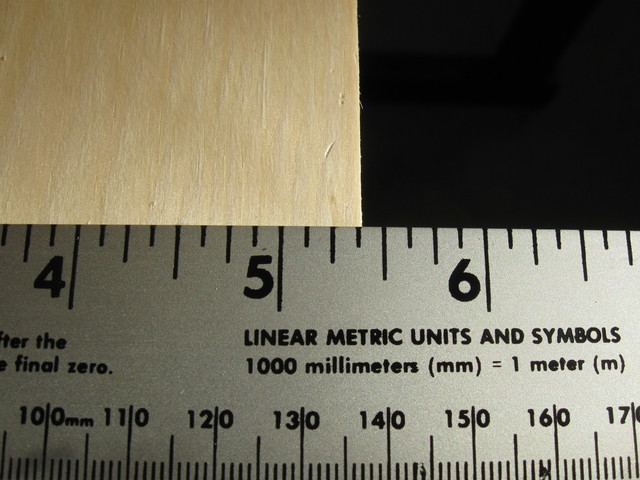
What!?Take a closer look at that right hand side.

Shorted
The board was actually 5 3/8″ wide.

Really. I measured it several times.

They stiffed me on the board by 1/8″. Now what?

I guess that is the equivalent of the pound of coffee that weighs 11.5 ounces… but in lumber.

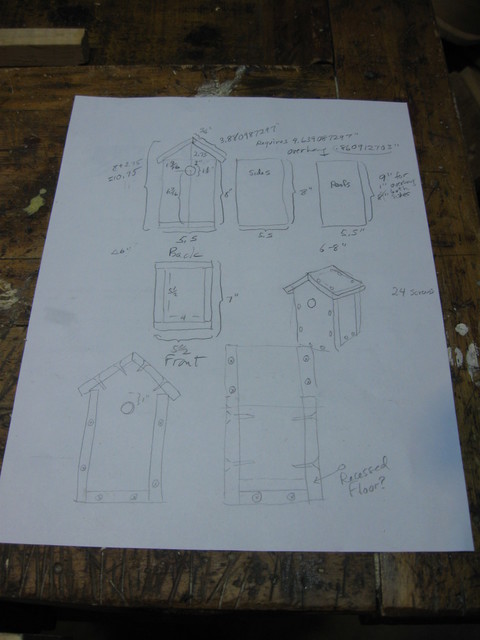
So, that played havoc with these plans….

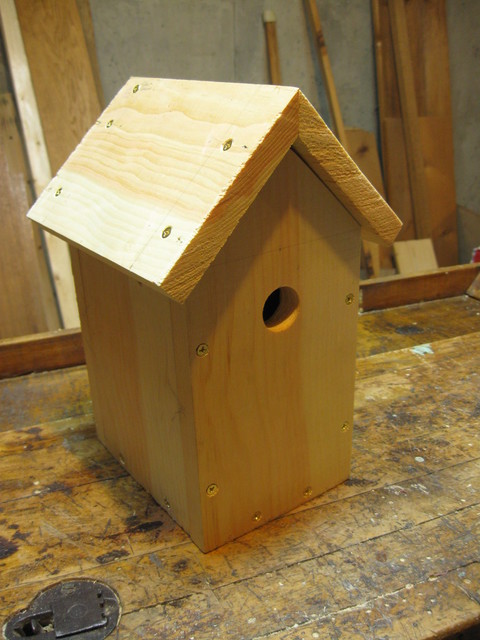
PlansBut in the end, we prevailed and ended up with our Chickadee McMansion anyway.

Ooo. Ahhh.Not a bad pad to crash in.

It just needs a couple of eye bolts to hang it from.

And for those who actually looked at the plans…. the recessed floor didn’t work out. Can’t have everything.

Posted in Projects | Comments Off on “Dimensioned” Lumber

Oil Be Darned

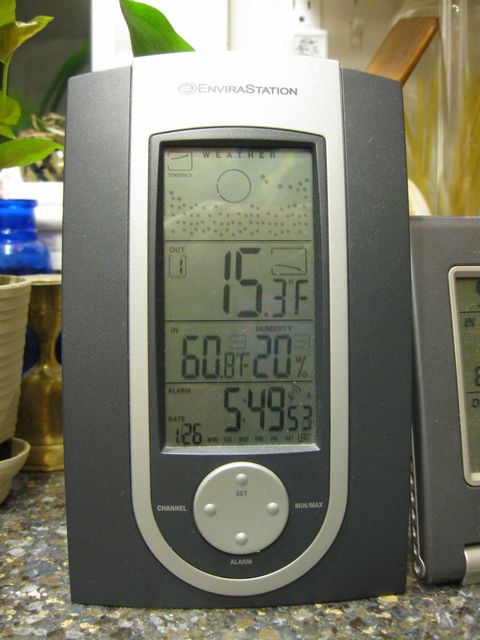
When you wake up on a Sunday morning in January, and you see this:

Cooltelling you that the outside air temperature is 15.3° ….. and that the inside air temperature is at 60.8° …. and headed in the direction that will cause it to meet up with the OAT… you don’t want to go down to the basement and see this….

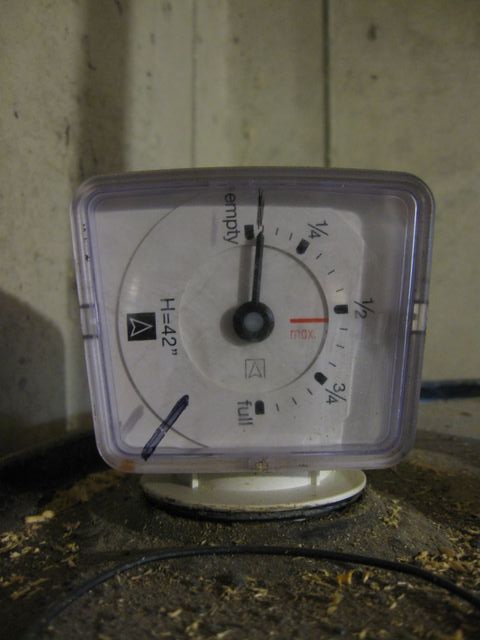
Not coolwhere the heating system oil level indicator is hovering perilously near the word “empty”.

In fact, the indicator was being optimistic considering that the burner had already quit burning and the heater had already quit heating, indicating that “empty” had already been achieved.

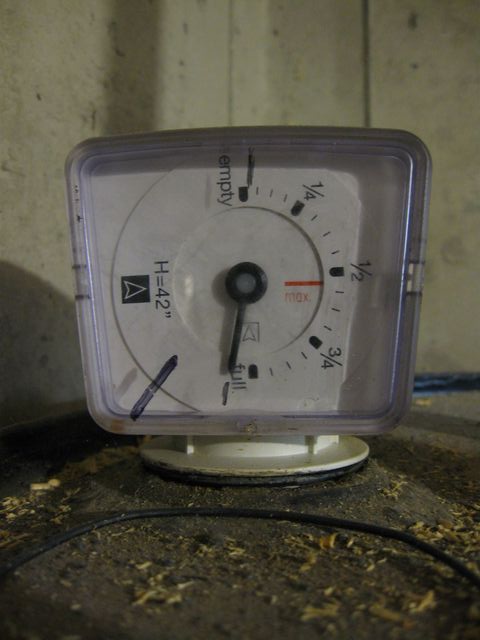
Fortunately, we have a responsive heating contractor, who did not complain very much about being called at 6:00 a.m. on Sunday, and who responded quickly to return us back to this:

Fulland to the happy warmth that we were beginning to take for granted these last few weeks.

Oh, and don’t ask why the indicator is sitting on it’s side like that instead of straight up. That could cause a plumber rant.

Posted in Miscellaneous | Comments Off on Oil Be Darned

Mobile

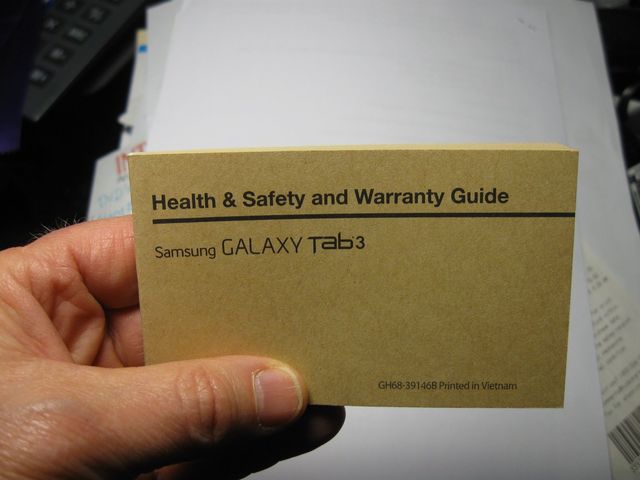
I just went mobile. I purchased a tablet computer. Here it is:

TabletIt’s kind of cute. It works OK. WiFi only, but you have to start somewhere. The user manual that came with it is a bit odd.

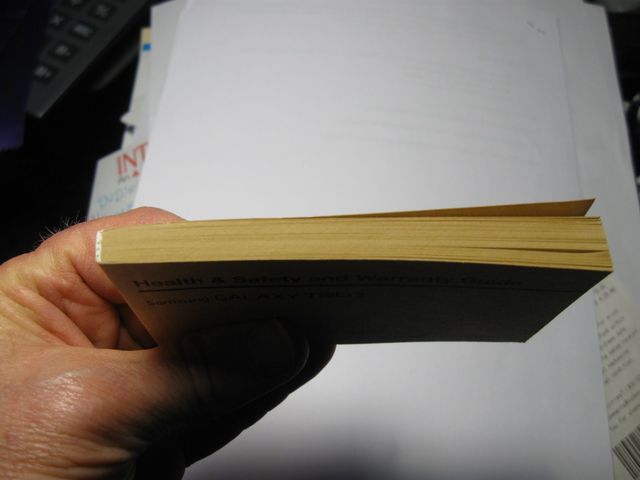
User manualTiny thing. Not much to it. Skinny.

SkinnyOn the other hand, the Manual of Dire Warnings….

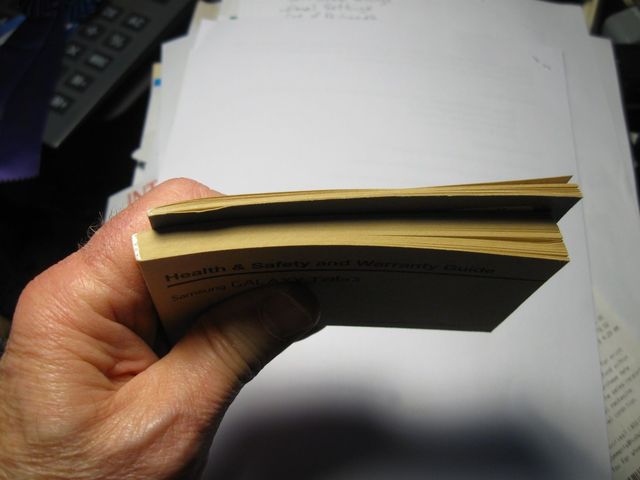
Dire WarningsIs a bit more substantial.

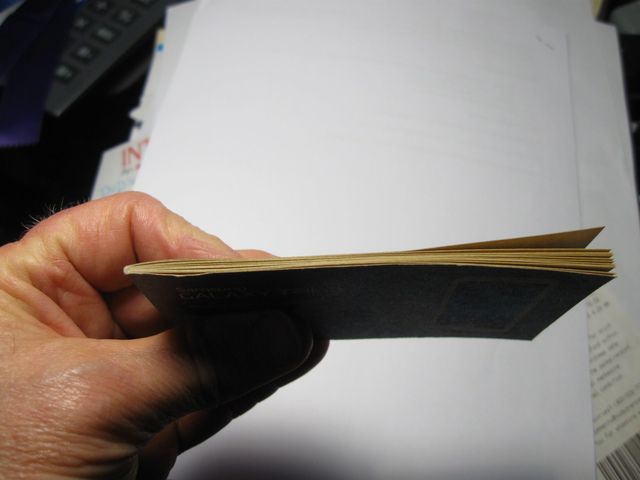
ThickThere is quite a difference between the size of the directions and the size of the warnings.

Thick and ThinAt least now I know that there are no edible parts inside, and that I should not play it into my ears beyond the pain threshold nor roast it in my oven.

Nevertheless, I am sure that my new tablet will stick with me through thick and thin….. just not in the shower.

Posted in Miscellaneous | Comments Off on Mobile

Well, I did it.

I was driving down to the train station this morning at 6:00 A.M. and it was really foggy. I could barely see the road in front of me. The traffic guy on the radio was barking about the fog and how dangerous it is. “Be careful”, he said.

And that was when I did it.

I turned on the high beams.

Yup.

Just to see what would happen.

And nothing bad happened.

Just sayin’.

Posted in Cheap Philosophy | Comments Off on Well, I did it.

WSJ Channels W. VA

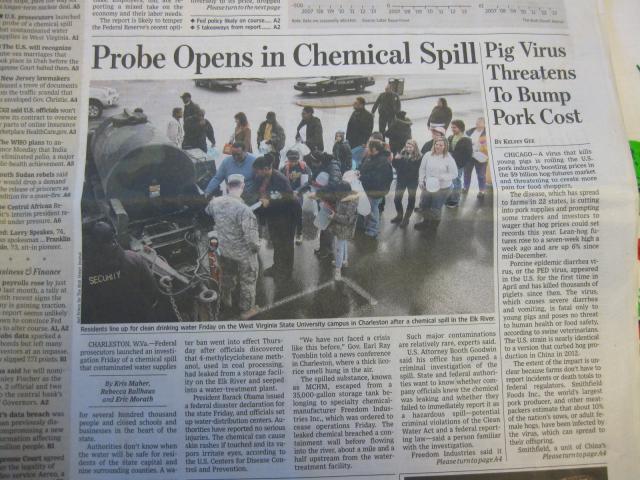
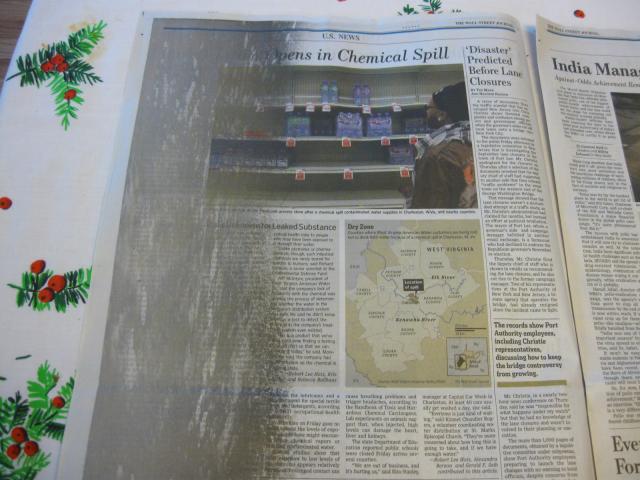
On Saturday, the Wall Street Journal published, on the front page, a story about the chemical spill in West Virginia.

Front PageBeing interested in what is going on, I turned to Page A 4 and found this.

Yikes!That isn’t a shadow. That is….. well… I’m not sure exactly what that is… unless this article was written right up close and personal with that chemical spill.

I just hope it isn’t connected to the Pig Virus mentioned in the column next to the spill article.

Posted in Miscellaneous | Comments Off on WSJ Channels W. VA

A Philosophical Question

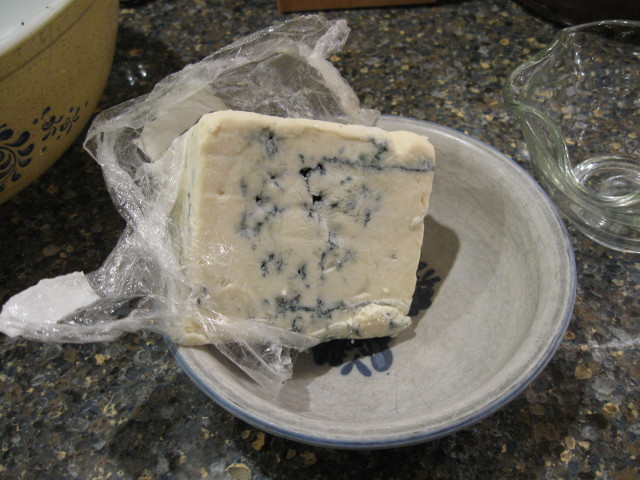
How can you tell if Blue Cheese has gone bad?

MoldThis one is going into the cheese ball anyway.

Happy New Year!

Posted in Cheap Philosophy | Comments Off on A Philosophical Question