Beam

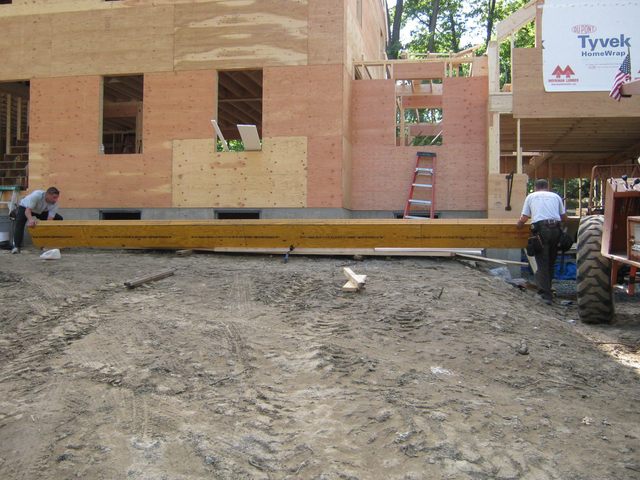
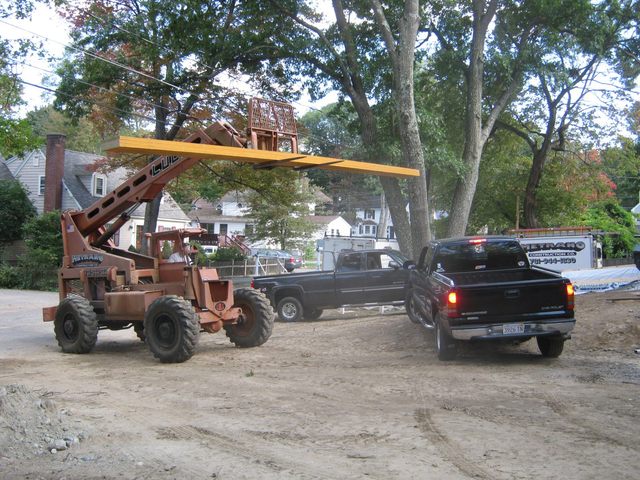
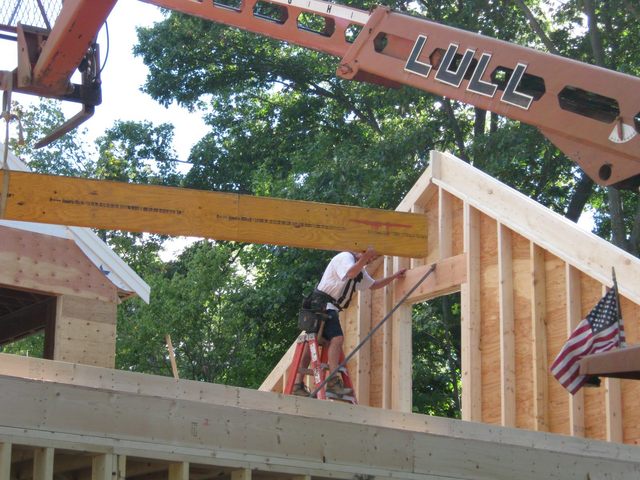
They put the monster beam in the garage attic today. This thing is huge! Take a look at it:

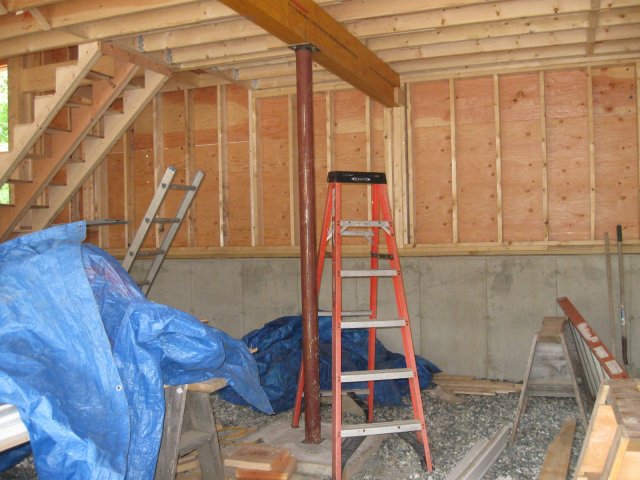
HugeI don’t know what the exact dimensions are, but the garage is 26 feet deep, so that is about how long the beam is. There are three Micro-Lam beams all nailed together there. It is heavy, so they picked it up with the fork lift.
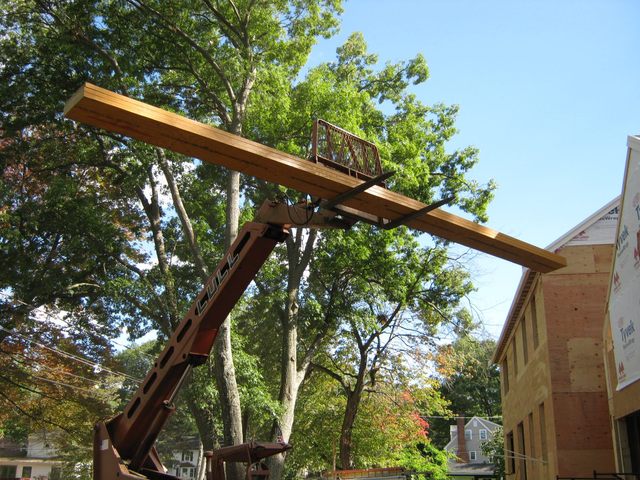
Fork liftThey had to lift it wicked high because it goes in the attic.
Wicked HighThey stuffed the beam into the garage attic sideways.

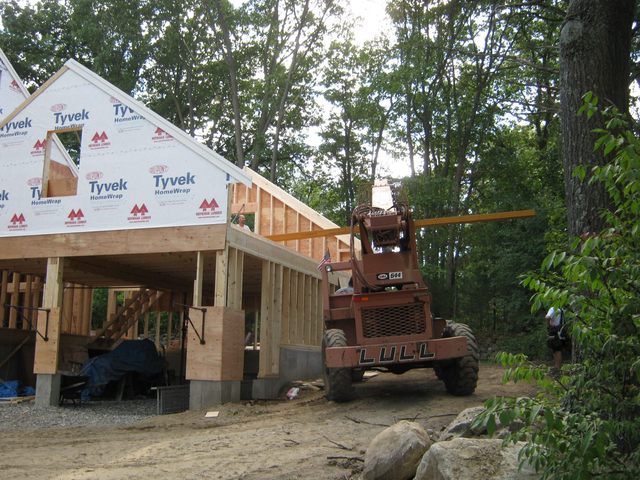
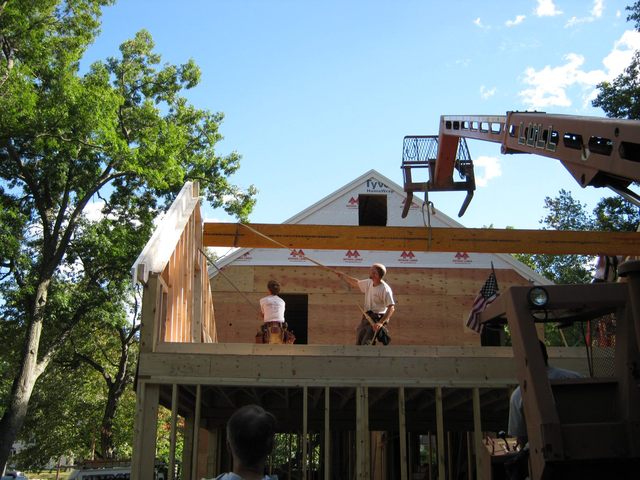
SidewaysThen they lifted it with a strap so they could swing it around into position.

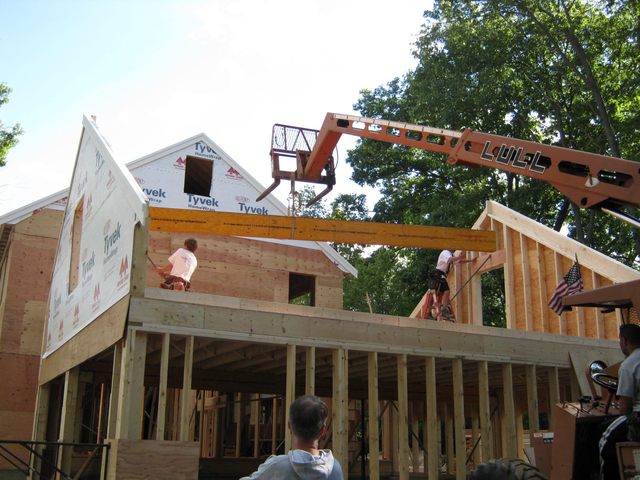
StrapIt is difficult to see in the photo above, but if you look closely you can see that they had to bend the gable ends out of the way to get the ends of the beam in place. First the back end.

Back endThen, the front end.

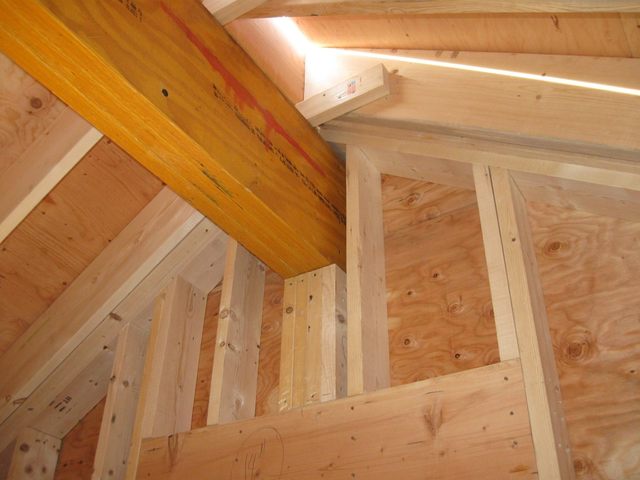
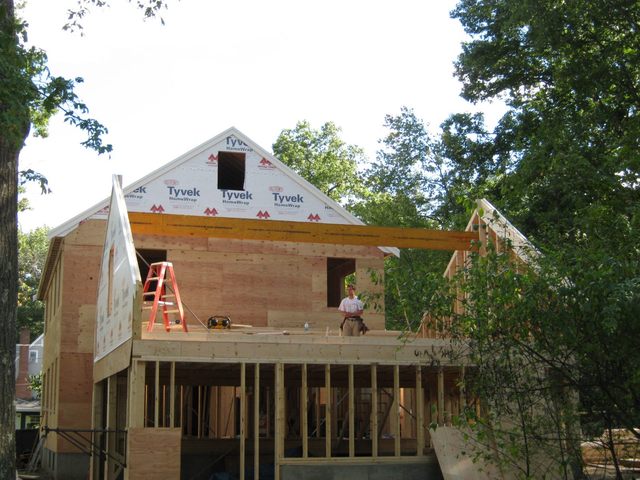
Front EndAnd there it is…. the biggest beam in the house.

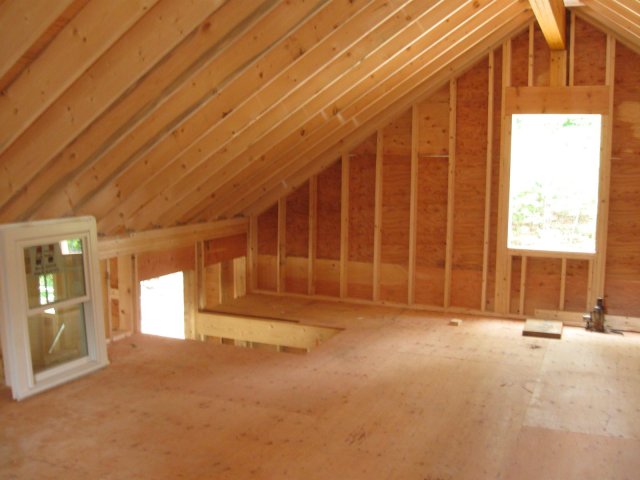
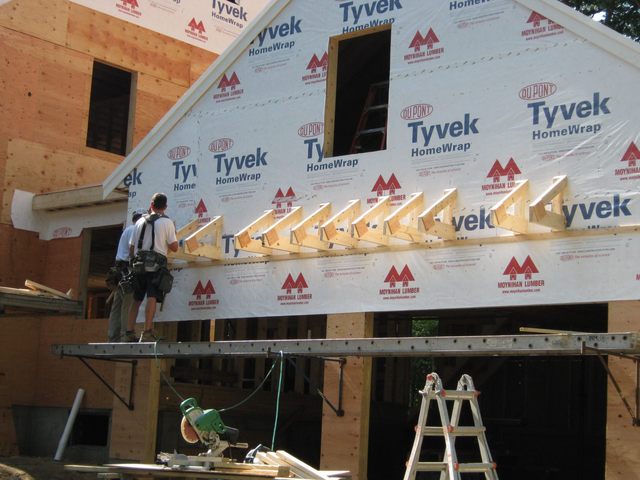
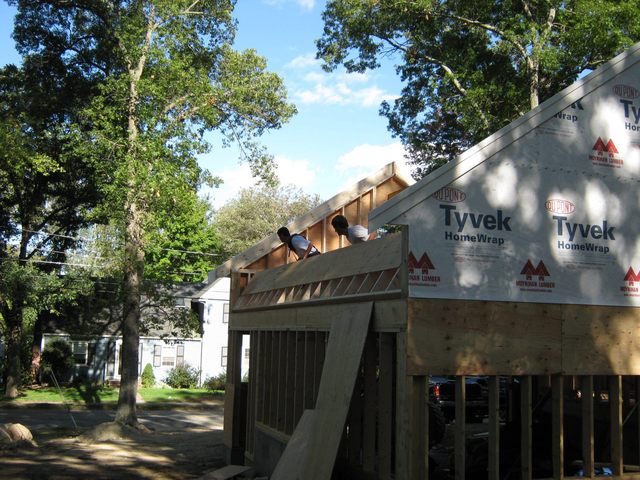
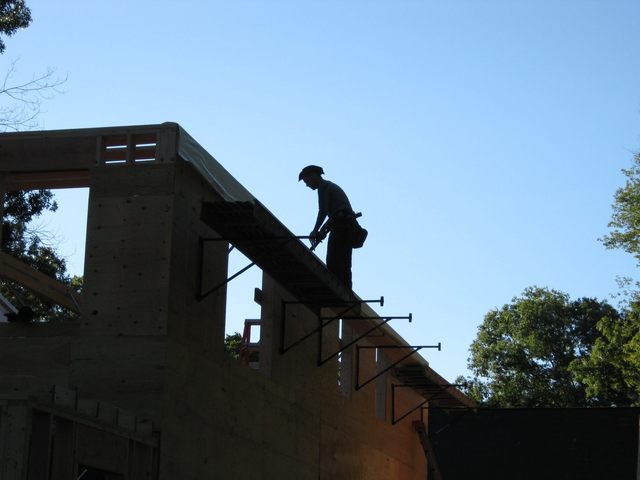
BiggestOur builder explained to me that the huge beam is required because the garage attic has knee walls on the sides. Those are the short walls on the sides of the garage up in the attic. Here is a photo of the guys putting up the outside knee wall.

Knee wallSince the pressure from the roof will try to force the knee walls out, and there is no ceiling tying the tops of the walls together (like in the house attic), the huge beam is required to take the weight of the roof and keep it from flexing under the pressure. “It’s just simple physics”, he said.

OK. That’s all good. I’m a rocket scientist, not a Structural Engineer.

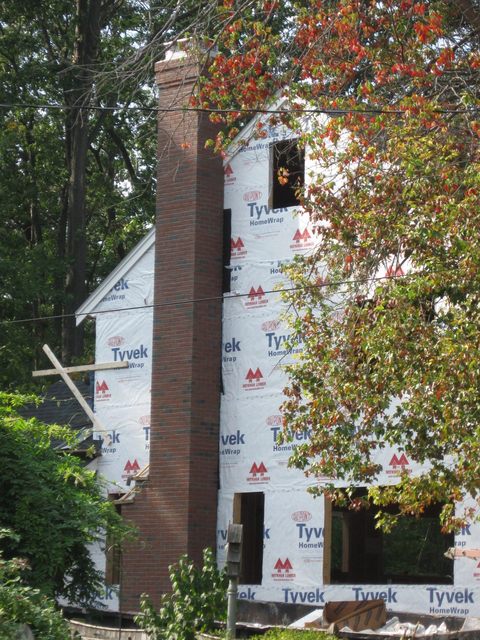
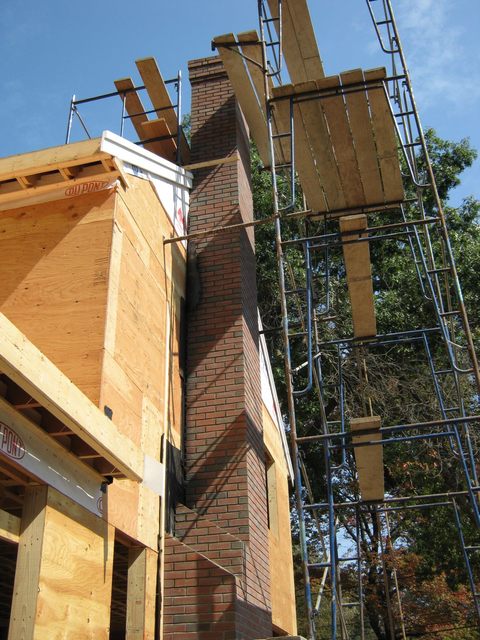
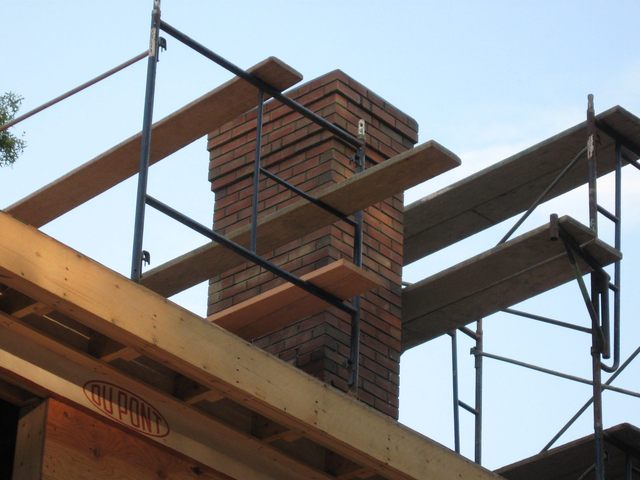
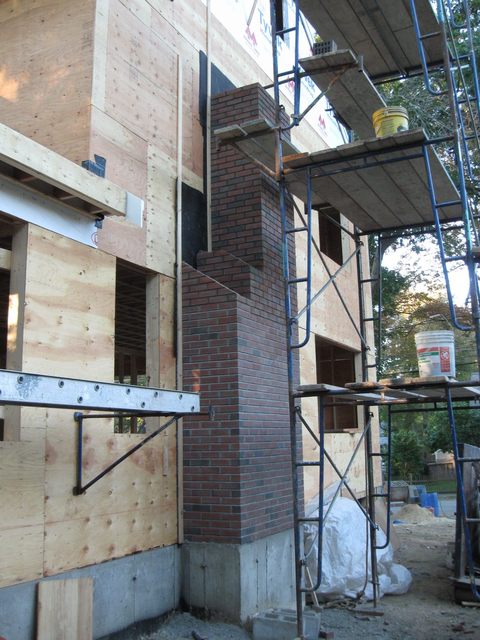
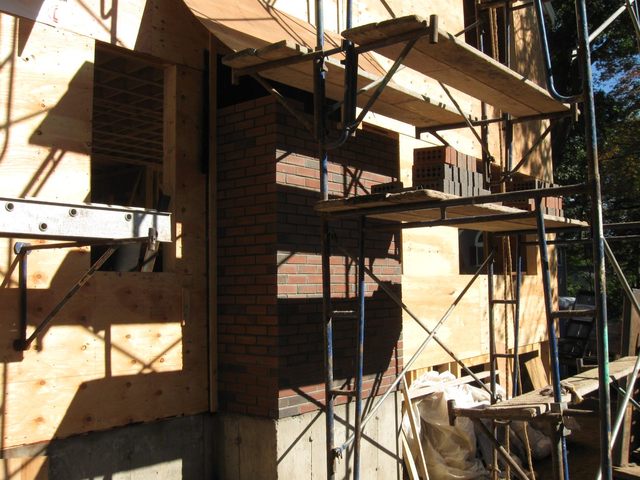
Meanwhile, the mason has been working on the chimney at the other end of the house. Take a look at this.

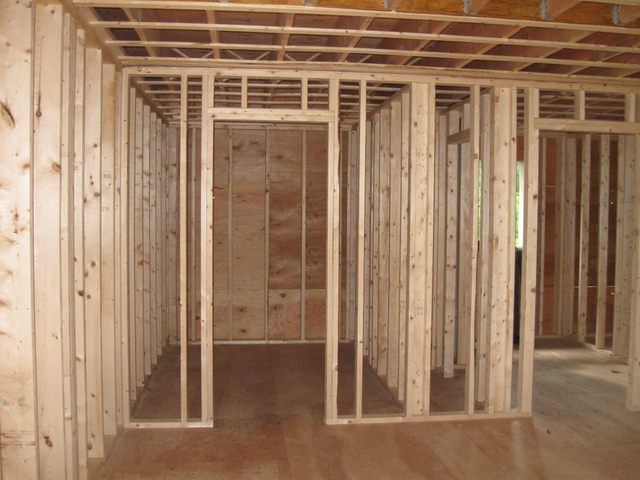
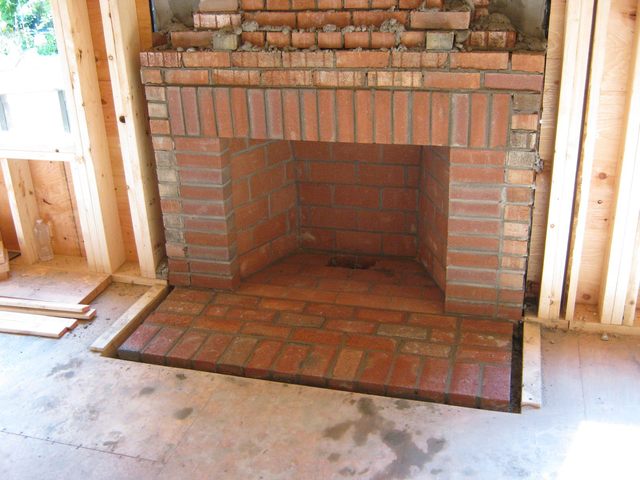
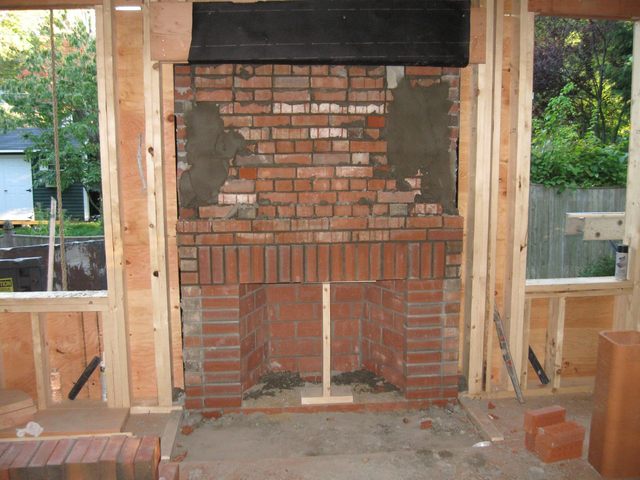
ChimneyIs that gorgeous, or what? And inside, the fireplace is just as nice.

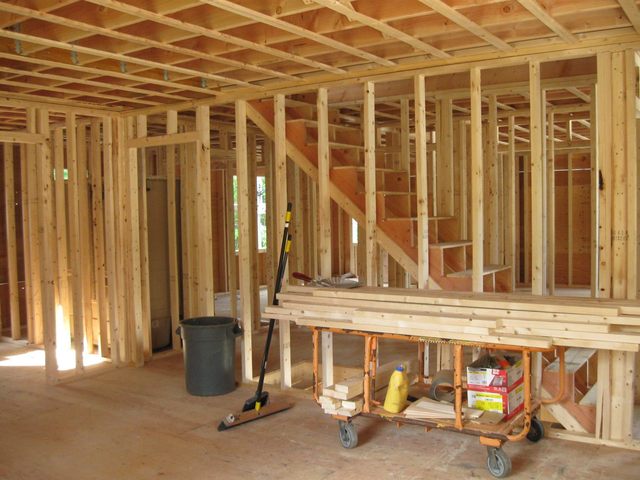
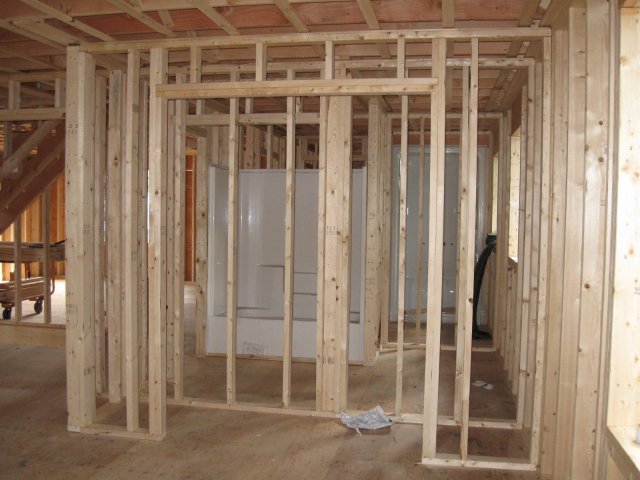
FireplaceThis is really looking good.

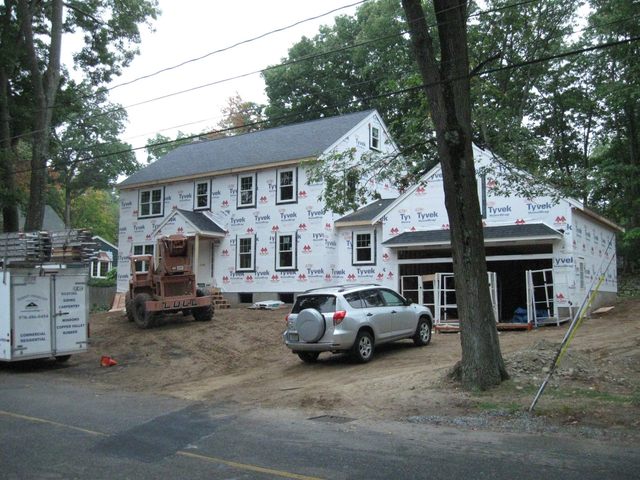
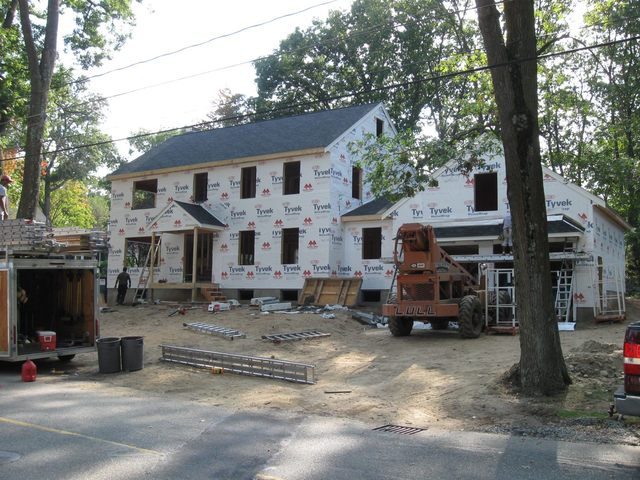
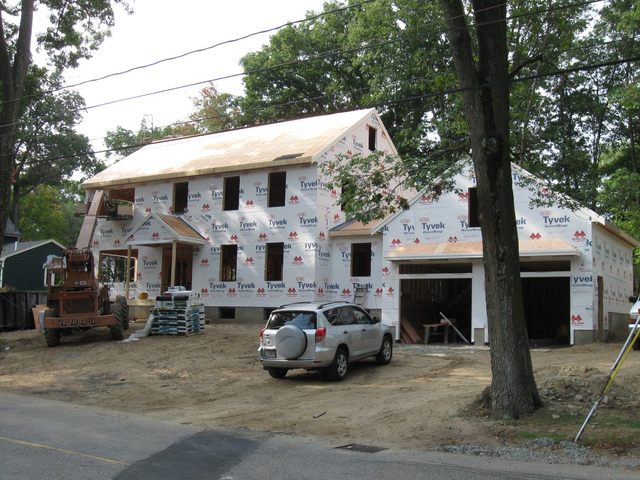
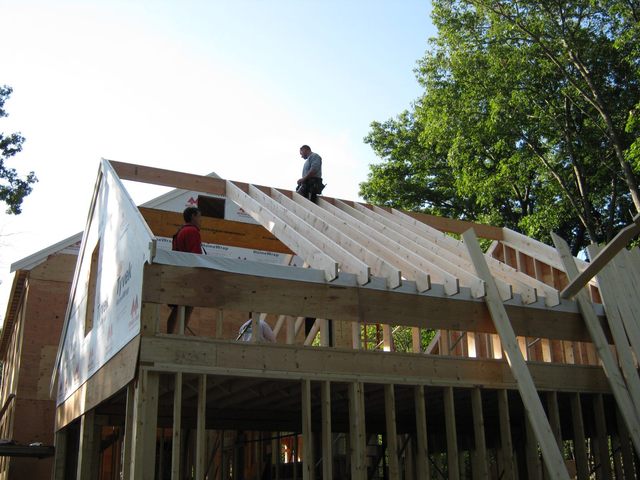
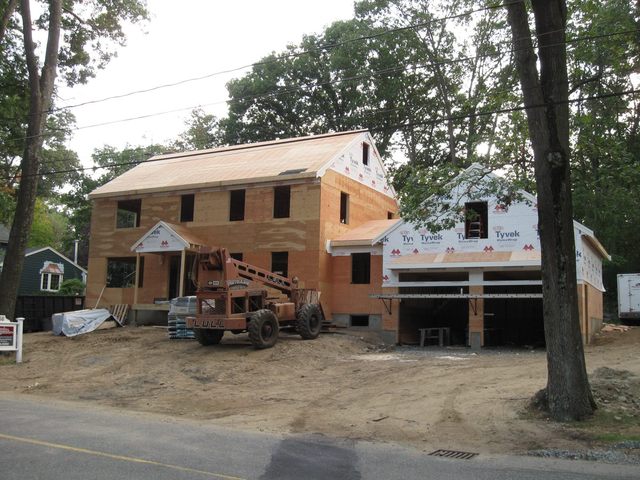
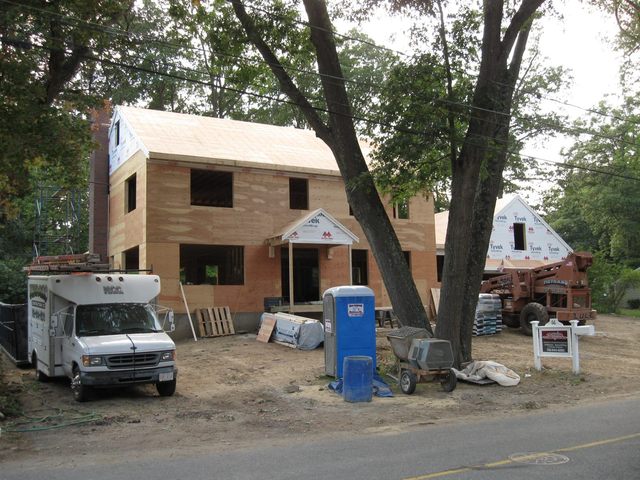
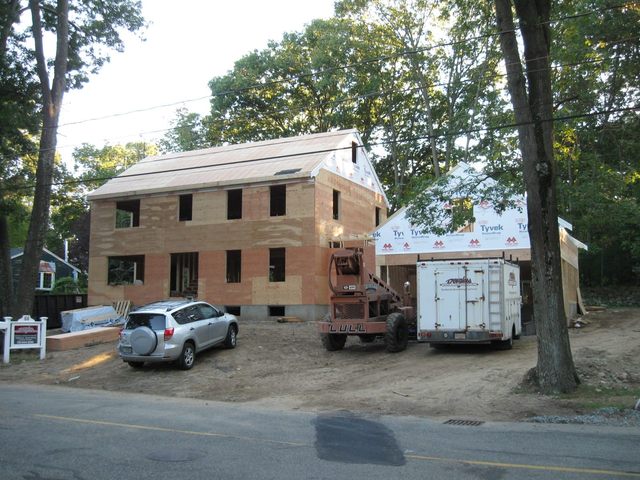
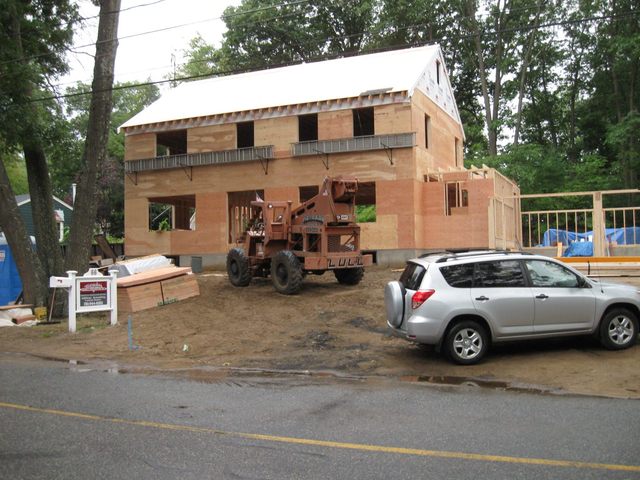
Below is a photo of the house with the gable ends up on the garage.

HouseLookin’ better every day!

Posted in House Project | Comments Off on Beam

Fireplace

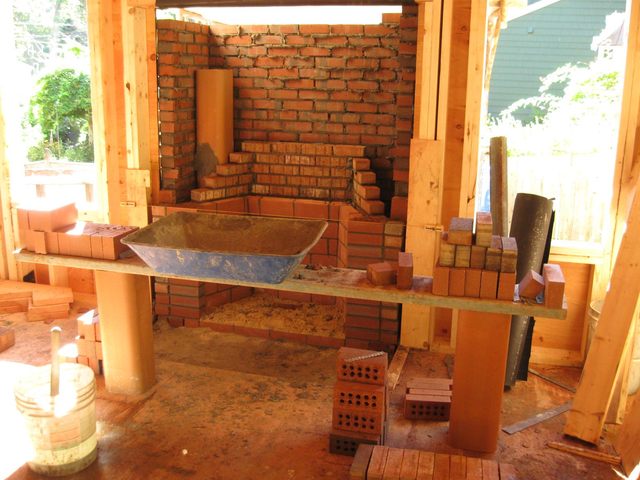
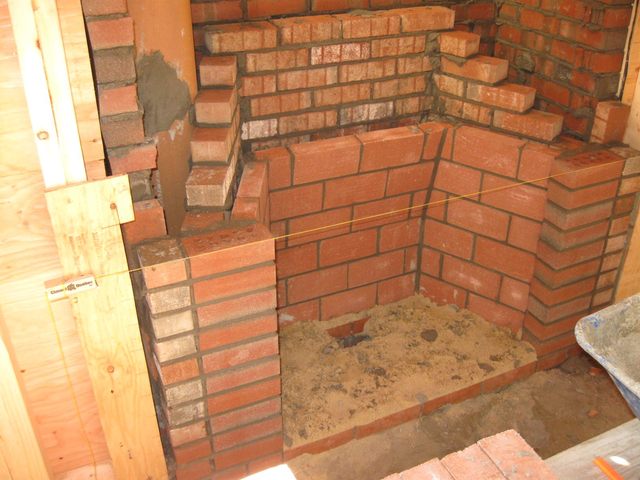
The mason was at work yesterday, building our chimney and fireplace. Here is a photo of the fireplace.

FireplaceThe clay tube on the left is the flue for the oil burner. It is a separate flue that goes up the same chimney as the flue for the fireplace. Here is a closeup of the fireplace.

CloseupThat is some complicated brick work. It looks very nicely done on the outside too.

ChimneyThe chimney is about 1/4 done now, from the looks of it.

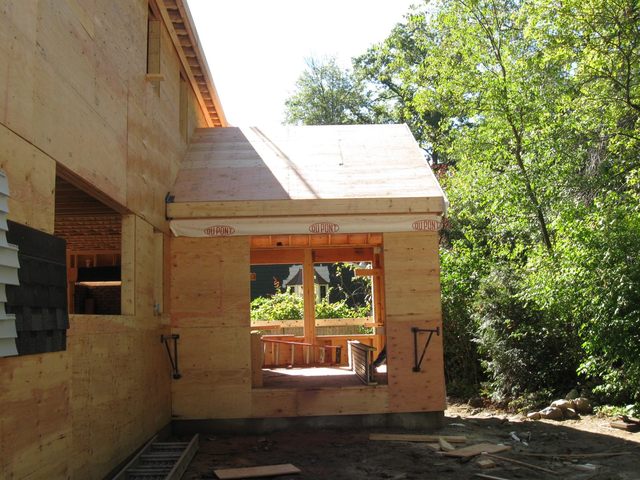
While the mason was working on the chimney, they put the roof on the sun room.

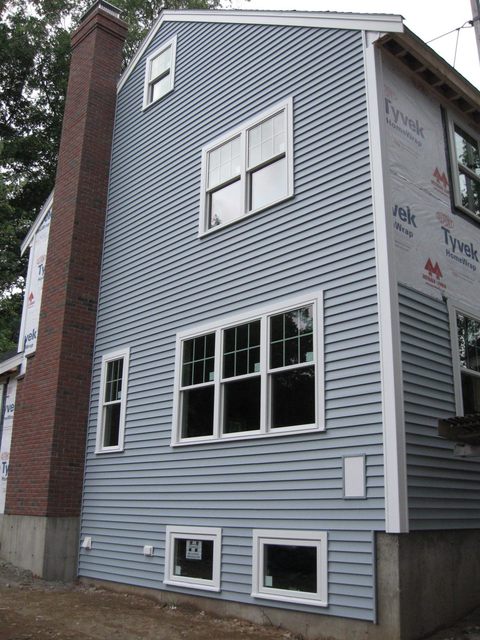
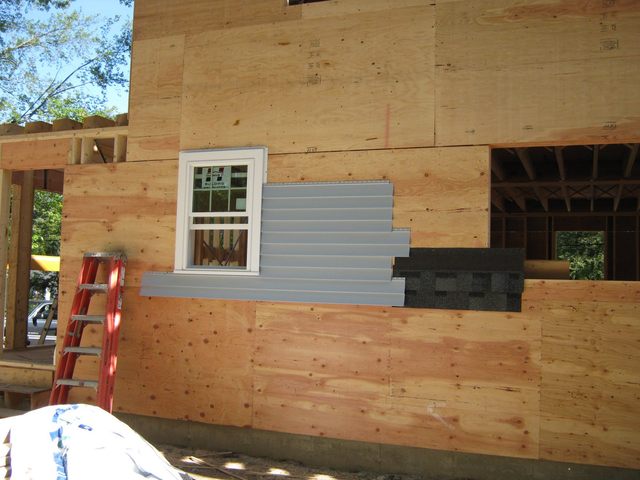
Sun roomThey also have put in a window with some siding around it so we can see what it will look like.

WindowThe siding color is called “Oxford Blue”, although it looks gray in this light. The black sheet to the right of the siding is some roofing shingles nailed there so we can see what they will look like against the siding.

Posted in House Project | Comments Off on Fireplace

Roof

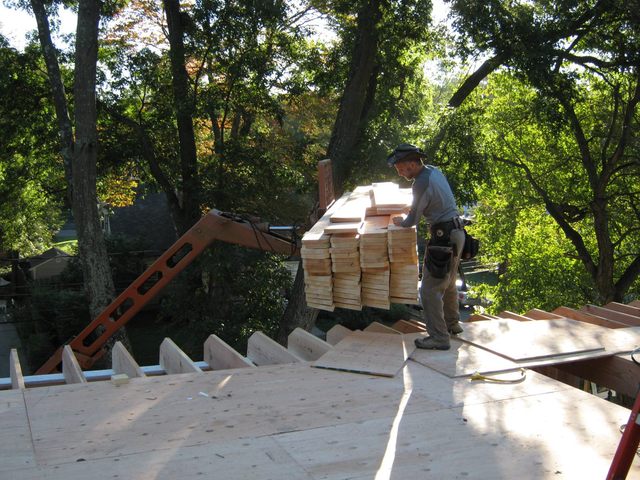
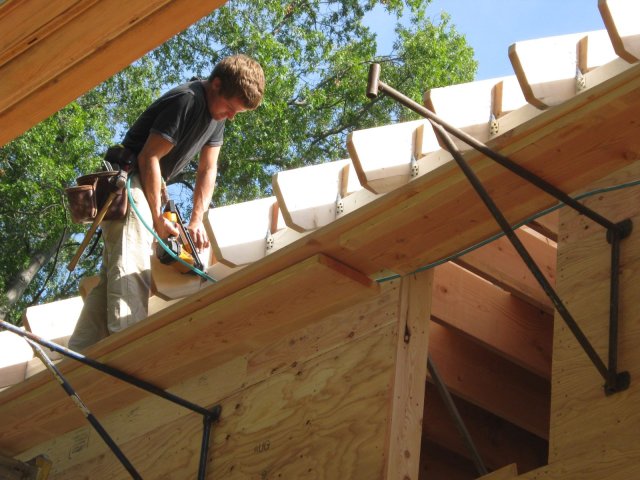
It was a big day today. The roof went up today. The rafters were cut yesterday and were delivered this morning to the roof platform with a crane.

RaftersOne by one the guys lifted them up to the ridge pole and nailed them in place.

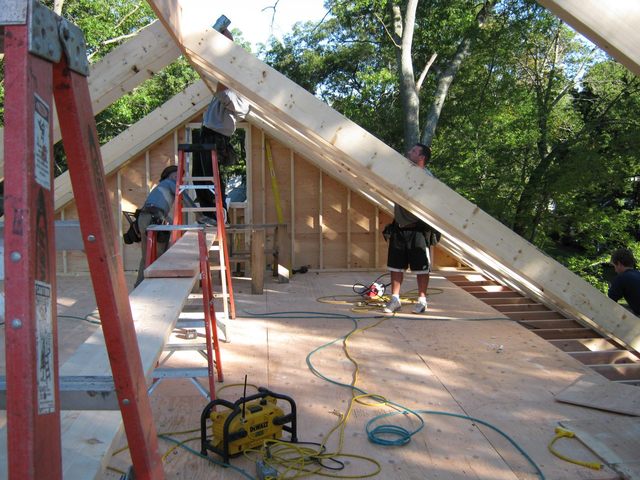
LiftingThe rafters are nailed to the ridge pole at the top and the joists at the bottom.

JoistsDo that about a hundred times….

Hundred

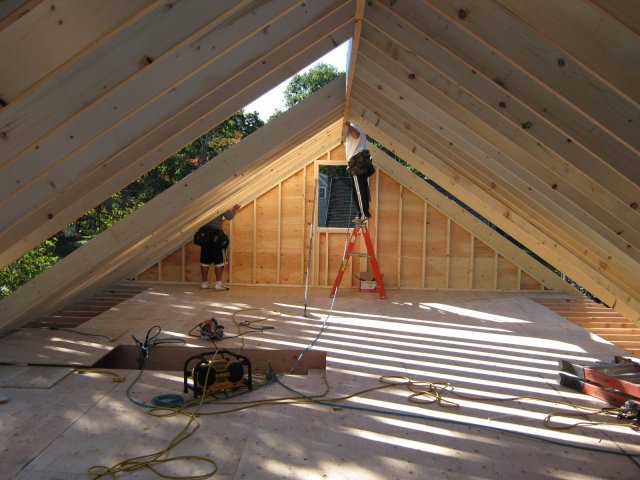
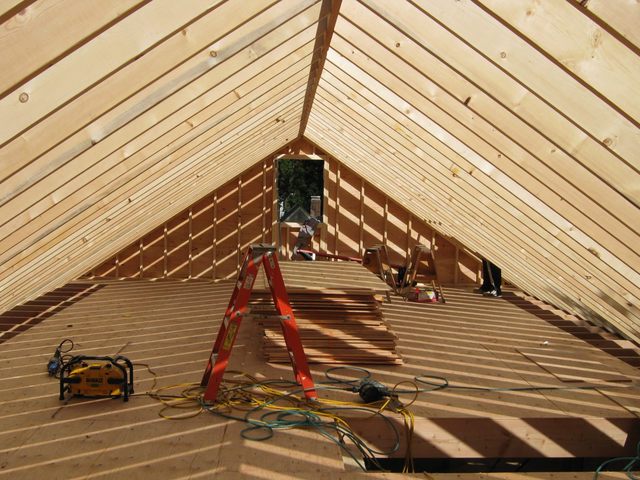
…and you are done. Below is a photo of the rafters in place.

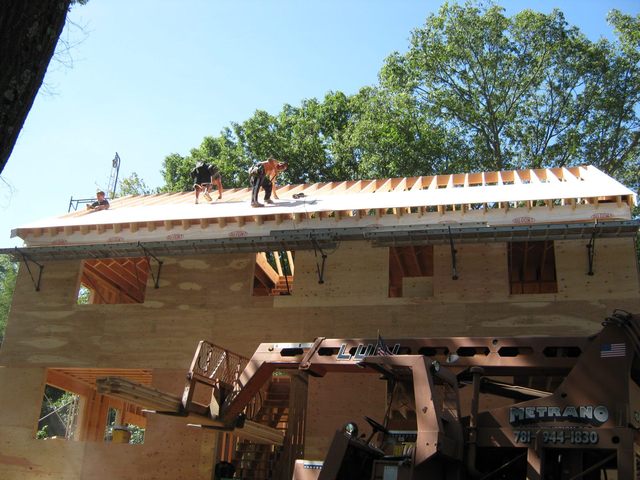
DoneAfter the rafters were in place, they put the plywood sheathing on.

SheathingThere you go! The roof is on.

DoneNow it really looks like a house!

And it was all done before the stormy skies arrived.

Storm

Posted in House Project | Comments Off on Roof

Attic Floor

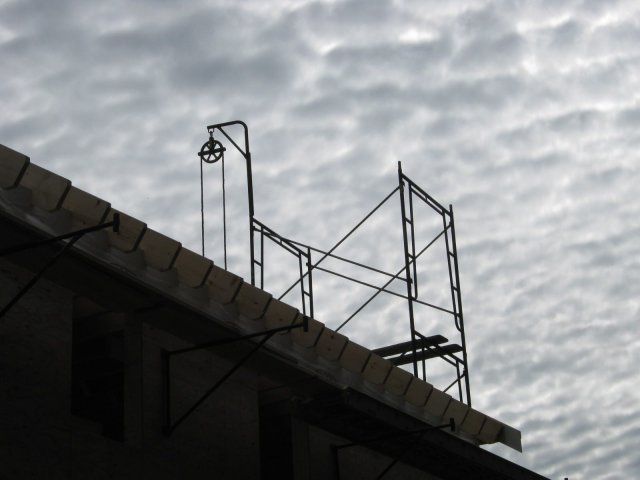
The attic floor went in today. They put some scaffolding on the side of the house to stand on while they put the joists up.

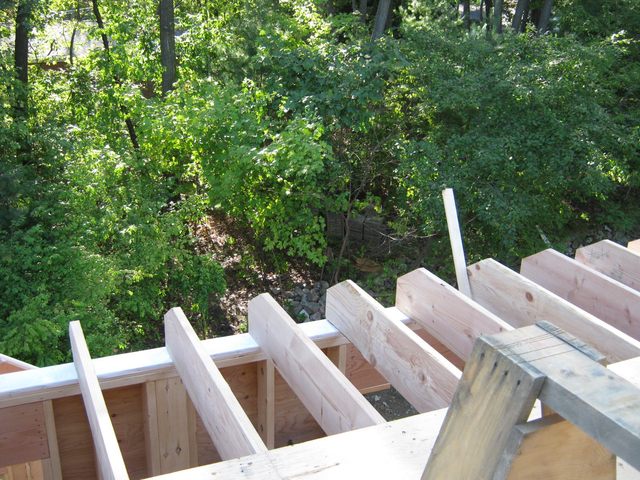
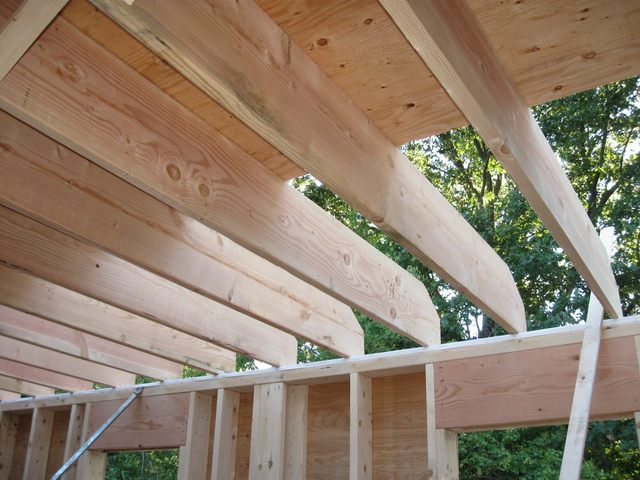
ScaffoldThe joists for the attic floor are the widest pieces of lumber in the whole house.

WideThe reason for that is that there must be enough space between the upstairs ceiling and the attic floor to get insulation with a rating of R-38 in there. Here is a view from the second floor looking up.

From BelowLots of space for insulation.

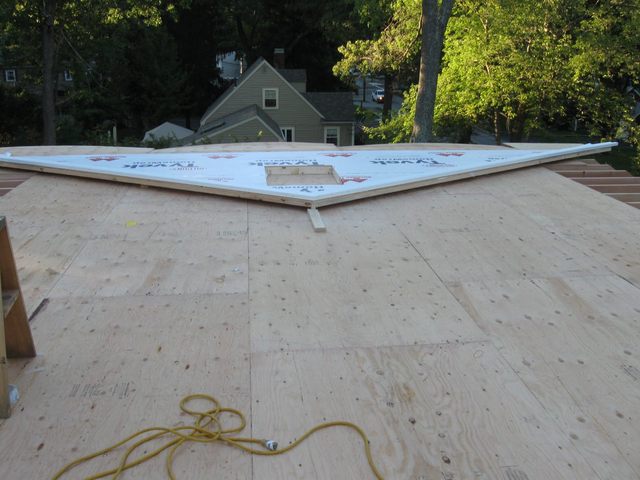
They also built the gable ends after the floor was in.

Gable EndsThe gable ends already have the plywood sheathing, the Tyvek® and the Azek® trim on them so after being put in place all they need is the windows and siding.

Tomorrow the rafters go up.

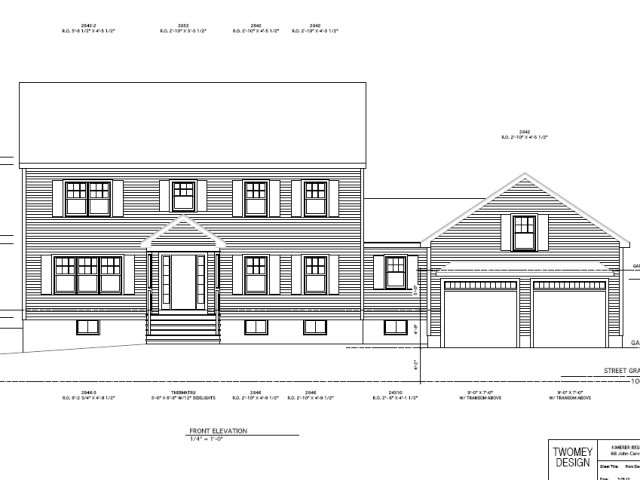
BTW, in case you are curious, here is what the house is supposed to look like once it has been finished.

Front Of House

Posted in House Project | 2 Comments

Second Floor Walls

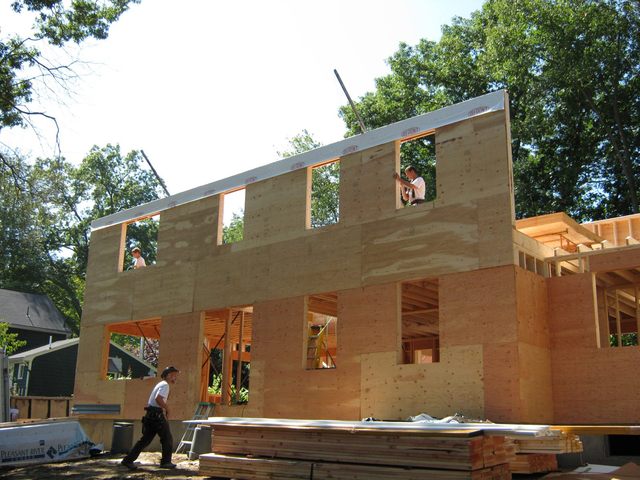
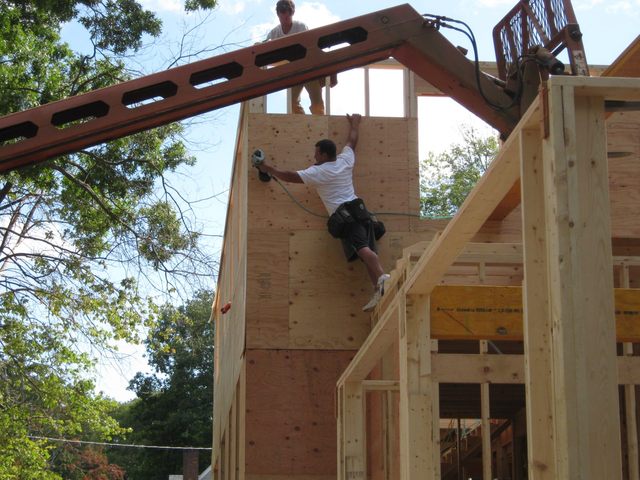
The second floor walls went up today. They used the same technique as they did for the first floor walls, build ’em flat on the floor and then lift them into place.

Second FloorSometimes they had to, um, stretch a bit to nail them together.

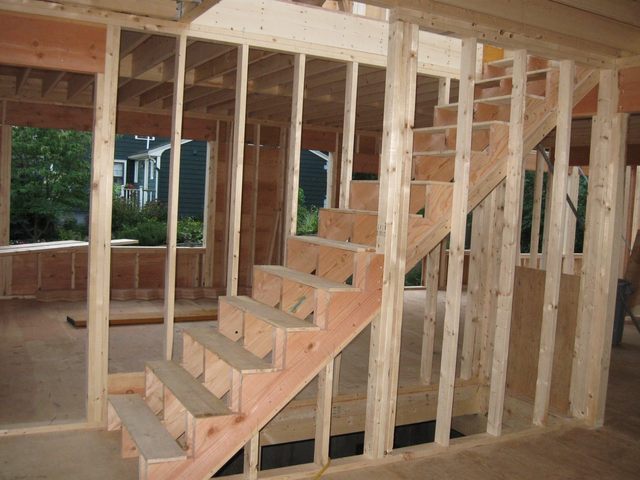
StretchThe stairs from the first floor to the second floor went in today as well.

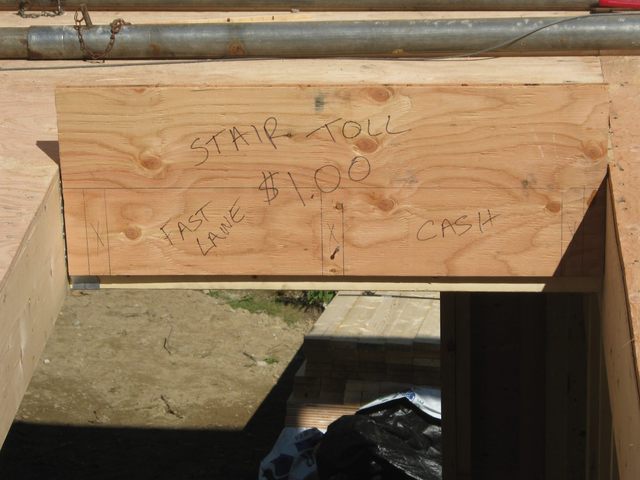
StairsI heard that there was some discussion about how the stairs should be built and there were a couple of false starts….  and some additional expense was incurred to argue them into position…. so they decided to charge a toll for use of the stairs to offset the additional cost.

TollHmmmm. At least they provided for a fast lane.

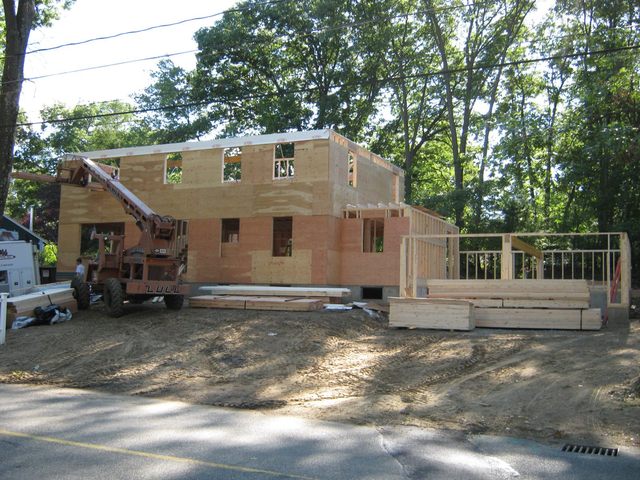
It is starting to look more like a house now.

HouseNext up is the attic floor and stairs. Then the roof gets framed.

Posted in House Project | Comments Off on Second Floor Walls

Second Floor

They put the second floor on today. This where the Micro-Lam comes in. It provides extra support across the open spaces of the first floor without using columns. It would be unsightly to have Lally columns in the middle of the kitchen.

Here is a short span of micro-lam.

Micro LamThe yellow board is the Micro-Lam. The red board in the foreground is a header over a window. The second floor joists are connected to the Micro-Lam beam with metal brackets.

JoistsThat is a lot of boards.

Lot O' BoardsHere is the end result, with the second floor attached to the top of the joists.

Second Floor

In the photo you are looking at the ceiling of the kitchen behind the Micro-Lam and the ceiling of the dining area in front of it.

The really long Micro-Lam beam went into the garage. They lifted it into place with a crane.

CraneThey positioned it into its notch at the front of the garage.

FrontAnd then the back of the beam went into its notch at the back of the garage.

BackAnd there it is.

DoneThat is a long board! I am guessing that they will get started on the second floor walls tomorrow.

Posted in House Project | 1 Comment

Walls

They put up the first floor walls today. The first wall that went up was the back wall to the sun room. That is a really nice looking wall.

Back WallThe ceiling will be a high ceiling, all the way up to the peak. The window is huge! It is 5 feet tall and 9 feet wide. It will be a very sunny sun room.

Here is how they put up a wall. First, they build the wall flat on the floor.

Build the wallThen they get under the wall and lift it into place.

LiftKeep lifting.

Lift Higher…until the wall is in place.

DoneEasy!

Well, it’s easy to watch anyway. I imagine that it is pretty heavy if you are doing the lifting. In fact, the larger walls were lifted into place using some mechanical poles.

PolesThe poles have a ratchet on them to crank the wall up into position. Here is a closeup.

CloseupAfter the walls are in place, they are nailed using huge nail guns.

NailedCheck out the upper right corner of the photo above. That is a big nail gun! The nail guns are loaded with bandoliers of nails.

BandolierThe guns shoot those long nails all the way into the wood in one shot!

Well, sometimes, the nail guns jam and produce works of art, like this.Art

I guess you don’t want to be aiming those things at your toes.

Posted in House Project | Comments Off on Walls

No Entry Today

I have no blog entry today because nothing really happened at the house today except the delivery of more lumber….. well…. unless you count this as a blog entry… in which case I did blog today and I was wrong about not blogging today…. or something. Check back tomorrow.

Posted in House Project | Comments Off on No Entry Today

Day Two

It is day two of the framing. There is not much to show today even though a lot of work was done. It just wasn’t very visually dramatic work.

They finished the floor.

FloorThen, they started building the walls. They build the walls flat on the floor and then lift them into place. Here is the back wall to the sun room.

Back wallThat room will have a high ceiling. You can see the peak of the roof.

They also got a start on framing the front wall.

Front wall

The big hole in the middle is for the front door. The smaller holes are for the windows.

That is all I have to report tonight. There should be more wall action tomorrow.

Posted in House Project | Comments Off on Day Two

Framing

They started framing the house today. Finally, we are building our house.

First order of business is to put in the sills.

SillsThe sills sit on the top of the foundation wall and hold up the house. You can see in the foreground that the sills are made with two boards. The bottom one is pressure treated lumber so that it will not rot. The top board is regular lumber. The sills are bolted to the foundation wall and nailed together.

Bolted

Once the sills were in, they started on the floor. One of the first things to go in was that long beam that goes down the length of the house. They started at the South end.

BeamThey made sure that none of the boards were warped. You can see in the foreground our builder sighting down one of the boards to make sure it is straight.

BeamBoard by board they constructed the beam.

Hey, wait! They aren’t using the Micro-Lam! There it is sitting on the pile. I guess I got that wrong. I wonder where the Micro-Lam goes. (This is why I hired somebody who knows what he is doing to build my house).

Anyway, they built that whole beam from boards all the way to the other end of the house.

Other endIn the photo below you can see how long the beam is. The beam is four (4) boards thick.

LongAfter the beam was in place, they put in the joists.

JoistsWow! That’s a lot of boards.

BoardsThe image below is looking toward the street from the floor of the sun room.

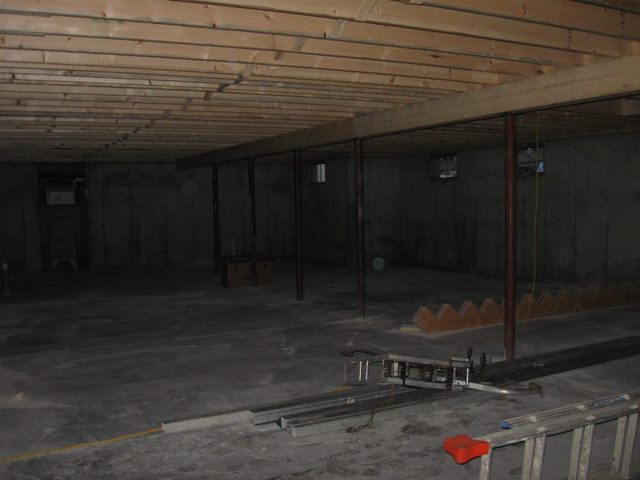
More boardsThe hole in the joists at the left side of the photo is where the stairs go down into the basement from the kitchen. Pretty cool. So I went into the basement to see what that looks like (No, I didn’t go down through that hole because there are no stairs there, and that first step would hurt).

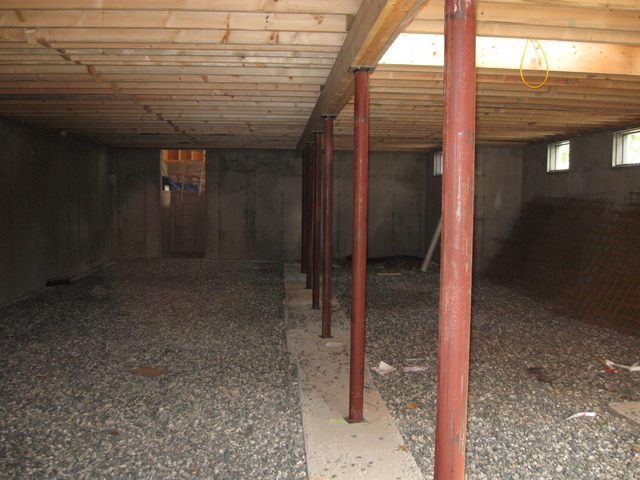
The photo below is looking from the South side of the house toward the garage.

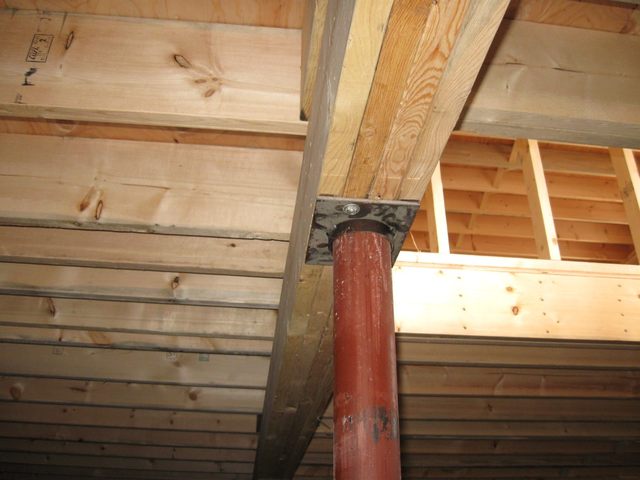
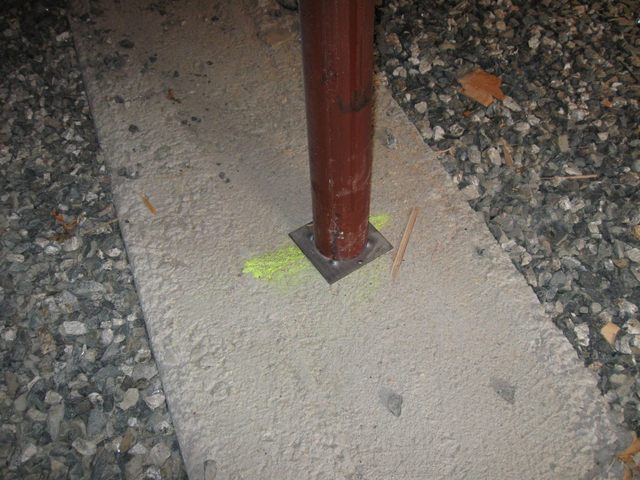
Toward garageI think the green marks on the footings are where the Lally columns will go… but then… I was wrong about the Micro-Lam too, so….

Looking the other way…

Looking SouthThe hole for the stairs is at the top of the photo. I noticed that the pad they poured is not under the hole, so it must be for something other than the stairs.

The holes in the far wall are where the windows will go to provide light in the basement. My workbench will probably go on that left hand wall.

This is starting to look like something.

Walls tomorrow.

Posted in House Project | Comments Off on Framing