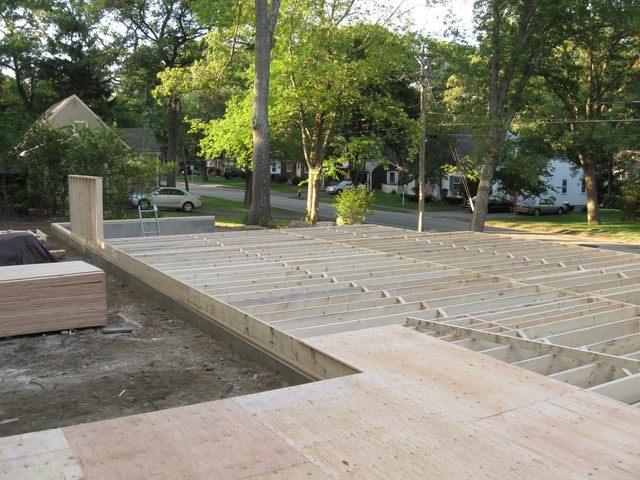
Second Floor

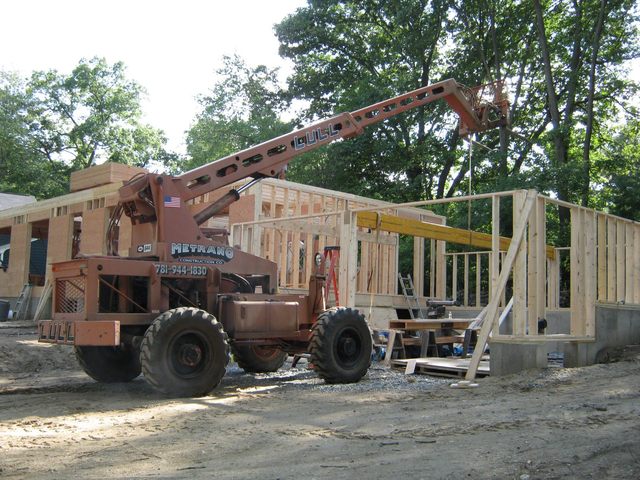
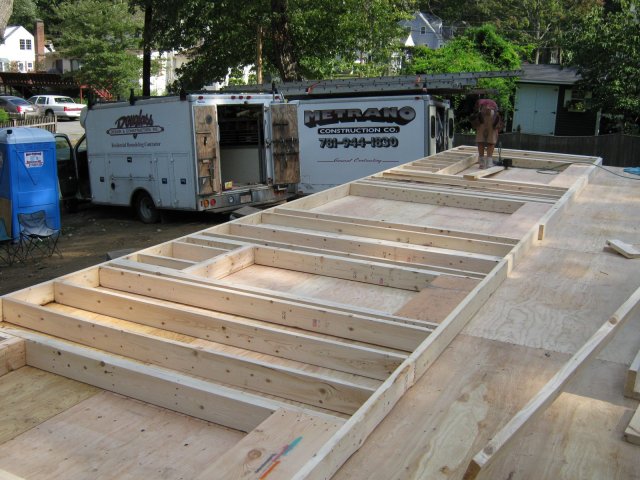
They put the second floor on today. This where the Micro-Lam comes in. It provides extra support across the open spaces of the first floor without using columns. It would be unsightly to have Lally columns in the middle of the kitchen.

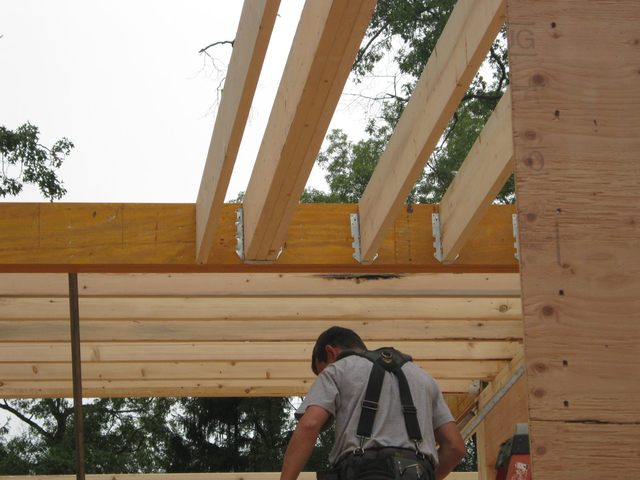
Here is a short span of micro-lam.

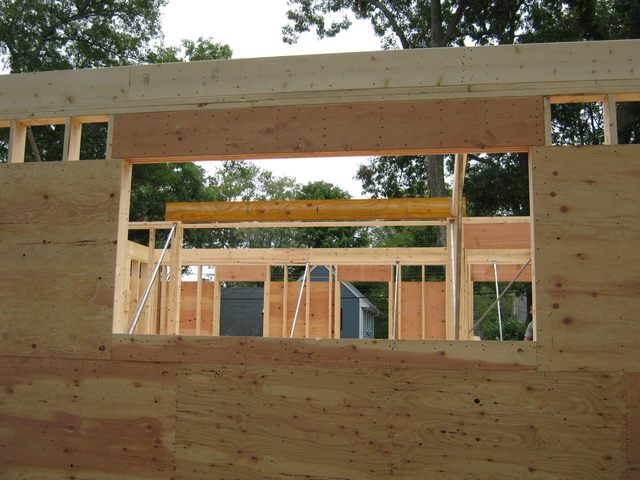
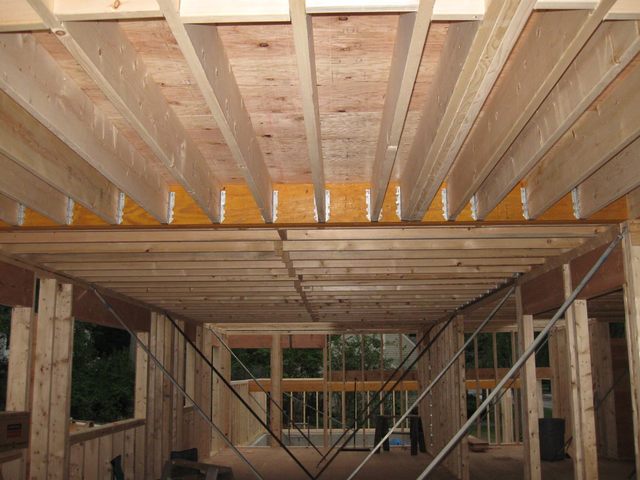
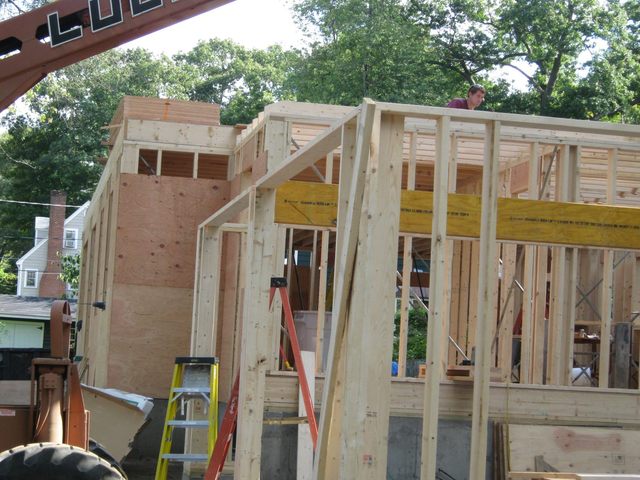
Micro LamThe yellow board is the Micro-Lam. The red board in the foreground is a header over a window. The second floor joists are connected to the Micro-Lam beam with metal brackets.

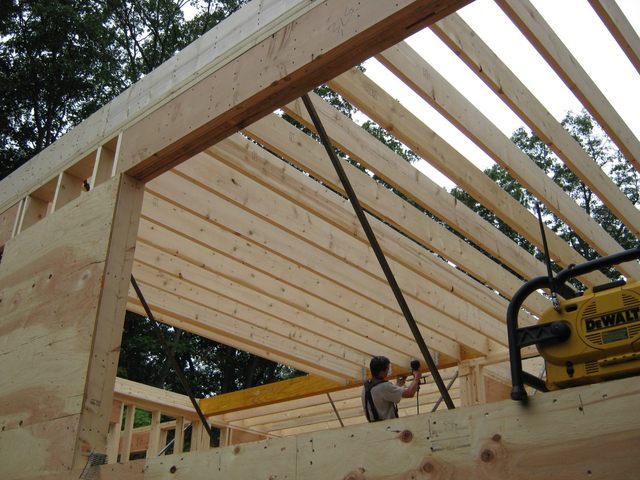
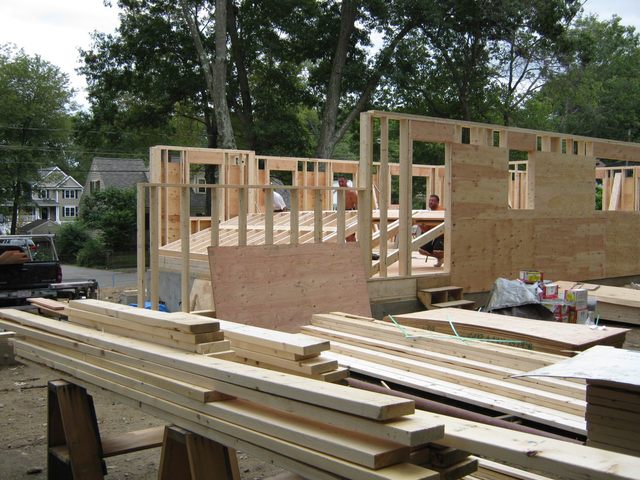
JoistsThat is a lot of boards.

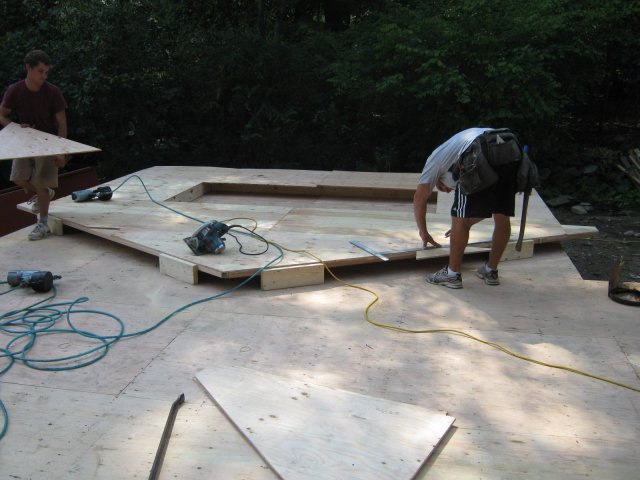
Lot O' BoardsHere is the end result, with the second floor attached to the top of the joists.

Second Floor

In the photo you are looking at the ceiling of the kitchen behind the Micro-Lam and the ceiling of the dining area in front of it.

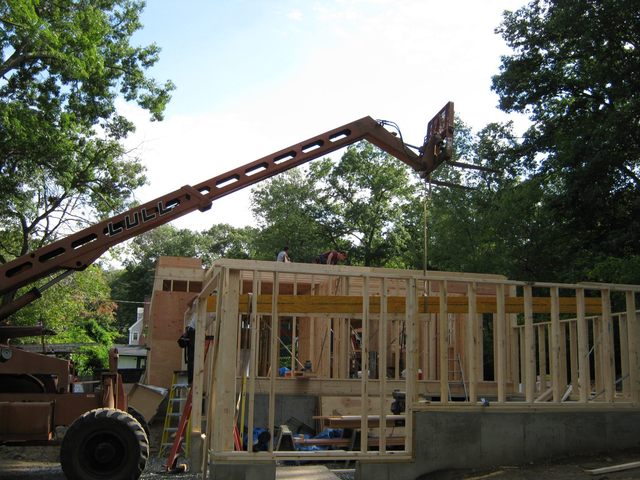
The really long Micro-Lam beam went into the garage. They lifted it into place with a crane.

CraneThey positioned it into its notch at the front of the garage.

FrontAnd then the back of the beam went into its notch at the back of the garage.

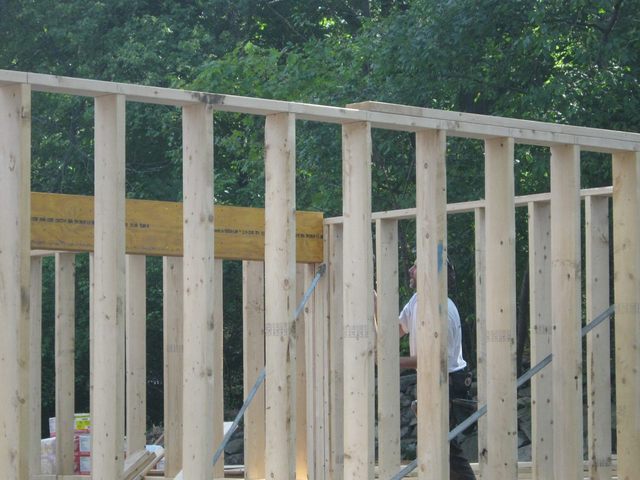
BackAnd there it is.

DoneThat is a long board! I am guessing that they will get started on the second floor walls tomorrow.

Posted in House Project | 1 Comment

Walls

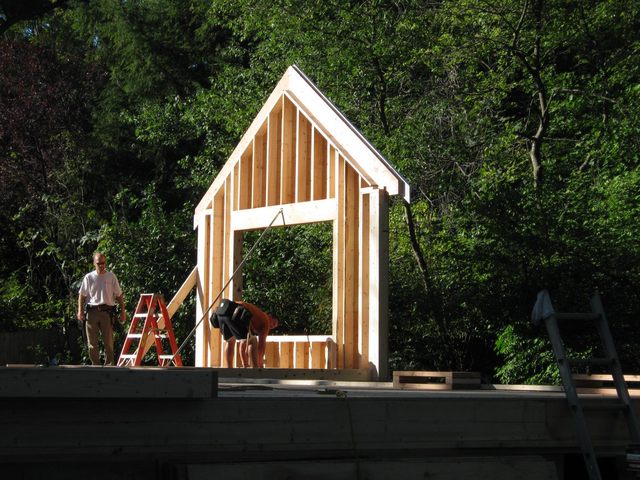
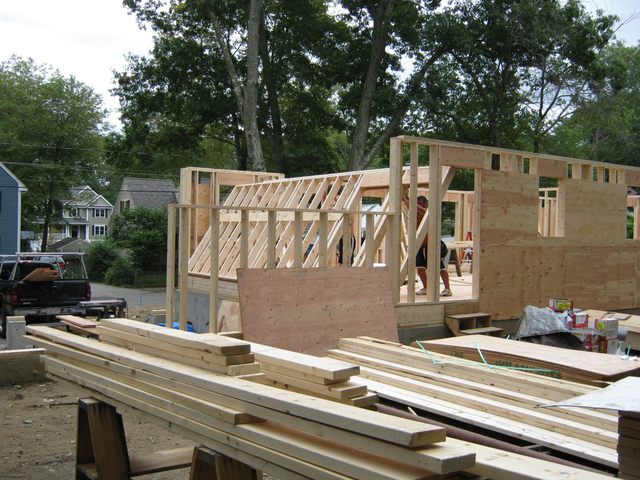
They put up the first floor walls today. The first wall that went up was the back wall to the sun room. That is a really nice looking wall.

Back WallThe ceiling will be a high ceiling, all the way up to the peak. The window is huge! It is 5 feet tall and 9 feet wide. It will be a very sunny sun room.

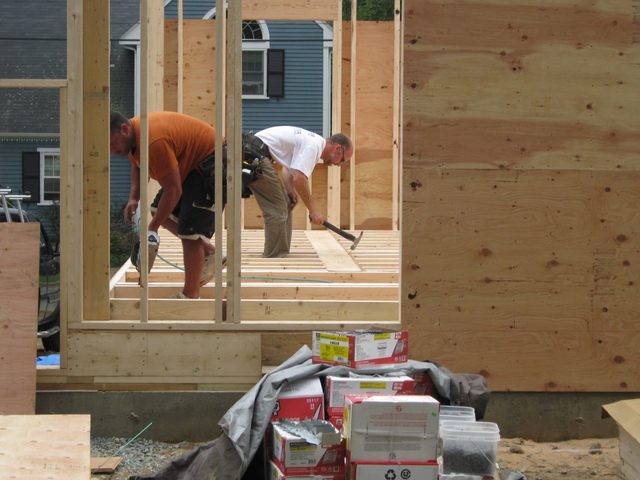
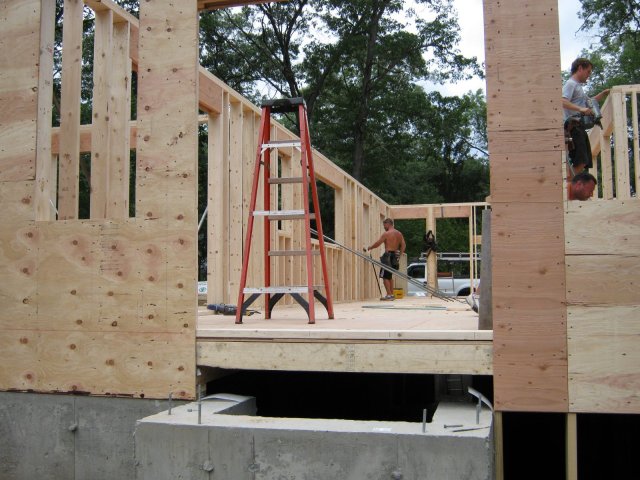
Here is how they put up a wall. First, they build the wall flat on the floor.

Build the wallThen they get under the wall and lift it into place.

LiftKeep lifting.

Lift Higher…until the wall is in place.

DoneEasy!

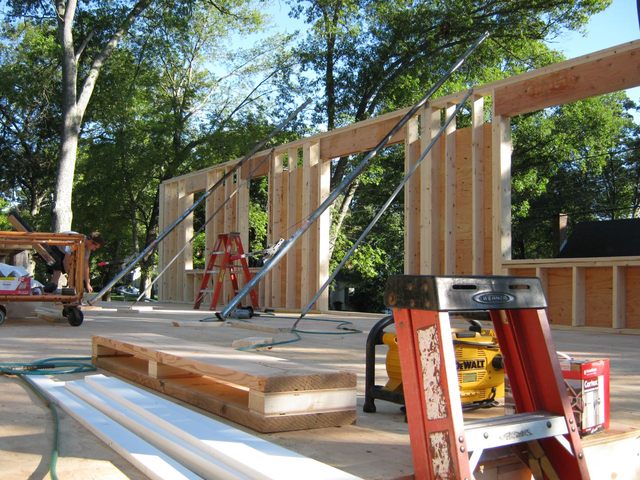
Well, it’s easy to watch anyway. I imagine that it is pretty heavy if you are doing the lifting. In fact, the larger walls were lifted into place using some mechanical poles.

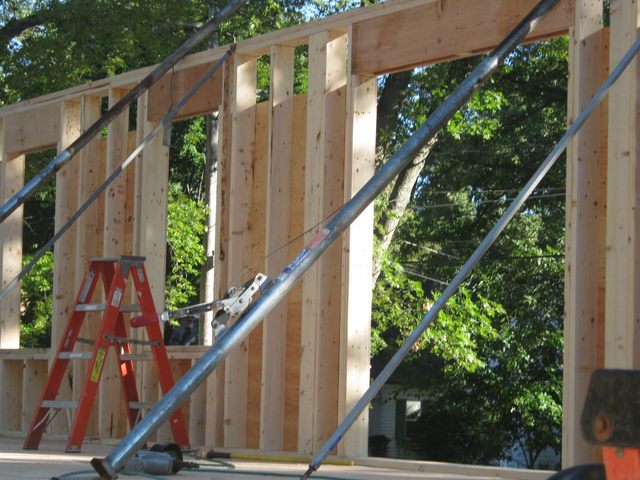
PolesThe poles have a ratchet on them to crank the wall up into position. Here is a closeup.

CloseupAfter the walls are in place, they are nailed using huge nail guns.

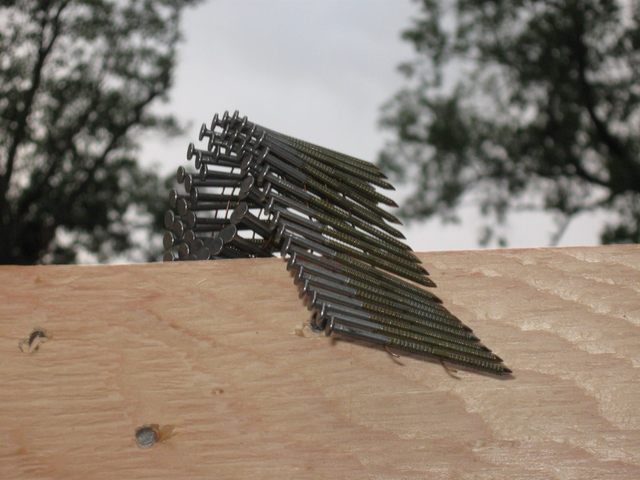
NailedCheck out the upper right corner of the photo above. That is a big nail gun! The nail guns are loaded with bandoliers of nails.

BandolierThe guns shoot those long nails all the way into the wood in one shot!

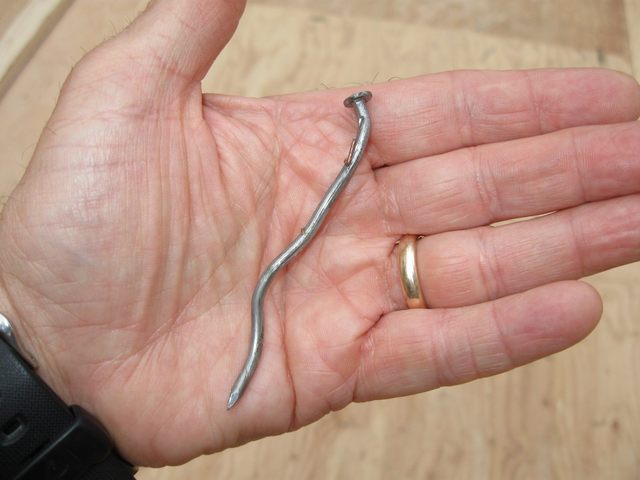
Well, sometimes, the nail guns jam and produce works of art, like this.Art

I guess you don’t want to be aiming those things at your toes.

Posted in House Project | Comments Off on Walls

No Entry Today

I have no blog entry today because nothing really happened at the house today except the delivery of more lumber….. well…. unless you count this as a blog entry… in which case I did blog today and I was wrong about not blogging today…. or something. Check back tomorrow.

Posted in House Project | Comments Off on No Entry Today

Day Two

It is day two of the framing. There is not much to show today even though a lot of work was done. It just wasn’t very visually dramatic work.

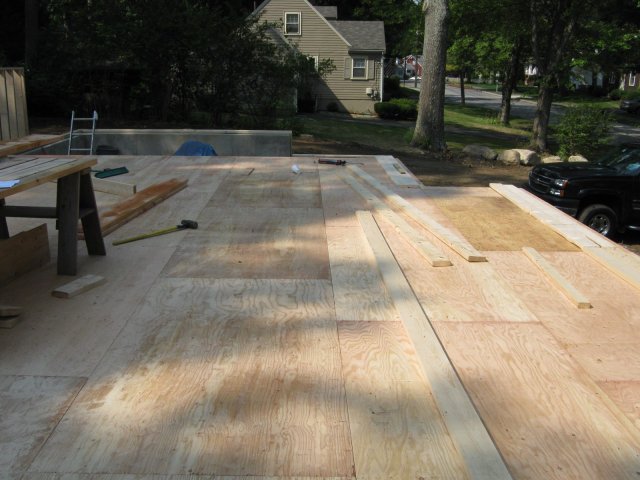
They finished the floor.

FloorThen, they started building the walls. They build the walls flat on the floor and then lift them into place. Here is the back wall to the sun room.

Back wallThat room will have a high ceiling. You can see the peak of the roof.

They also got a start on framing the front wall.

Front wall

The big hole in the middle is for the front door. The smaller holes are for the windows.

That is all I have to report tonight. There should be more wall action tomorrow.

Posted in House Project | Comments Off on Day Two

Framing

They started framing the house today. Finally, we are building our house.

First order of business is to put in the sills.
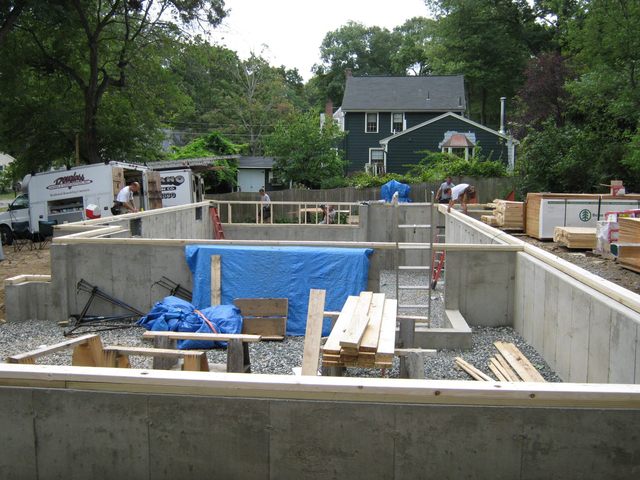
SillsThe sills sit on the top of the foundation wall and hold up the house. You can see in the foreground that the sills are made with two boards. The bottom one is pressure treated lumber so that it will not rot. The top board is regular lumber. The sills are bolted to the foundation wall and nailed together.
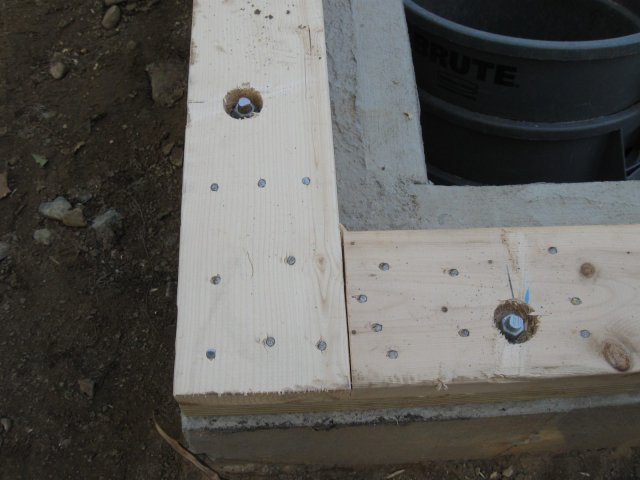
Bolted

Once the sills were in, they started on the floor. One of the first things to go in was that long beam that goes down the length of the house. They started at the South end.

BeamThey made sure that none of the boards were warped. You can see in the foreground our builder sighting down one of the boards to make sure it is straight.
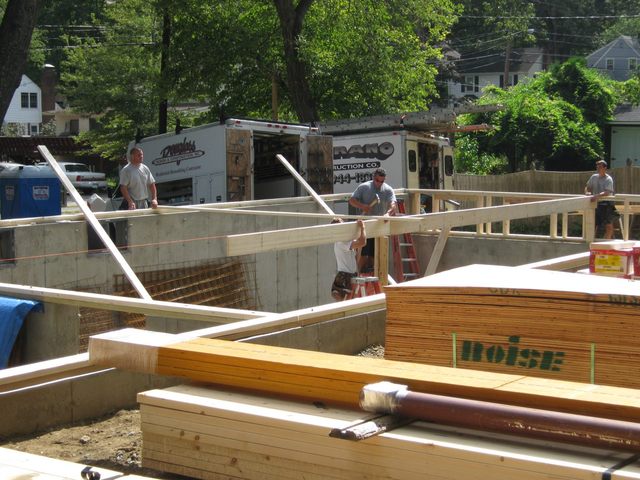
BeamBoard by board they constructed the beam.

Hey, wait! They aren’t using the Micro-Lam! There it is sitting on the pile. I guess I got that wrong. I wonder where the Micro-Lam goes. (This is why I hired somebody who knows what he is doing to build my house).

Anyway, they built that whole beam from boards all the way to the other end of the house.
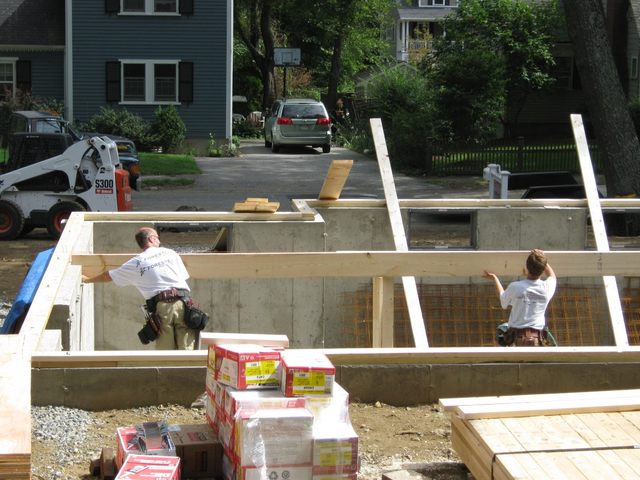
Other endIn the photo below you can see how long the beam is. The beam is four (4) boards thick.
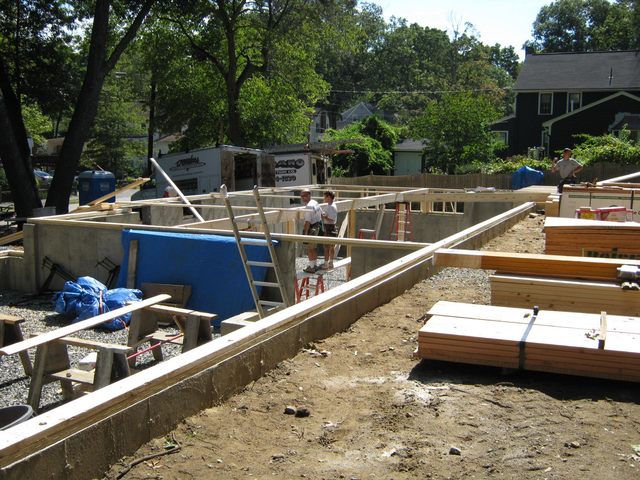
LongAfter the beam was in place, they put in the joists.
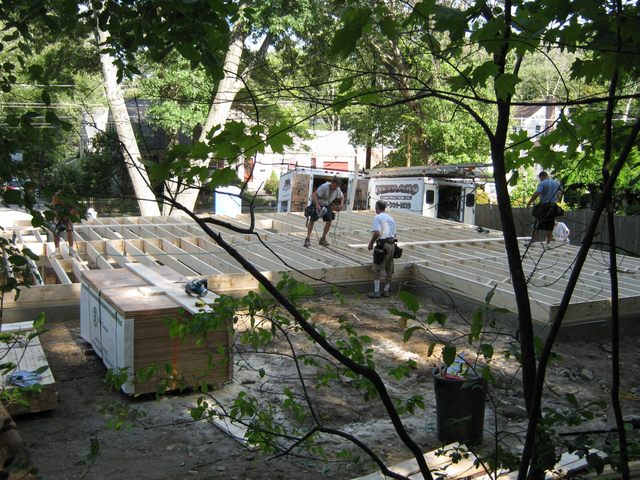
JoistsWow! That’s a lot of boards.

BoardsThe image below is looking toward the street from the floor of the sun room.
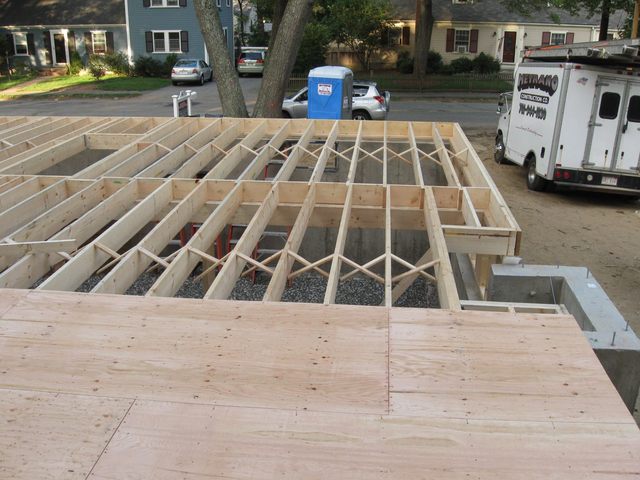
More boardsThe hole in the joists at the left side of the photo is where the stairs go down into the basement from the kitchen. Pretty cool. So I went into the basement to see what that looks like (No, I didn’t go down through that hole because there are no stairs there, and that first step would hurt).

The photo below is looking from the South side of the house toward the garage.
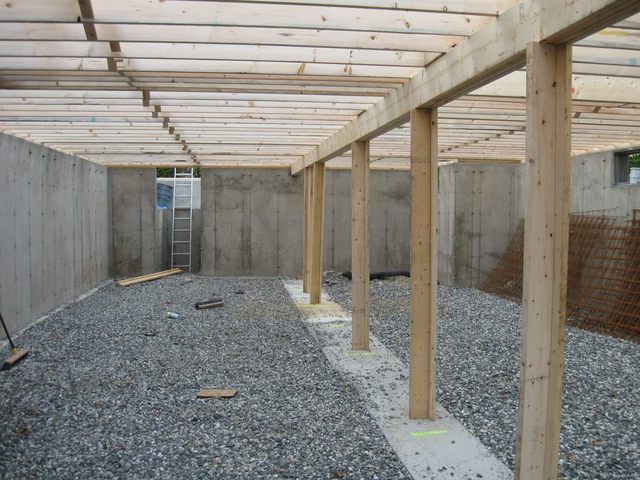
Toward garageI think the green marks on the footings are where the Lally columns will go… but then… I was wrong about the Micro-Lam too, so….

Looking the other way…
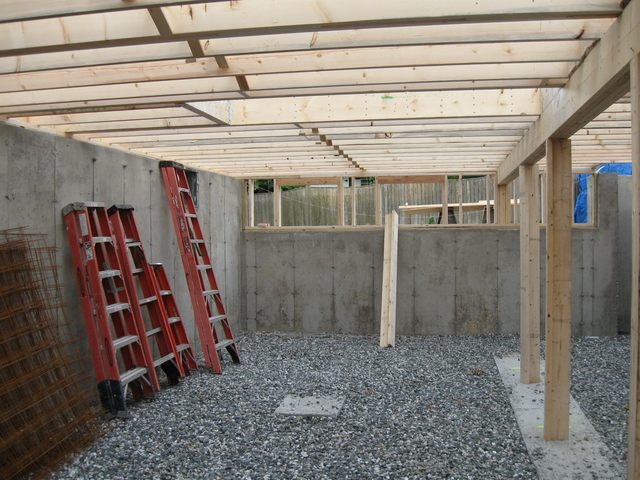
Looking SouthThe hole for the stairs is at the top of the photo. I noticed that the pad they poured is not under the hole, so it must be for something other than the stairs.

The holes in the far wall are where the windows will go to provide light in the basement. My workbench will probably go on that left hand wall.

This is starting to look like something.

Walls tomorrow.

Posted in House Project | Comments Off on Framing

Micro-Lam

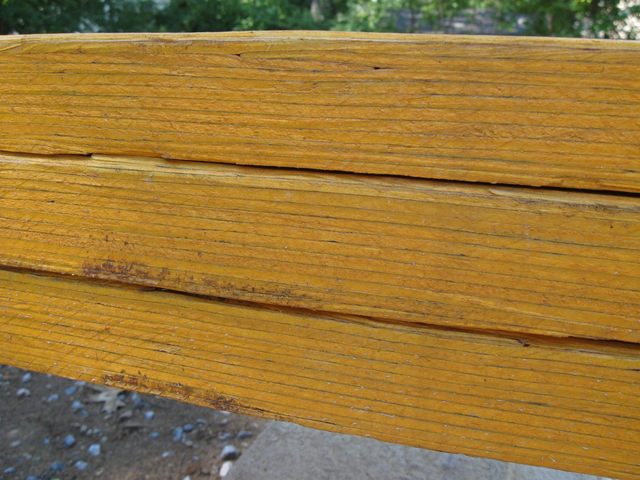
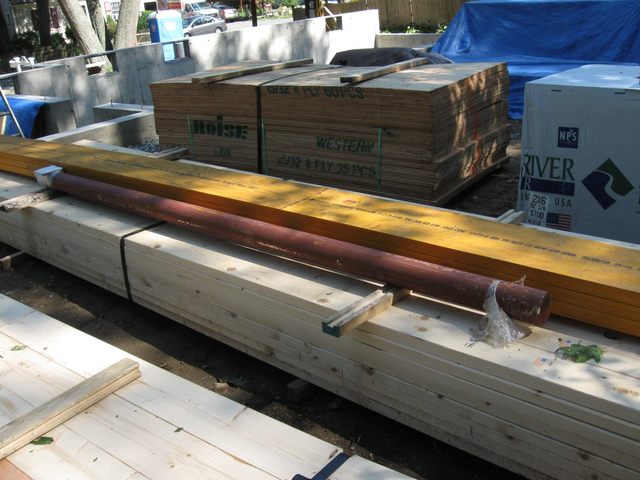
More lumber has been delivered to the site. The yellow boards in the photo below are the Micro-Lam beams.

Micro LamThey are really really long! They are Laminated Veneer Lumber (LVL), and are made up of lots of layers of thinner wood.

LVLYou can see all the layers of wood. That makes the beams stronger and more stable than regular lumber. These beams will go down the entire length of the house and hold up the floor.

Even with the stronger beams, we will have to install Lally columns under the beams to keep the floor from buckling. The red pipe in the photo below is a Lally column.

Lally columnThey are hollow steel poles filled with concrete. I’m not sure how many of the poles we will have. I guess we will find out on Tuesday.

Posted in House Project | Comments Off on Micro-Lam

Utilities

I haven’t posted for a few days. The rain and heat and delays have kept progress to a minimum. But the sewer guys finally showed up on Wednesday and put in the sewer line. Actually, it was a sewer guy and gal…. go figure.

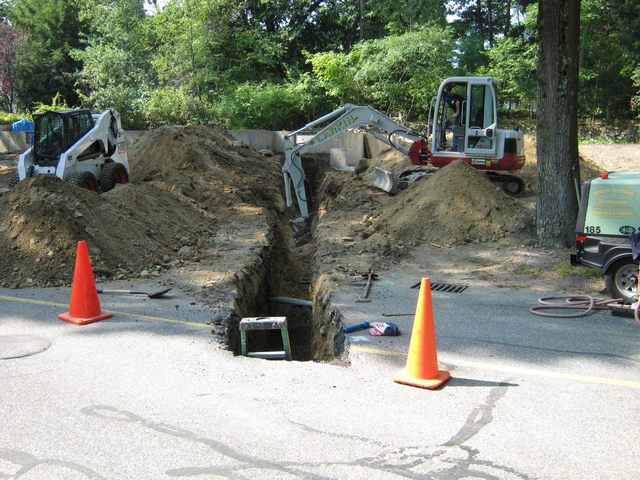
Here is how you put a new sewer line into a new house. First, you start by destroying the street.

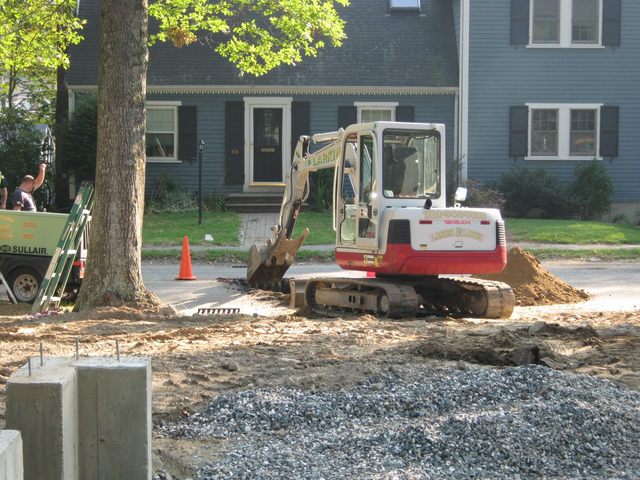
StartThen, you take your back hoe and dig a looooong hole right up to the house.

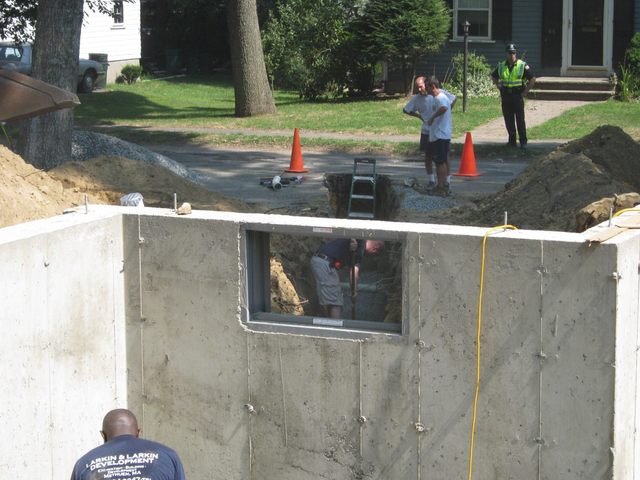
Long holeSome of the work is done by hand, like spreading the gravel on top of the pipe. Here is a photo of everybody hard at work.

WorkingEven the detail cop loves work… he can watch people do it for hours.

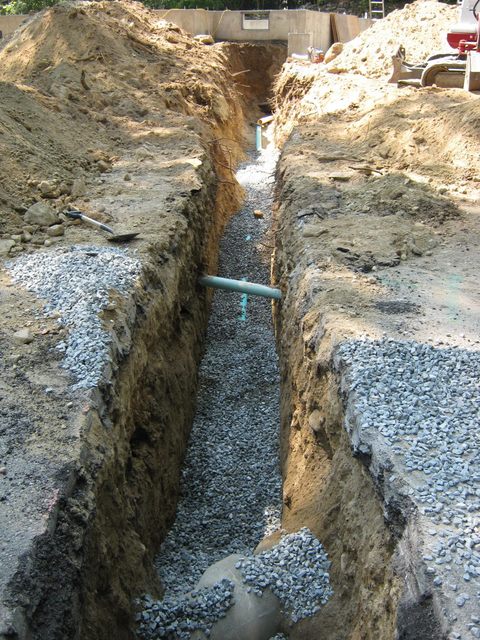
Check out this long hole!

Long pipeWow! “Flush twice… its a long way to the …. uh…. street”.

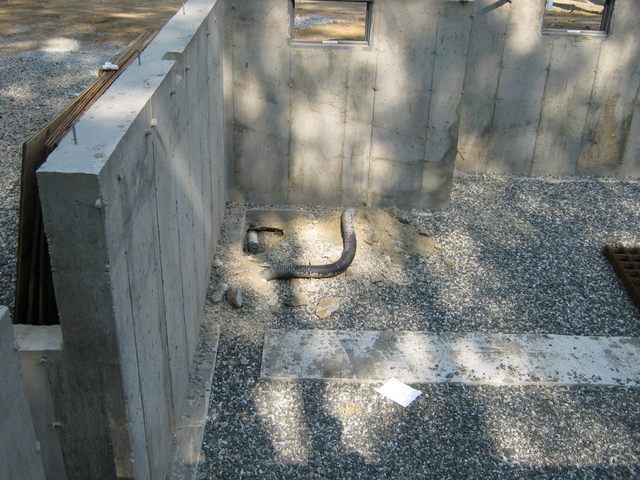
They managed to get the sewer pipe into the basement under the footings.

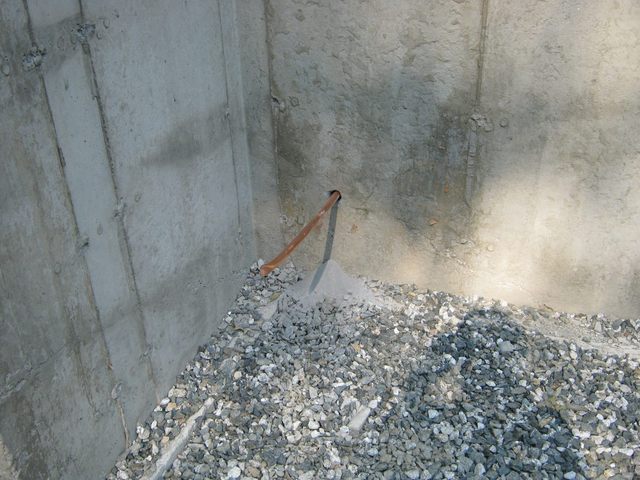
We were not so lucky with the water. They ran into ledge under the footings where the water comes in so they had to go through the wall. You can just barely see the water pipe at the right side of the photo. Here’s a closeup.

Water I have been assured that this will not leak when they are done. The hole is sealed with hydraulic cement on the outside.

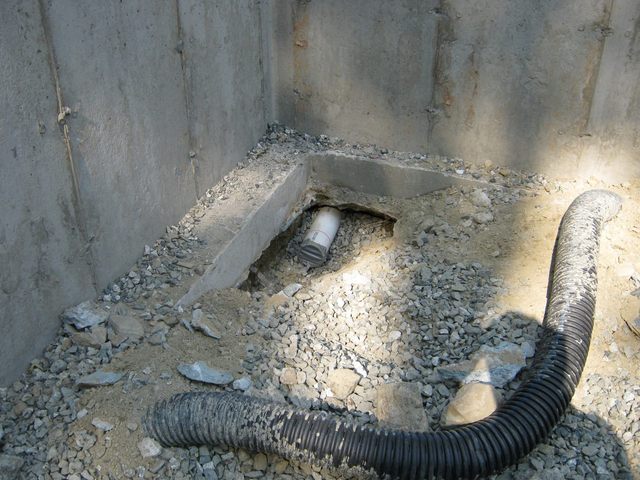
Here is a closeup of our new sewer connection.

Sewer PipeWow! pretty exiting.

OK. “Get a life” Still…..

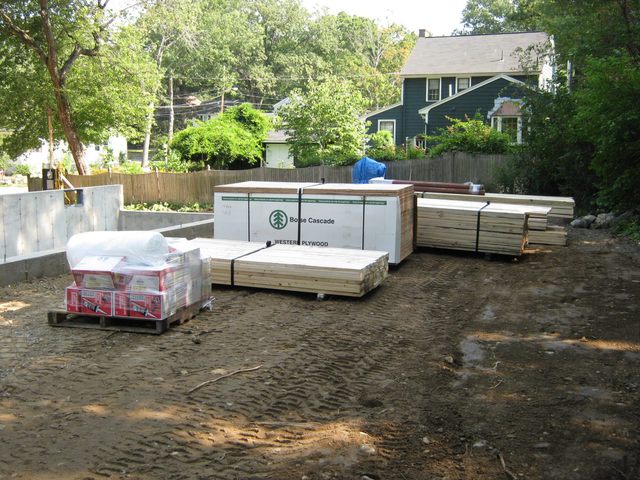
Oh, and BTW, we had lumber on the ground too.

LumberSoon a house will start going up. I think that things are going to start happening faster now, so stay tuned.

Posted in House Project | Comments Off on Utilities

Sewer Guy!

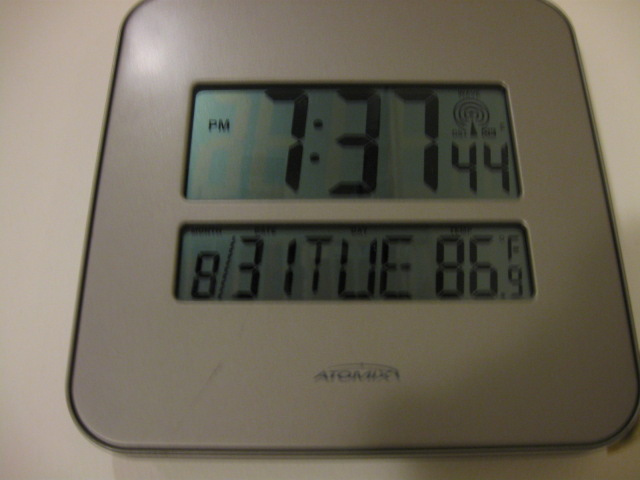
Well, I lied. The sewer guy stood us up again today, so you are stuck with another Fallapartment post. Here is a photo of our indoor clock & thermometer:

ThermometerPlease note the time (7:37 p.m.) and the temperature (86.9). That is the inside temperature. We have no A/C in this place, and most of the windows have no screens, hence they are closed to keep out the mosquitoes. Before we signed the lease we were promised screens on all the windows; after we signed the lease, well ’nuff said about that.

I really hope that the sewer guy shows up soon to avoid any more posts like this one.

Posted in House Project | Comments Off on Sewer Guy!

Sewer

Nothing happened at the house today. Our builder said that the sewer guy got tied up. Oh. I hope he didn’t mean that literally.

Tomorrow they are putting in the sewer connection. Really. I promise. Lumber hits the ground on Wednesday. Framing starts on Thursday. You won’t have to put up with the Fallapartment stories any more.

Posted in House Project | Comments Off on Sewer

Just Say “ArachNo”

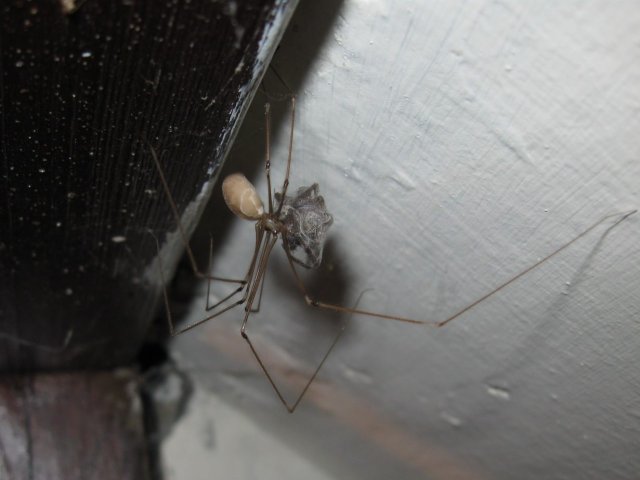
The Fallapartment has surprised us again. Take a look at what we found just inside the door to the basement.

SpiderThat is a spider the size of a Buick! And guess what it has in its claws…. another, smaller spider. Even the spiders are not safe in this house.

The house that the Fallapartment is in was built in 1895 according to the Register. I think that this spider moved in shortly after they opened the doors.

Posted in House Project | Comments Off on Just Say “ArachNo”